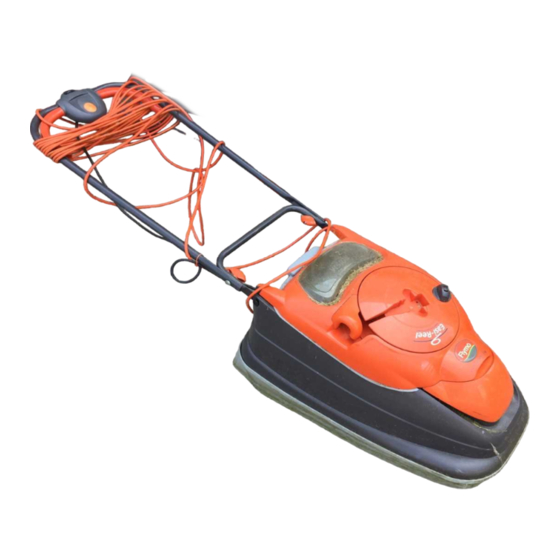
Flymo Vision Compact 330 Original Instructions Manual
Hide thumbs
Also See for Vision Compact 330:
- Original instructions manual (10 pages) ,
- User manual (11 pages) ,
- Manual (9 pages)
Advertisement
Table of Contents
- 1 Carton Contents
- 2 Starting and Stopping
- 3 Assembly Instructions
- 4 Adjusting the Cutting Height
- 5 Removing and Fitting the Blade and Fan
- 6 Removing, Emptying and Refitting the Grassbox
- 7 Caring for Your Lawnmower
- 8 Fault Finding Hints
- 9 Replacement Parts
- 10 Service Recommendations
- 11 Environmental Information
- 12 EC Declaration of Conformity
- Download this manual
See also:
User Manual
Advertisement
Table of Contents

Summary of Contents for Flymo Vision Compact 330
- Page 1 ® Original Instructions...
-
Page 2: Carton Contents
IMPORTANT ! Please check the contents of the carton are correct BEFORE assembling your new Flymo product. IF ANY PARTS ARE MISSING CONTACT:- Husqvarna UK Ltd. Customer Service Department direct Telephone : 0844 844 4558 UK 1800 882 350 ROI... - Page 3 Terminal which is marked with the letter 'N' or IMPORTANT coloured BLACK. • Flymo connectors are suitable for use with 2 core The wire which is coloured BROWN must be con- cable only. Under no circumstances should these nected to the Terminal which is marked with the letter connectors be used for earthed products.
-
Page 4: Starting And Stopping
Handle slot Starting and Stopping To Start your Lawnmower The Flymo Vision Compact uses an advanced belt drive system, between the motor and the blade which im- proves cutting power and flotation in all conditions. Due to the high turning force (Torque) which this motor devel-... -
Page 5: Adjusting The Cutting Height
The switchbox is provided with a lock-off button (H1) to prevent accidental starting. 6. Press and hold the lock-off button (H) on the switchbox, then squeeze one of the Start/Stop levers towards the upper handle (J). 7. Continue to squeeze the start/stop lever towards the upper handle and release the lock-off button. -
Page 6: Removing And Fitting The Blade And Fan
Removing and fitting the Blade and Fan Removing the Blade and Fan blade bolt 1. To remove the blade bolt, hold the fan firmly and with the spanner provided loosen the blade bolt by blade turning it anti-clockwise (K). 2. Remove the blade bolt, blade, spacers and fan. (L) 3. -
Page 7: Caring For Your Lawnmower
Easi-Reel Cable Winder Storing your cable in the Easi-Reel cable winder 1. Insert the female connector into the top of the cable winder (R1) 2. Place the cable under the cable guide (R2) 3. Turn the cable winder (R3) until all of the cable is wound in.(R4) Warning:- When cable is fully wound, lid becomes heavy... -
Page 8: Fault Finding Hints
Cleaning the Easi-Reel cable winder 1. Lift grassbox lid, squeeze together the two catches (X1) and remove the cable winder. 2. Clean the cable winder and the area it was lo- cated with a soft brush (X2 & X3) 3. Replace the cable winder, ensuring it clicks into place. At the End of the Mowing Season 1. -
Page 9: Service Recommendations
1. We strongly recommend that your product is serviced at least Yellow Pages. every twelve months, more often in a professional application. To obtain service on your Flymo product simply telephone or 2. Always use genuine Flymo Spare Parts. visit your local Service Centre. -
Page 10: Ec Declaration Of Conformity
Our policy of continuous improvement means that the specification of products may be altered from time to time without prior notice. Copyright © 2008 Flymo S.A. All rights reserved. Flymo® and other product and feature names are registered or unregistered trademarks of Flymo S.A.


Need help?
Do you have a question about the Vision Compact 330 and is the answer not in the manual?
Questions and answers