Table of Contents
Advertisement
Quick Links
Advertisement
Table of Contents

Related Manuals for Flymo Mini Trim Contour XT


Summary of Contents for Flymo Mini Trim Contour XT
- Page 1 Flymo Glider Compact 330AX Electric Hover Collect Lawn Mower - 1700W, 33cm Cutting Width, 22L Grass Box with Vision Window, Foldable Handles , Orange User Manual of Product 2: Flymo Contour XT Electric Grass Trimmer and Edger, 300 W, Cutting Width 25 cm...
- Page 2 ®...
- Page 6 Mini Trim ® Contour XT Original Instructions...
-
Page 7: Carton Contents
Plant and Tree Guard Wheel IMPORTANT ! Please check the contents of the carton are correct BEFORE assembling your new Flymo product. IF ANY PARTS ARE MISSING CONTACT:- Husqvarna UK Ltd. Customer Service Department direct Telephone : 0844 844 4558 UK... - Page 8 Do not repair a damaged cable, re- before clearing a blockage; place it with a new one. Use only Flymo replacement before checking, cleaning or working on the appliance; cable.
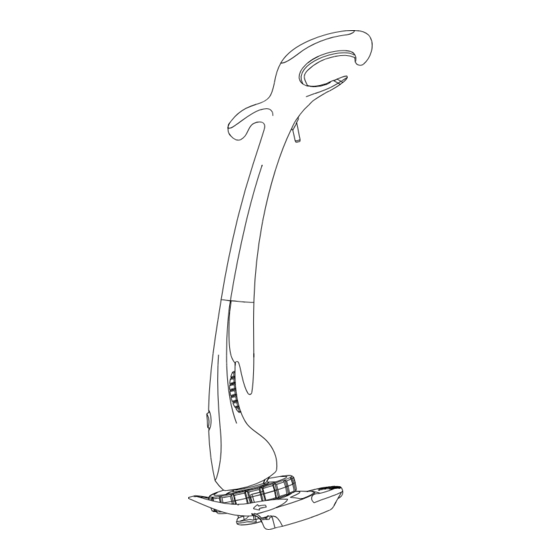
- Page 9 Assembly Instructions Shaft Assembly (A) 1. Locate the lower shaft (A1) into the upper shaft (A2). 2. Grasp firmly and hold steady the lower shaft. Locate the upper shaft and snap together firmly. • The unit is correctly assembled when the gap between the upper and lower shaft has been closed.
- Page 10 Using the Plant & Tree Guard The Plant and Tree Guard (J1) allows the trimming of grass close to plants and trees without damaging them with the cutting line. 1. Flip the guard down as illustrated in Fig J1. 2. Use the trimmer around trees (J2) and near plants. How to edge 1.
-
Page 11: Cutting Head
5. Refit the cap. To fit nylon line only: Eyelet • Remember ! Your Flymo Trimmer is designed to use only nylon line with a maximum diameter of 1.5mm. Cleat Use only genuine Flymo nylon line. 1. IMPORTANT - Always wind the line onto the upper sec- tion of the spool first. -
Page 12: Fault Finding Chart
4. Remove the wheel by pressing one of the buttons. Clean the wheel and groove on trimmer head with a soft brush (V & W). 5. Attach wheel as described in Wheel Assembly. 6. Inspect the trimmer carefully, especially the parts of the cutting head. -
Page 13: Replacement Parts
Replacement Parts Spool and Line Reference no.: FLY021 Part no.: 513937190 Environmental Information collection point for the recycling of electrical and electronic • Awareness of the environment must be considered equipment. when disposing of ‘end-of-life’ product. By ensuring this product is disposed of correctly, you will •... -
Page 14: Ec Declaration Of Conformity
Our policy of continuous improvement means that the specification of products may be altered from time to time without prior notice. Copyright © 2013 Flymo S.A. All rights reserved. Flymo® and other product and feature names are registered or unregistered trademarks of Flymo S.A.
Need help?
Do you have a question about the Mini Trim Contour XT and is the answer not in the manual?
Questions and answers