Table of Contents
Advertisement
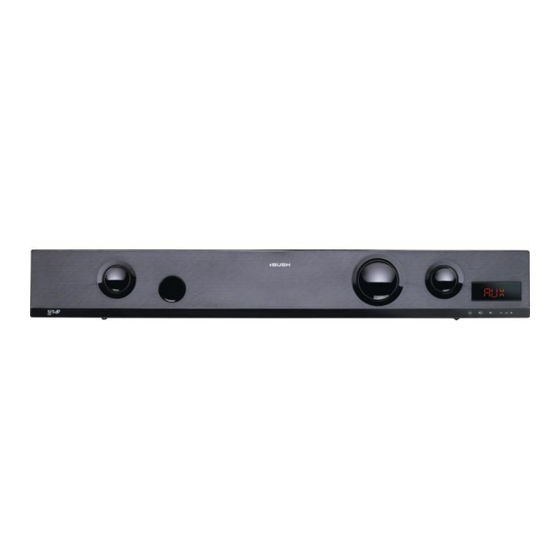
BUSH - 2.1 CH 100W Sound Bar
Installation & User Instructions – Please keep for future reference
CBAR4
Important –
Please read these instructions fully before installing or using
These instructions contain important information which will help you get the best from your appliance
and ensure safe and correct installation, use and maintenance.
If you need help or have damaged or missing parts, call the Customer Helpline: 0870 600 3030
Advertisement
Table of Contents

Related Manuals for Bush CBAR4


Summary of Contents for Bush CBAR4
- Page 1 BUSH - 2.1 CH 100W Sound Bar Installation & User Instructions – Please keep for future reference CBAR4 Important – Please read these instructions fully before installing or using These instructions contain important information which will help you get the best from your appliance and ensure safe and correct installation, use and maintenance.
-
Page 2: Table Of Contents
Playing audio from an MP3 player Adjusting the sound Volume controls Sound effect presets Bass enhancement Mute function Advanced operation Product Codes Sleep timer CBAR4 Adjusting the display brightness Wall mounting the Sound bar Care and Maintenance Troubleshooting Technical Specifications Disposal information Guarantee... -
Page 3: Safety Information
Safety Information Important – Please read these instructions fully before installation CAUTION: TO REDUCE THE RISK OF ELECTRIC SHOCK, DO NOT REMOVE ANY COVER. NO CAUTION USER-SERVICEABLE PARTS INSIDE, REFER RISK OF ELECTRIC SHOCK! ANY SERVICING TO QUALIFIED SERVICE DO NOT OPEN! PERSONNEL. -
Page 4: Functions & Controls
Please familiarize yourself with the parts and accessories listed below Accessories included • 1 x CBAR4 • 1x Remote control • 1 x Instruction manual • 1 x Audio cable (RCA - RCA) • 1 x Audio cable (RCA - 3.5mm) -
Page 5: Connections
User Instructions Connections Connecting a TV The below diagram shows the connection NOTE: In some cases the Sound bar volume output to a TV, DVD or GAMES CONSOLE using the is effected by the volume level on the TV. In this supplied RCA - RCA audio cable. -
Page 6: User Instructions
User Instructions Getting started General operation Connecting mains power Playing audio from a connected TV 1. Connect the attached mains plug to a UK mains After connecting a TV to the TV input on the Sound power supply outlet. bar, follow the below steps. 2. -
Page 7: Adjusting The Sound
User Instructions Adjusting the sound Adjusting the sound Volume controls Mute function 1. To increase the volume level press the VOLUME 1. Pressing the MUTE button (17) on the remote will + button (6 Unit or 16 Remote) repeatedly or temporarily silence the audio output. -
Page 8: Wall Mounting The Sound Bar
Wall mounting the Sound bar 1. Align the Sound bar in the chosen location. Use 3. Insert 2 screws (not supplied) a pencil to mark the drilling positions 400mm into the holes and tighten. Take care to leave apart. 5mm between the screw heads and the wall. NOTE: The Sound bar should be located at least NOTE: You will need to ensure the screws are long 7.5cm below the bottom of the TV. -
Page 9: Care And Maintenance
Care & Maintenance Important: Always unplug the appliance from the power socket during cleaning and maintenance. • Ensure the unit is switched off and unplugged from any electrical outlet • Wipe the case with a slightly moist lint free cloth •... -
Page 10: Technical Specifications
Specifications Amplifier Power Output 100W RMS (30% THD) Frequency response 20Hz - 20KHz ± 3dB 720 mV Input sensitivity Main unit 100-240V ~ 50-60Hz Power supply Power consumption ≤ 0.5W Standby power consumption Impedance: 4 Ohm Full range speaker drivers 52mm (2”) Frequency response: 250Hz ~ 20KHz Impedance: 8 Ohm... -
Page 11: Guarantee
Guarantee PRODUCT GUARANTEE This product is guaranteed against manufacturing defects for a period of Year This product is guaranteed for twelve months from the date of original purchase. Any defect that arises due to faulty materials or workmanship will either be replaced, refunded or repaired free of charge where possible during this period by the dealer from whom you purchased the unit.
Need help?
Do you have a question about the CBAR4 and is the answer not in the manual?
Questions and answers