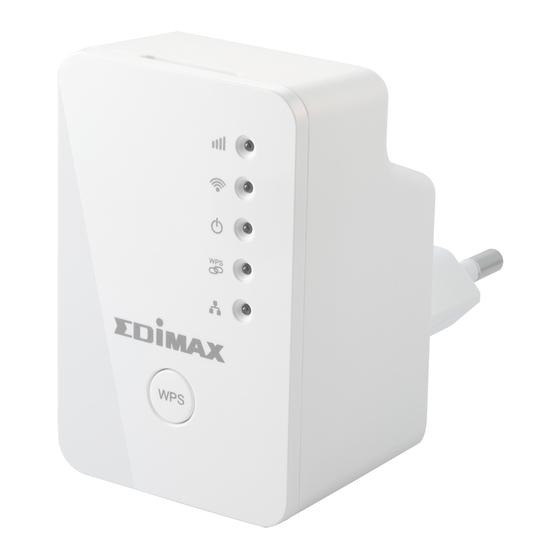
Edimax EW-7438RPn Setup
Hide thumbs
Also See for EW-7438RPn:
- User manual (142 pages) ,
- Quick installation manual (19 pages) ,
- Brochure & specs (4 pages)
Advertisement
Table of Contents
2
How to setup EW-7438RPn with a Windows
computer to extend an existing Wi-Fi network
Note:
1. This instruction use pictures from EW-7438RPn firmware v1.13.
2. If you need to restore to the default settings, press the WPS button about 15 seconds until you see
the green PWR LED turn off and blink. That will restore the default settings.
Advertisement
Table of Contents

Related Manuals for Edimax EW-7438RPn


Summary of Contents for Edimax EW-7438RPn
- Page 1 Wi-Fi network Note: 1. This instruction use pictures from EW-7438RPn firmware v1.13. 2. If you need to restore to the default settings, press the WPS button about 15 seconds until you see the green PWR LED turn off and blink. That will restore the default settings.
- Page 2 Hardware Install: 1. Plug the EW-7438RPn extender into a power outlet close to the root wireless access point and switch it on (1). 2. Get an Ethernet cable to connect your computer to the Ethernet port of EW-7438RPn. 3. Connect the Ethernet cable to LAN port of your computer. Power on your computer.
- Page 3 5. Observe the LED on the extender. The power LED ( ) will be steady on. The Wi-Fi LED ( ) will begin to flash rapidly. This indicates initialization is complete. Please do not proceed to next step until these conditions are fulfilled.
- Page 4 Setup Procedure: 1. Open any of your preferred web browsers. It can be Internet Explorer, Firefox, or Google Chrome. It is normal that you don’t have Internet because the extender does not connect to Internet yet. 2. Type in the Access Key like http://extenderxxxxxx into the Address box.
- Page 5 Note: If the Wi-Fi network you wish to connect to does not appear, click “Refresh” to detect again or try to move the extender closer to the root wireless access point. 4. Select your Wi-Fi network you wish our extender to connect to. Two lines show up for Device SSID and KEY.
- Page 6 7. The extender will test the connection between the device and your main WiFi router. 8. If the connection test is successful, the message “Connection Test Successfully” will appear on- screen. Click “Next” to the next page. If the connection test failed, the message “Connection Test Failed” will appear on-screen. Click “BACK”...
- Page 7 10. The extender restarts and saves its settings. 11. In a few seconds, you will see a final congratulations page. The orange Signal Strength LED ( of the extender should lit up. 12. You can close the extender’s control panel page and go to any of your preferred web sites. If you can browse Internet, you know the extender is setup successfully.
Need help?
Do you have a question about the EW-7438RPn and is the answer not in the manual?
Questions and answers