Advertisement
P/N 34912. 8/14
INSTRUCTIONS FOR MODELS L36 and L27:
1. Remove the right hand side shelf and the cabinet back panel (fig. 1)
2. Mount the LCB2-3 side burner to the supports (fig. 2)
3. If needed, any misalignment can be corrected by 1st measuring the amount of misalignment, 2nd loosening the
bracket support fasteners. 3rd raise or lower the bracket according to your measurements.
Tighten the fasteners. (fig 3)
4. Hang the side shelf removed in step 1 on the right side shelf support pins of the side burner (Fig. 6, pg. 2)
1
Rear View
3
Lynx Grills, 7300 Flores St., Downey, CA 90242
Customer Care Ph.: 888-289-5969/ Fax: 562-299-6978/Service@lynxgrills.com
P/N 34912 8/14
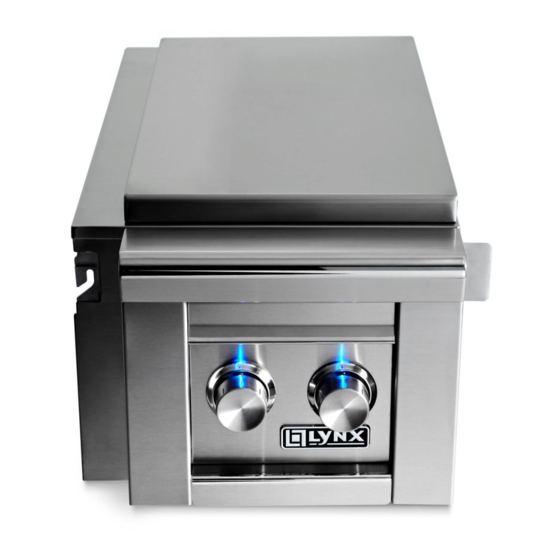
LCB2-3 INSTALLATION INSTRUCTIONS
TOOLS REQUIRED:
CONTENTS OF KIT:
The side burner support bracket comes preassembled for the L27 and L36
7/16 Wrench
An adjustable side burner mounting bracket
Side shelf mounting bracket with 7/16 fasteners
Decorative cover for the L27 and L36 models
2
Advertisement
Table of Contents

Related Manuals for Lynx LCB2-3


Summary of Contents for Lynx LCB2-3
- Page 1 1. Remove the right hand side shelf and the cabinet back panel (fig. 1) 2. Mount the LCB2-3 side burner to the supports (fig. 2) 3. If needed, any misalignment can be corrected by 1st measuring the amount of misalignment, 2nd loosening the bracket support fasteners.
- Page 2 1. Remove the right hand side shelf. See fig.1 on page 1 2. At the rear, remove the decorative cover (1) on the left hand side of the LCB2-3 by removing the Philips head screw and sliding it out. This also gives access to the gas piping connections. (Fig. 2) 3.
- Page 3 Once the side burner is mounted to the grill the gas con- nections can be made. Refer to the illustrations on the right for proper gas installation examples. After the side burner gas connections are made it is rec- ommended that a leak test be done on all gas line fittings. Apply a soap and water solution to all connections and look for bubbles to form which indicate a gas leak.
Need help?
Do you have a question about the LCB2-3 and is the answer not in the manual?
Questions and answers