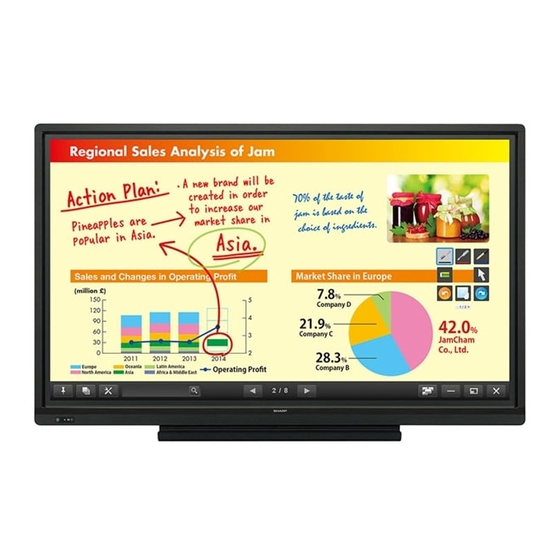
Sharp PN-L703A Operation Manual
Lcd monitor
Hide thumbs
Also See for PN-L703A:
- Setup manual (36 pages) ,
- Brochure & specs (4 pages) ,
- Operation manual (71 pages)
Summary of Contents for Sharp PN-L703A
-
Page 1: Lcd Monitor
LCD MONITOR TOUCH PANEL DRIVER 2 for Mac Version 1.0 OPERATION MANUAL Applicable models PN-L703A/PN-70TA3/PN-L703B/PN-70TB3/PN-L603A/PN-60TA3/PN-L603B/PN-60TB3... -
Page 2: Table Of Contents
• Transcribing or duplicating part or all of this manual and/or this software without permission from our company is not permitted. • As a part of our policy of continuous improvement, SHARP reserves the right to make design and specification changes for product improvement without prior notice. -
Page 3: Introduction
Introduction System Requirements The touch panel driver 2 is a program that enables you to use the touch panel to operate the computer that is connected to the touch panel. To use the touch panel, the touch panel must be connected to a computer, and the touch panel driver 2 must be installed on the computer. -
Page 4: Setting Up The Computer
Setting up the Computer Install Caution • To install, an administrator name (user name) and password are required. • If an older version of the touch panel driver 2 is installed, remove (uninstall) the old version before installing the touch panel driver 2. -
Page 5: Touch Panel Settings
The touch panel driver 2 starts automatically and the icon ( ) appears on the menu bar. TIPS • If PN-L703A/PN-70TA3 (or PN-L703B/PN-70TB3) and PN-L603A/PN-60TA3 (or PN-L603B/PN-60TB3) are connected at the same time, selecting a setting item will display the screen where you can select the model to apply the setting to. How to configure settings nConfiguring settings from the menu bar 1. -
Page 6: Touch Panel Settings
• If two displays of the same model are connected, touch operation will only be enabled on one model. • If PN-L703A/PN-70TA3 (or PN-L703B/PN-70TB3) and PN-L603A/PN-60TA3 (or PN-L603B/PN-60TB3) are connected at the same time, select the model to apply the touch panel settings to. -
Page 7: Calibration
Touch Panel Settings Calibration If black bands appear at the top and bottom or left and right of the screen, perform position adjustment so that the mouse cursor correctly moves to the point that is touched. * If black bands appear both at the top and bottom and at the left and right, the touch position is not correct. In this case, change the display. -
Page 8: Properties
Touch Panel Settings Properties Settings for the touch action can be configured in the properties. nDouble Click Range Set the range over which the position can shift between the first touch and the second touch and still be recognized as a double- click (“Narrow”... - Page 9 Touch Panel Settings nSecondary click You can set press and hold to be recognized as a secondary click.* Enable press and hold for secondary click When the checkbox is selected, press and hold is recognized as a secondary click. Press and Hold Duration Set the time until press and hold is recognized as a secondary click (“Short”...
-
Page 10: Uninstall
Uninstall Caution • To uninstall, an administrator name (user name) and password are required. 1. Disconnect the USB cable. 2. Execute uninstall. (1) Double-click the “TouchPanel” folder, and then double-click the “Mac” folder. (2) Double-click “SharpTouchPanel2 Uninstaller.app”. (3) Click “Uninstall”. •... -
Page 11: Touch Action
Touch Action nFinger actions TIPS • To change the touch mode and so on, see the manual for the LCD MONITOR (PN-L703A/PN-70TA3/PN-L703B/PN- Same action as left-clicking a mouse. 70TB3/PN-L603A/PN-60TA3/PN-L603B/PN-60TB3). Touch with your finger. • Select the action to be used in Function Setting. (See page •... - Page 12 Touch Action Pinch with two fingers TIPS Use in a screen that is capable of reduction/enlargement. • The screen may not respond correctly in the following Touch the screen with two fingers and move your fingers cases: closer together to reduce the view, or apart to enlarge the Touching is too quick view.
- Page 13 Touch Action Scroll left or right with two fingers / Swipe with two or Swipe left or right with three or four fingers three fingers Move an application to the front. Use cross page swipe. Swipe up with three or four fingers Display Mission Control. Swipe left from the right edge with two fingers Swipe down with three or four fingers Display the notice center. Display Application Exposé. Pinch with thumb and three fingers Tap with three fingers Touch the screen with 4 fingers, and move your thumb and 3 Check the tapped text in a dictionary or other resource.
- Page 14 Touch Action Spread with thumb and three fingers Touch the screen with 4 fingers, and move your thumb and 3 fingers apart to show the desktop.
- Page 15 PN-Lx03APN-Lx03BPN-xTA3PN-xTB3 V1.0 DM EN14E(1)


