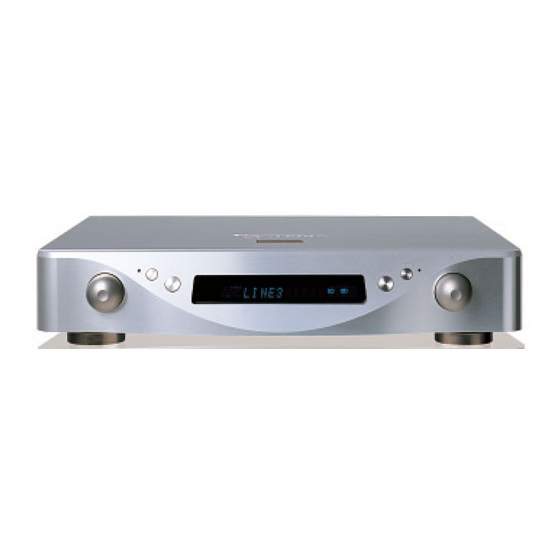
Esoteric AZ-1 Owner's Manual
Digital integrated amplifier and master clock generator
Hide thumbs
Also See for AZ-1:
- Owner's manual (20 pages) ,
- Reference manual (2 pages) ,
- Specifications (1 page)
Table of Contents
Advertisement
Quick Links
Download this manual
See also:
Owner's Manual
Advertisement
Table of Contents

Related Manuals for Esoteric AZ-1


Summary of Contents for Esoteric AZ-1
- Page 1 D00905700A Digital Integrated Amplifier and Master Clock Generator Owner’s Manual...
-
Page 2: Important Safety Instructions
IMPORTANT SAFETY INSTRUCTIONS 1) Read these instructions. 2) Keep these instructions. CAUTION: TO REDUCE THE RISK OF ELECTRIC SHOCK, NO USER DO NOT REMOVE COVER (OR BACK). 3) Heed all warnings. SERVICEABLE PARTS ARE INSIDE. REFER SERVICEING TO QUALIFIED SERVICE PERSONNEL. 4) Follow all instructions. -
Page 3: Table Of Contents
(IEEE 1394) ........8 CONTACT ESOTERIC/ TEAC FOR A SERVICE REFERRAL. -
Page 4: Before Use
Before Use What’s in the box Maintenance Please confirm that the following accessories are in the box If the surface of the unit gets dirty, wipe with a soft cloth or when you open it. use diluted neutral cleaning liquid. Be sure to remove any fluid completely. -
Page 5: Speaker Connections
Speaker Connections Right Left Speaker Speaker CAUTION: Connection using speaker cables with Switch off the power to all equipment before making spades or bare wire connections. 1. Turn the terminal cap counterclockwise to loosen it. The speaker terminal caps cannot be fully removed from the base. Read the instructions of each component you intend to use with this unit. -
Page 6: Connections
Connect one of these cables. AUDIO OUT Wall socket Tuner, Cassette tape deck, etc. When you are using two or three AZ-1 units for multi-channel listening, connect them as shown here. Setting of the SZ-1/UZ-1 SZ-1 i.LINK button “PCM” WORD SYNC i.LINK(AUDIO) - Page 7 After all other connections have been made, insert the supplied AC power cord into this receptacle, then connect If Esoteric SZ-1 or UZ-1 is connected to the AZ-1 using an the other end of the power cord into the wall socket. Ensure i.LINK cable, the following setup will provide you with the...
-
Page 8: I.link (Ieee 1394)
i.LINK (IEEE 1394) The i.LINKconnection is also known as IEEE 1394or "firewire" NOTES Among the i.LINK formats there are “MPEG-2 TS” for BS an international specification. digital sources and “DV” for digital video for DVD recorders, This unit is ready for i.LINK (AUDIO). as well as the “i.LINK (AUDIO)”... -
Page 9: Remote Control
Remote Control Unit Restoring factory settings If you have made a lot of changes to the setup selections and want to How to insert the batteries restart from a known set of options, restore the unit to the its Remove the cover of the remote control unit with a factory settings as follows: screwdriver. -
Page 10: Front Panel Features
Front panel features Front panel Display Display Front panel Display INPUT i.LINK indicator Lights when the INPUT knob is set to “i.LINK” or when the i_RC Turn this knob to select an input. setting is set to ON. In the setup mode, use this knob to change settings. This indicator blinks when the unit cannot receive a digital signal. -
Page 11: Understanding The Remote Control Unit
Use these buttons to select an input. f an Esoteric SZ-1 or UZ-1 Buttons for the basic operation o You can use these buttons to operate Esoteric's SZ-1 or UZ-1 CD/SACD/DVD player. To operate the players point the remote control unit at the remote... -
Page 12: Basic Operation
1. Stop the playback of the connected component. the MAIN POWER Turn on the power of the AZ-1 using 2. Turn the AZ-1 standby or off using the STANDBY button switch on the rear panel. or the POWER switch. If the red standby indicator lights, press the STANDBY button to turn the unit on. -
Page 13: Display Dimming
There are three levels and an “off” setting. locked to a single sync signal (clock) by connecting this unit to the Esoteric SZ-1 UZ-1 or other devices that are capable of Use the DIMMER button to cycle between these inputting a sync signal (word clock). -
Page 14: Settings
When multiple AZ-1 units are directly connected using i.LINK cables and you have this function on, the volume, muting and dimmer of all AZ-1’s in the chain can be controlled using only Settings are stored even when power is turned off and the the L/R channel AZ-1. -
Page 15: Specifications
When you don’t use the i.LINK terminal, turn the i_RC setting off. 44.1, 88.2, 176.4, 48, 96, 192, 100 (kHz) The display shows “WRD ERROR!” The connected unit may not be in word sync mode while the AZ-1 Accessories is in word sync mode. Check the word sync terminal for correct connection and the settings on the connected unit. - Page 16 TEAC ESOTERIC COMPANY 3-7-3, Nakacho, Musashino-shi, Tokyo 180-8550, Japan Phone: (0422) 52-5132 e-mail: eso-os@tec.teac.co.jp TEAC AMERICA, INC. 7733 Telegraph Road, Montebello, California 90640 Phone: (323) 726-0303 TEAC CANADA LTD. 5939 Wallace Street, Mississauga, Ontario L4Z 1Z8, Canada Phone: (905) 890-8008 TEAC MEXICO, S.A.
Need help?
Do you have a question about the AZ-1 and is the answer not in the manual?
Questions and answers