Table of Contents
Advertisement
®
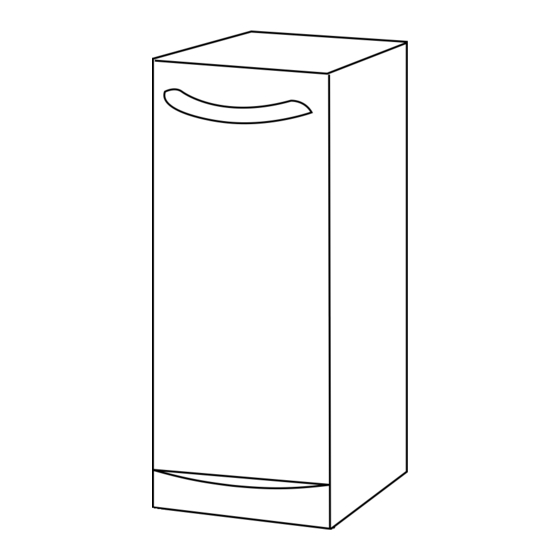
Compactor
Use & Care Guide
Compactador
Manual de uso y cuidado
Compacteur
Guide d'utilisation et d'entretien
Models/Modelos/Modèles 665.1363*
* = color number, número de color, numéro de couleur
Sears Roebuck and Co., Hoffman Estates, IL 60179 U.S.A.
www.sears.com
9872188
Sears Canada Inc., Toronto, Ontario, Canada M5B 2B8
www.sears.ca
Advertisement
Table of Contents

Summary of Contents for Kenmore 665.1363
- Page 1 Use & Care Guide Compactador Manual de uso y cuidado Compacteur Guide d’utilisation et d’entretien Models/Modelos/Modèles 665.1363* * = color number, número de color, numéro de couleur Sears Roebuck and Co., Hoffman Estates, IL 60179 U.S.A. www.sears.com 9872188 Sears Canada Inc., Toronto, Ontario, Canada M5B 2B8...
-
Page 2: Table Of Contents
Master Protection Agreements Congratulations on making a smart purchase. Your new ® Kenmore product is designed and manufactured for years of dependable operation. But like all products, it may require preventive maintenance or repair from time to time. That’s when having a Master Protection Agreement can save you money and aggravation. -
Page 3: In Canada
To order replacement parts or accessories, call 1-800-4-MY-HOME ® appropriate part number or contact your authorized Kenmore dealer. ONE-YEAR FULL WARRANTY ON COMPACTOR For one year from the first day of use in your home, Sears will repair, free of charge, defects in materials or workmanship. -
Page 4: Compactor Safety
Your safety and the safety of others are very important. We have provided many important safety messages in this manual and on your appliance. Always read and obey all safety messages. This is the safety alert symbol. This symbol alerts you to potential hazards that can kill or hurt you and others. All safety messages will follow the safety alert symbol and either the word “DANGER”... -
Page 5: Installation Instructions
INSTALLATION INSTRUCTIONS Installer: Leave Use and Care Guide with the homeowner. Homeowner: Keep Use and Care Guide for future reference and for local electrical inspector’s use, if required. Unpacking WARNING Excessive Weight Hazard Use two or more people to move and install compactor. -
Page 6: Electrical Requirements
Cutout dimensions 3" min. (7.6 cm) 24" min. (61 cm) 18" min. (45.7 cm) 15 " min. (38.7 cm) A. Grounded electrical outlet must be a minimum of 3" (7.6 cm) away from surrounding cabinets or nearby walls as shown. It can be placed either to the left or the right side of the product. - Page 7 Installing 1. Measure the height of your kitchen cabinet opening. The top of the compactor should be a minimum of the top of the kitchen cabinet opening. The rear wheels are preset for a kitchen cabinet opening height of 34 " (87 cm) (position 1). To adjust for other kitchen cabinet opening heights: Loosen self-tapping screw just enough to clear stud from hole in position 1.
-
Page 8: Compactor Use
Cabinet-face mounting A. Mounting clip (provided) B. Kitchen cabinet C. Retaining bracket D. Mounting screw (provided) How Your Compactor Works The compacting ram is the part of the compactor which compresses the trash. The compacting ram does not go to the bottom of the drawer. -
Page 9: Starting Your Compactor
Starting Your Compactor 1. Lift and pull the handle or press the foot pedal to open the compactor drawer. Load trash. 2. Keep Key-Knob (located on the control panel) in the “ON” position. A. Control panel 3. Set Cycle switch to Normal Pac. 4. -
Page 10: Installing A New Bag
2. You may already have a paper or plastic bag in place. Please refer to appropriate instructions for your bag. If you have a paper bag, lift and fold up the top folded edges of the bag. Fold ends in and bring side flaps together. -
Page 11: Compactor Care
Your new compactor is designed to give you many years of dependable service. However, there are a few things you are expected to do in order to properly maintain your compactor. This section will tell you how to clean and care for your compactor. Before cleaning the compactor, turn the Key-Knob (or Key- Switch) to the OFF &... -
Page 12: Troubleshooting
2. Remove foods with a clean sponge or soft cloth and a mild detergent in warm water. Rinse and dry thoroughly with a soft cloth. Try the solutions suggested here first in order to avoid the cost of an unnecessary service call. Trash is not compacting Is the drawer less than half full? Drawer must be more than half full before trash is compacted.


Need help?
Do you have a question about the 665.1363 and is the answer not in the manual?
Questions and answers