Table of Contents
Advertisement
Advertisement
Table of Contents

Related Manuals for JEFF ROWLAND CONCERTO


Summary of Contents for JEFF ROWLAND CONCERTO
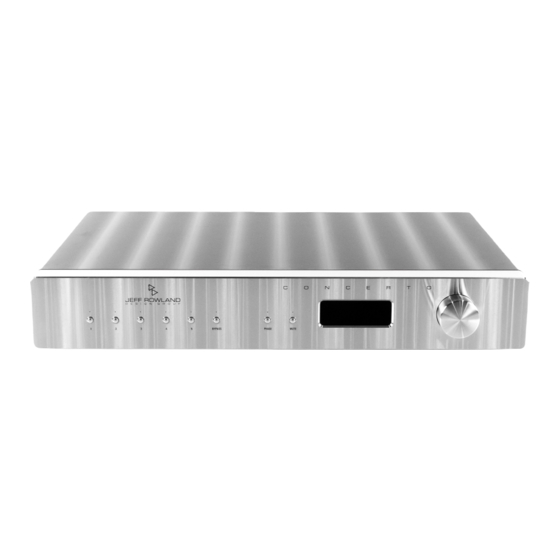
- Page 1 OW N E R ’ S M A N UA L C O N C E R TO S T E R EO P R E a m P l i f i E R...
-
Page 2: Table Of Contents
T A B L E O F C O N T E N T S OW N E R ’ S M A N UA L C O N C E R TO S T E R EO P R E A M P L I F I E R Introduction Remote Transmitter Operation 10-11... -
Page 3: Introduction
Jeff combination of features such as numerous designed. Please note that your CONCERTO Rowland Design Group dealer or check function control and interconnect possi- Stereo Preamplifier serial number begins... -
Page 4: Product Features
P R O D U C T F E A T U R E S OW N E R ’ S M A N UA L C O N C E R TO S T E R EO P R E A M P L I F I E R •... -
Page 5: Package Contents
OW N E R ’ S M A N UA L C O N C E R TO S T E R EO P R E A M P L I F I E R CONCERTO STEREO PREAMPLIFIER REMOTE TRANSMITTER OWNER’S MANUAL... -
Page 6: Initial Inspection
NOTE: Many shippers require notification and inspection within 24 hours of delivery to determine the nature of damages incurred. Your CONCERTO Stereo Preamplifier has undergone extensive performance evaluations, listening tests, quality control inspections, and a minimum 72 hour burn-in period prior to shipment and should therefore be in perfect operating condition upon delivery. -
Page 7: Maintenance & Cleaning
All JRDG products are designed to provide a lifetime of enjoyment • Please allow the front panel, which is coated with an automotive-grade polyure- and listening pleasure. The CONCERTO Stereo Preamplifier is uniquely thane finish, to cure for 6 months before attempting to clean it. This will prevent constructed from a solid block of precision-machined aluminum. -
Page 8: Protection Systems
P r o t e c t i o n S y S t e m S If you have any questions about the care or cleaning of your CONCERTO Stereo Preamplifier, please contact your dealer or the JRDG factory before attempting to clean the chassis. The use of a... -
Page 9: Installation, Use & Care
Stereo Preamplifier can be housed in a cabinet or custom enclosure with no fear of overheating. The efficient and compact design of the CONCERTO allows it to be installed in any number of music, film, and surround sound systems. For connection instructions for a typical two-channel stereo system, please see page 15 of this manual. - Page 10 The JRDG CONCERTO Stereo • Do not expose the preamplifier to • Be sure the preamplifier is muted • The CONCERTO is designed to per- Preamplifier has been designed rain, moisture, or excessively (red front panel indicator light on) form optimally with no adjustments to operate at the highest level of damp conditions.
-
Page 11: Remote Transmitter Operation
OW N E R ’ S M A N UA L C O N C E R TO S T E R EO P R E A M P L I F I E R The CONCERTO Stereo (1) INPUT SELECT: This button... - Page 12 (5) BAL L: This button will shift the output of the preamplifier towards (7) BATTERY REPLACEMENT: When the remote begins to become the left channel. Each press of the button will increase the output of weak or will not function, it is likely necessary to replace the battery. left channel by 0.5 dB and decrease the level of the right channel by Access to the battery is gained by removing the two Phillips head screws 0.5 dB.
-
Page 13: Front Panel Functions
Buttons. An indicator will illuminate blue when selected to show that the input is currently active. controls and indicators of the CONCERTO Stereo Preamplifier. The descriptions refer to (2) INPUT SELECTOR BUTTONS: Pressing these buttons selects an input source (CD, tuner, the illustration below. - Page 14 If desired, the volume display can be config- (3) BYPASS MODE: The Bypass Mode (4) PHASE: Pressing this button will invert the allows the CONCERTO to be installed in a phase of both channels of the selected input ured to turn off 5 seconds after receiving any...
-
Page 15: Rear Panel Signal Connections
(CD player, tuner, etc.), they should be connected to unbalanced INPUTS 1 and 2. ated audio and A/V components. When If you have had the optional phono section installed in the CONCERTO, the interconnects from connecting or disconnecting interconnect the turntable should be installed into INPUT 2. - Page 16 (2) BALANCED INPUTS: If you are using (3) BYPASS INPUTS: If the CONCERTO NOTE: Both sets of line level outputs have equal output levels. Thus, if Preout B outputs are used to feed a balanced XLR interconnects from your is installed in a home theater or surround...
Need help?
Do you have a question about the CONCERTO and is the answer not in the manual?
Questions and answers