Table of Contents
Advertisement
Advertisement
Table of Contents

Related Manuals for jWIN JP-147


Summary of Contents for jWIN JP-147
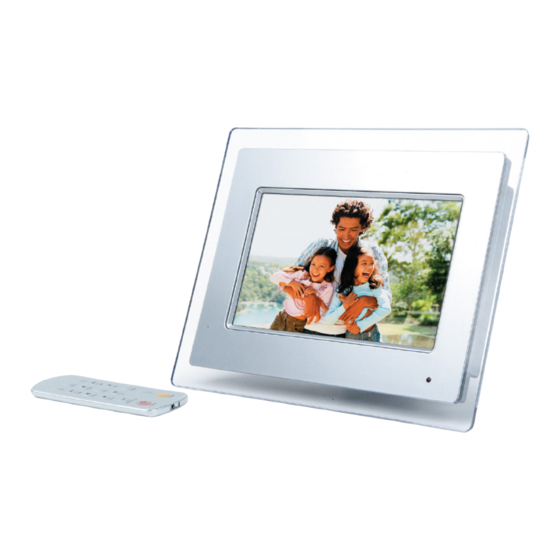
- Page 1 Digital Photo Frame V10M10_IM_EN_08172007 DIGITAL PHOTO FRAME WITH BUILT-IN MEMORY Instruction Manual JP-147 Please read this manual carefully before operating and save it for future reference. Have a question? Please visit http://www.jWIN.com - 1 - www.jWIN.com...
- Page 2 Digital Photo Frame V10M10_IM_EN_08172007 - 2 - www.jWIN.com...
-
Page 3: User Safety Guide
Digital Photo Frame USER SAFETY GUIDE Instructions on Environmental Protection Do not dispose of this product in the usual household garbage at the end of its life cycle; bring it to a collection point for the recycling of electrical and electronic appliances. -
Page 4: Important Safety Instructions
Digital Photo Frame USER SAFETY GUIDE Important Safety Instructions READ INSTRUCTIONS - All safety and operating instructions should be read before the appliance is operated. RETAIN INSTRUCTIONS - The safety and operating instructions should be retained in a secure place for future reference. -
Page 5: Additional Safety Instructions
Digital Photo Frame USER SAFETY GUIDE Important Safety Instructions – Continued 11. DAMAGE REQUIRING SERVICE - The appliance should be serviced by qualified service professional when: a. Objects have fallen into, or liquid has been spilled into the appliance’s apertures. -
Page 6: Fcc Notice To U.s. Users
Digital Photo Frame USER SAFETY GUIDE FCC Notice to U.S. Users This device complies with Part 15 of the FCC Rules. Operation is subject to the following two conditions: (1) this device may not cause harmful interference, and (2) this device must accept any interference received, including interference that may cause undesired operation. - Page 7 Digital Photo Frame V10M10_IM_EN_08172007 USER SAFETY GUIDE Industry Canada Notice to Canadian Users Operation is subject to the following two conditions: (1) this device may not cause harmful interference, and (2) this device must accept any interference received, including interference that may cause undesired operation of the device.
- Page 8 Digital Photo Frame V10M10_IM_EN_08172007 - 8 - www.jWIN.com...
-
Page 9: Getting Started
Digital Photo Frame GETTING STARTED Thank you for purchasing the JP-147. Unpack the unit and make sure all the accessories are put aside so they will not be lost. Digital photo frame with 7” TFT LCD widescreen and built-in memory •... -
Page 10: Location Of Controls
Digital Photo Frame V10M10_IM_EN_08172007 GETTING STARTED Location of Controls - 10 - www.jWIN.com... - Page 11 Digital Photo Frame GETTING STARTED Location of Controls-continued 1. USB port 2. SD/MMC/XD/MS card slot 3. Snooze button 4. Mode button 5. Navigation button 6. Navigation button 7. Navigation button 8. Navigation button 9. Return button 10. Enter I button V10M10_IM_EN_08172007 11.
-
Page 12: Location Of Controls-Remote
Digital Photo Frame GETTING STARTED Location of Controls-Remote 1. Mode Button 2. OSD Button 3. Navigation Up Button 4. Menu Button 5. Enter Button 6. Navigation Left Button 7. Navigation Down 8. Fast Backward/Previous Button 9. Mute Button 10. Volume Down (-) Button 11. -
Page 13: Removing The Faceplate
Digital Photo Frame V10M10_IM_EN_08172007 GETTING STARTED Removing the faceplate To assemble: 1. Choose a preferred faceplate. 2. Align with connectors inside the main unit 3. Push together to connect. To dis-assemble: 1. Use the small pin (included) and push through the hole in the back of the main unit (see location of controls) 2. -
Page 14: General Setup
After powering the unit on, the main menu will appear on the screen displaying nine (9) NAVIGATION [ to adjust and press ENTER to select. V10M10_IM_EN_08172007 functions for the JP-147. Use the ] buttons to choose the function you wish - 14 - www.jWIN.com... -
Page 15: Operational Instructions
Digital Photo Frame OPERATIONAL INSTRUCTIONS Photo Mode Select the Photo Mode by pressing the ENTER button. Images on the memory card will display in a Slide Show. • Press the STOP button to display thumbnails of the images on the memory card. Use the NAVIGATION buttons to select the preferred image. -
Page 16: Calendar Mode
Digital Photo Frame OPERATIONAL INSTRUCTIONS Photo and Music Mode Use the NAVIGATION [ and Music icon. Press the ENTER button to select. The photos will display in a Slide Show while music plays from the first song on the music list from the memory card. -
Page 17: Setting The Alarm
Digital Photo Frame OPERATIONAL INSTRUCTIONS Setting the Alarm Use the NAVIGATION [ icon. Press the ENTER button to select. In the Alarm Mode: 1. The ENABLE function will be highlighted. 2. Use the NAVIGATION [ ] button to switch the ENABLE function ON. -
Page 18: Favorite Mode
Digital Photo Frame OPERATIONAL INSTRUCTIONS Copy/Delete Mode-continued • Once all desired images have been chosen, press the NAVIGATION [ ] button to choose to Save the images or Exit the Copy/Delete mode. • Use the NAVIGATION [ Copy/Delete Mode. • Press the ENTER button to confirm. - Page 19 Digital Photo Frame OPERATIONAL INSTRUCTIONS Setup Mode-continued 3. Press the NAVIGATION [ time and press the ENTER button to confirm. 4. Press the NAVIGATION [ ] button to choose the Transition Effect. 5. Press the NAVIGATION [ several options and press the ENTER button to confirm.
-
Page 20: Setting The Clock
Digital Photo Frame OPERATIONAL INSTRUCTIONS Setup Mode-continued 2. For OSD Language, use the NAVIGATION [ ] button the choose English, French, or Spanish. 3. Press the ENTER button to confirm. 4. For Style, press the NAVIGATION [ ] button to choose from four (4) styles of menu display. -
Page 21: Troubleshooting Guide
Digital Photo Frame TROUBLESHOOTING GUIDE No image is shown • AC adapter may not be properly connected. Check to see that connections are correct and secure on the left side of the unit and in the wall outlet. • Be sure the unit is turned ON. Press Power button to power on the player. -
Page 22: Specifications
Digital Photo Frame SPECIFICATIONS • Solution: Cheertek CT955A • Resolution:480 (RGB) x 234 • Aspect Ratio: 16:9 • LCD Panel o Diagonal Size: 7” o Viewing Angles: • Audio Output Power o RMS output at 10% THD: o Maximum output: •... - Page 23 Digital Photo Frame V10M10_IM_EN_08172007 - 23 - www.jWIN.com...
- Page 24 TEL: 516-626-7188 FAX: 516-626-7105 website: www.jWIN.com © 2007 jWIN Electronics Corp. All rights reserved. No portion of this printed material or product enclosed herewith including design, shape and graphics, may be reproduced or transmitted in any form without the expressed written consent of jWIN Electronics Corp. by any means, electronic or mechanical, including photocopying, recording or use of an information storage and retrieval system.
Need help?
Do you have a question about the JP-147 and is the answer not in the manual?
Questions and answers