Sign In
Upload
Download
Table of Contents
Contents
Add to my manuals
Delete from my manuals
Share
URL of this page:
HTML Link:
Bookmark this page
Add
Manual will be automatically added to "My Manuals"
Print this page
×
Bookmark added
×
Added to my manuals
Manuals
Brands
junger Manuals
Recording Equipment
Level magic d06
Operation manual
junger Level magic d06 Operation Manual
2ch digital audio leveller
Hide thumbs
1
2
3
Table Of Contents
4
5
6
7
8
9
10
11
12
13
14
15
16
17
18
19
20
21
22
23
24
25
26
27
28
29
30
31
32
33
34
35
36
37
38
39
40
41
42
43
44
45
46
47
48
49
50
51
52
53
54
55
56
page
of
56
Go
/
56
Contents
Table of Contents
Bookmarks
Table of Contents
Table of Contents
2 Functional Description
Basic Description
Block Diagram
Audio Signal Processing
Gain
Audio Leveler Level Magic
Limiter
Program
Influence of Signal Delay Time
3 Installation
Unpack the Unit
Power Supply
Connections
Rack Mounting
Operation Safety
4 Network Integration
5 Operation
Gui Operation
General Settings
Preset Operation
Gpi/O Set up
Lan Controller Set up
System Configuration
Software Update
Front Panel
Setting the Reference Levels
Menu Selection
Preset Menu
Configuration Menu
Parameter Menu
6 Technical Specifications
7 Warranty and Service Information
Advertisement
Quick Links
Download this manual
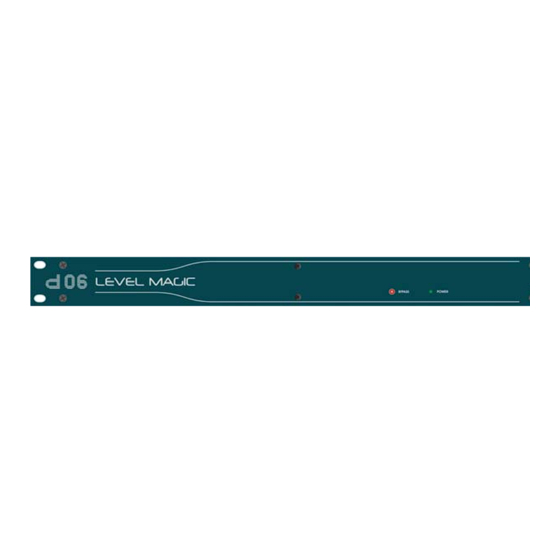
2ch digital audio leveller
d06
LEVEL MAGIC™
Table of
Contents
Previous
Page
Next
Page
1
2
3
4
5
Advertisement
Table of Contents
Need help?
Do you have a question about the Level magic d06 and is the answer not in the manual?
Ask a question
Questions and answers
Related Manuals for junger Level magic d06
Recording Equipment junger D02 Operation Manual
Digital dynamics processor (32 pages)
Recording Equipment junger d03 Operation Manual
Digital dynamic processor (23 pages)
Recording Equipment junger d01 Operation Manual
Digital dynamic range processors (36 pages)
Recording Equipment junger Level magic b46 Operation Manual
2ch digital audio leveller (56 pages)
Recording Equipment junger b40 Operation Manual
4ch digital audio limiter (40 pages)
Recording Equipment junger b40 Operation Manual
4-channel digital audio mix-matrix toolbox (28 pages)
Recording Equipment junger C8305 User Manual
Digital audio modular processing system 64ch bnc madi i/o (11 pages)
This manual is also suitable for:
Level magic c8046
Level magic b46
Table of Contents
Print
Rename the bookmark
Delete bookmark?
Delete from my manuals?
Login
Sign In
OR
Sign in with Facebook
Sign in with Google
Upload manual
Upload from disk
Upload from URL


Need help?
Do you have a question about the Level magic d06 and is the answer not in the manual?
Questions and answers