Cisco PVC300 Quick Start Manual
Ptz internet camera with audio and poe
Hide thumbs
Also See for PVC300:
- Administration manual (69 pages) ,
- Installation and administration manual (64 pages)
Table of Contents
Advertisement
Quick Links
Download this manual
See also:
Administration Manual
Quick Start Guide
Cisco Small Business
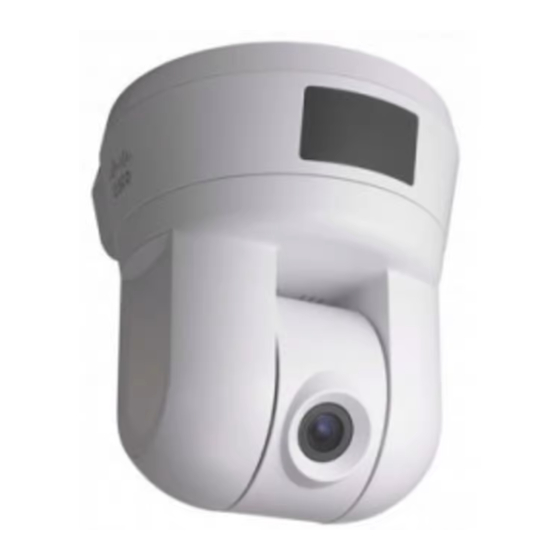
Model PVC300
PTZ Internet Camera with Audio and PoE
Package Contents
PVC300 Camera
•
•
Power Adapter
Setup and Documentation CD
•
•
Quick Start Guide
•
Ceiling Mount Brackets and Screws
6-Foot Ethernet Cable
•
1
Before You Begin
To configure the Cisco PVC300 camera, you need at least one computer with
an active LAN IP connection. You will also need one of the following:
A PoE-enabled broadband Ethernet network router or switch (so you can
•
connect the camera to the intranet), or
•
If your router or switch does not support PoE, use the included power
adaptor or a PoE power injector.
Once the hardware installation is complete, Cisco strongly recommends that
you run the Setup Wizard on the Setup CD-ROM for first-time software
installation of the camera. Advanced users can set up the Cisco PVC300
directly from the web interface of the camera.
!
C
AUTION
Do not pick up the Cisco PVC300 IP camera from the top
(head) when removing the camera from the box or
installing it. Rough treatment or turning the head manually
can result in damage to the camera.
Incorrect
Correct
2
Installation
Follow these steps to mount the Cisco PVC300 camera.
S
1
Attach the ceiling mount bracket (1) to the Cisco PVC300 camera
TEP
and secure it with two small screws (2).
1
2
S
2
Drill three pilot holes into the ceiling and hammer the plastic anchors
TEP
(1) into the holes. Fasten a ceiling mount bracket (2) to the ceiling with
three screws (3).
1
2
3
S
TEP
3
Slide the Cisco PVC300 camera into the ceiling mount bracket.
S
4
Secure the two ceiling mount brackets with a small screw.
TEP
The Cisco PVC300 camera is now ready for network connection.
3
Network Deployment
There are two options for deploying the Cisco PVC300 camera on the network:
•
Basic Ethernet Setup
•
Basic Ethernet Setup
Follow these steps to perform basic Ethernet setup.
S
1
Connect the Cisco PVC300 camera to a router or a switch using the
TEP
supplied Ethernet cable (1).
2
1
Router or switch
S
2
Connect the supplied power cable (2) from the Cisco PVC300 camera
TEP
to a power outlet.
Advertisement
Table of Contents

Related Manuals for Cisco PVC300


Summary of Contents for Cisco PVC300
- Page 1 Quick Start Guide three screws (3). To configure the Cisco PVC300 camera, you need at least one computer with Follow these steps to mount the Cisco PVC300 camera. There are two options for deploying the Cisco PVC300 camera on the network: an active LAN IP connection.
- Page 2 Connect the PoE power injector (1) to the Cisco PVC300 camera Product Information www.cisco.com/go/surveillance Using a PoE-Enabled Router or Switch Insert the PVC300 Setup CD into the CD-ROM drive of your PC. If the using an Ethernet cable (2). Technical http://www.cisco.com/en/US/products/ps9944/ CD doesn’t run automatically, go to My Computer and click on the CD-...
Need help?
Do you have a question about the PVC300 and is the answer not in the manual?
Questions and answers