Advertisement
Table of Contents
- 1 Specifications
- 2 Safety Precautions and Warnings
- 3 Before You Begin
- 4 Attaching Accessories
- 5 Extensions and Usage
- 6 Accessories Chart
- 7 Filling Clean Water Tank
- 8 Instructions for Use
- 9 Removing and Filling Solution Tank
- 10 Using Clean Control Dial
- 11 Operating Steam Cleaner
- 12 Refilling Water During Operation
- 13 Maintenance
- 14 Troubleshooting
- Download this manual
See also:
User Manual
Advertisement
Table of Contents

Related Manuals for Hoover Twin Tank


Summary of Contents for Hoover Twin Tank
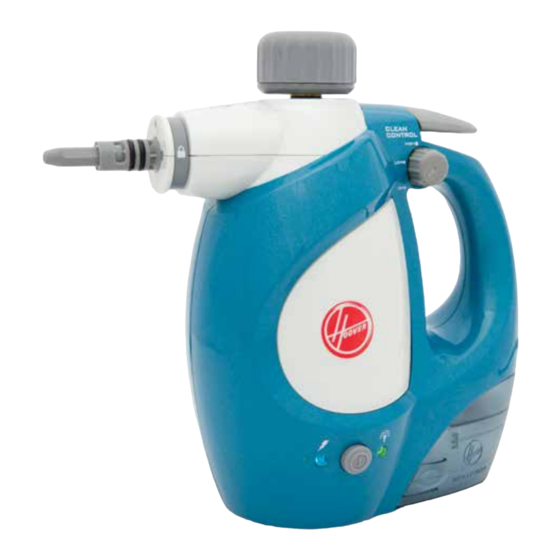
- Page 1 Twin Tank ™ Hand Steamer Twin Tank System Kills Greater than 99.99% of Salmonella 10 Accessories with Handy Storage Bag Twin Tank ™ *With steam alone, on hard non-porous non-food contact surfaces per instruction manual **Salmonella enterica ATCC 10708...
-
Page 3: Specifications
Hand Steamer ™ Congratulations on the purchase of your new HOOVER Twin Tank™ Hand Steamer. There are many useful features built into your cleaner and we recommend that you carefully read this instruction manual so that you may take best advantage of them. -
Page 4: Safety Precautions And Warnings
Safety Precautions and Warnings The power and the heat of the steam may 6 Do not handle or operate the appliance with wet hands and follow electrical safety have adverse consequences for certain precautions at all times, i.e., never operate materials. - Page 5 15 Burns can occur from touching hot parts, hot CAUTION: This appliance produces water or steam. Use caution when draining the steam, there is risk of scalding. appliance after use as there may be hot water in Be Careful! the appliance. 16 Do not attempt to change the attachments Grounding Instructions while the appliance is emitting steam.
-
Page 6: Before You Begin
Before You Begin This cleaner must be operated in accordance with these instructions and used only for domestic household cleaning. This cleaner is not fit to be used as an industrial cleaner hence will void the manufacturer’ s warranty if used inappropriately. Please read these instructions thoroughly This will ensure you obtain full benefit from your new cleaner. -
Page 7: Attaching Accessories
Assembly Turn off, unplug, and allow steam cleaner to cool before removing accessories. Always have the nozzle pointed away from you and others during installation. Attaching Accessories See the “Accessories Chart” for suggested use and extensions required. Steam Nozzle The steam nozzle is permanently attached to hand steamer and can be used for direct steam application or to attach desired accessories. - Page 8 Assembly Hose How to Attach and Remove 1. Fit the hose assembly with built in handle over the steam nozzle on hand steamer (1.2). Align the orientation marks and rotate clockwise until hose assembly is in locked position and secure. 2.
-
Page 9: Extensions And Usage
Accessories Chart: Extensions and Usage CAUTION: Before cleaning any electrical appliance, check and follow appliance manufacturer’s cleaning guidelines. Never apply steam to electrical parts. Accessory Required Extension for use Suggested Use Nozzle Steam Hose Extension Nozzle Extension Nozzle Direct steam application, but primarily as an extension to attach smaller accessories. -
Page 10: Filling Clean Water Tank
Instructions for Use WARNING: Turn off, unplug, and allow steam cleaner to cool before servicing or filling tank. Do not clean over electrical outlets. Use only with Hoover® SteamPlus™ Cleaning Solution. WARNING: Do not use hot or boiling water to fill clean water tank. -
Page 11: Removing And Filling Solution Tank
Removing and Filling Solution Tank IMPORTANT: Do not mix Hoover® SteamPlus™ cleaning solution with any other cleaning solution. 1. Squeeze tabs on side of solution tank to slide tank out of steam cleaner as shown (2.3). 2. Remove cap from the top of solution tank (2.4). -
Page 12: Using Clean Control Dial
4. If you wish to clean using Hoover® SteamPlus™ Cleaning Solution, simply turn the Clean Control™ Dial to the desired setting. Now when pressing the steam trigger, the steam cleaner will release the amount of solution that is indicated on the Clean Control™... - Page 13 For Optimal Cleaning Performance (When using with Hoover® SteamPlus™ Cleaning Solution) 1. Fill the solution tank with the Hoover® Steam Cleaning Solution as directed in “Removing and Filling solution tank” section. Turn Clean Control™ Dial to HIGH. For Limited Disinfection 1.
-
Page 14: Refilling Water During Operation
Instructions for Use (continued) Refilling Water During Operation CAUTION: To avoid burn injury, do not refill water tank before steam cleaner has cooled completely. Use caution when removing water fill safety cap. Even when cap is able to be turned the steam cleaner may still be hot, especially all metal surfaces. - Page 15 4. Remove any remaining water to avoid overfilling (2.7, D), insert funnel and add 300ml (10oz) water into the measuring cup. Pour the water into the water tank (2.7, E). (Max. capacity of the tank is 300ml. Do not overfill the tank to allow space to be left at the top). 5.
-
Page 16: Maintenance
Maintenance Cleaning After Use CAUTION: To avoid burn injury, do not refill water tank before steam cleaner has cooled completely. Use caution when removing water fill safety cap. Even when cap is able to be turned the steam cleaner may still be hot, especially all metal surfaces. - Page 17 This steam cleaner contains no user serviceable parts. Do not try to repair it yourself. If steam cleaner is not working as it should, has been dropped, damaged, left outdoors, or dropped into water, call Customer Service at 1300 360 845 for further instruction before continuing use. Cleaning Microfibre Pads 1.
- Page 18 Storage 1. After the steam cleaner is used, press the power button to turn the power “OFF” and then unplug the power cable from the wall outlet. 2. Press down the steam trigger to release all pressure. 3. Wait 7-10 minutes until the safety pressure indicator has gone down, which indicates the steam cleaner has cooled.
-
Page 19: Troubleshooting
Troubleshooting Use troubleshooting guide as a first step to resolve any problems you may be experiencing. If steam cleaner is not working as it should, has been dropped, damaged, left outdoors, or dropped into water, call Customer Service at 1300 360 845 for further instruction before continuing use. - Page 20 Conditions of warranty Your Hoover cleaner, in the case of domestic use, has a two Hoover Floorcare is unable to accept responsibility under this year parts and labour warranty against product defects warranty for any repair work not carried out by an authorised Hoover Service Agent or from the use of non-genuine parts.
Need help?
Do you have a question about the Twin Tank and is the answer not in the manual?
Questions and answers
Cannot open water reservoir. It just turns and turns and will not open. I have the twin tank handheld steamer. It has a red button on the water reservoir cap.