Table of Contents

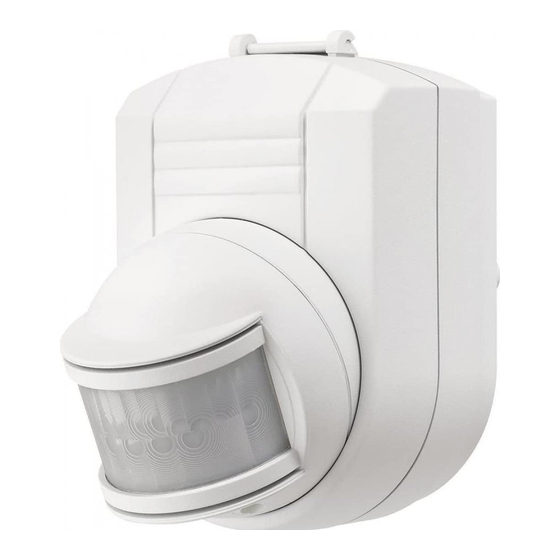
Summary of Contents for FRIEDLAND Spectra Plus L420N WHI
- Page 1 51002PL_Ed2 PLUS 1-12 Instruction Manual 13-26 Bedienungsanleitung 27-40 Gebruiksaanwijzing 41-52 brugervejledning 53-64 Instruktionsanvisning 65-77 Instrukcja obsługi 78-89 Ohjekirja 90-103 Инструкция по эксплуатации L420N WHI and L420N BLK...
-
Page 2: Please Read Carefully
Receiver to make installation even quicker. The PIR and Receiver are also compatible with Friedland Libra Plus Chimes system, (Chimes and Pushes). L420N WHI and L420N BLK Instruction Manual... -
Page 3: Device Range
KIT CONTENTS Device range PIR Detector The quoted range of the system is measured Switching Receiver in ideal conditions. Any barrier (e.g. Instruction Manual walls/ceilings aluminium reinforced UPVC Fixing pack containing: windows and metallic parts of house 2 slot-in PIR window masking curtains structures etc) between the PIR and receiver ●... -
Page 4: Installing The Receiver
Testing the Receiver Installing the Receiver The Receiver has a built in Test/Manual operation facility which can be operated by Positioning the Receiver pressing the Learn button for under 1 second. The Receiver has been designed so that it If the lights are OFF, they will be switched on can be fitted to the wiring of an existing for a period of 5 seconds. - Page 5 Feed the cables through the grommets Installing the Receiver ● as required ensuring the grommet is Undo the four cover screws and remove ● correctly fitted in the hole. the cover. Push the fixing screws through the ● Select the required cable access holes rubber sealing plugs.
- Page 6 Ensure the rubber gasket is correctly in ● Installing the PIR Detector position and then refit the cover and tighten the fixing screws. Positioning the PIR Important: Do not switch on the power until Position the Wirefree PIR Detector within ●...
-
Page 7: Installing The Pir
Avoid positioning the detector where Set the Day/Night operation switch to ● there are any heat sources in the detection the NIGHT setting for use with lights. area (e.g. heating or tumble drier exhaust Note: “Day” operation is for use with vents etc.). - Page 8 Adjust the position of the detector head to PIR Walk Test give approximately the desired detection area Important: Before commencing walk test as required. Angling the PIR head downwards ensure the RED indicator behind the PIR will reduce the range and produce a smaller lens is not flashing continuously.
- Page 9 4) The PIR will become operative at Operating Instructions approximately the same level of darkness each evening. Observe the operation of To prevent interference from other devices the unit over several nights to ensure it the PIR detector is coded with a unique is set as required and adjust as necessary.
- Page 10 (see “Testing the Receiver”). Adding a Libra Plus Chime Push Switch: Expanding or Resetting Your System The receiver can be linked to a Friedland Your system can be expanded by adding Libra Plus Door Push which will activate the additional PIR detectors and also by linking in lighting for a fixed time period of 3 minutes.
-
Page 11: Troubleshooting
Troubleshooting If your wirefree system fails to work properly, complete the relevant test or tests which follow. Note: Also refer to the trouble shooting guide in your Chime or Switching Receiver manual. PIR does not detect movement… Check that the battery in the PIR is not exhausted. ●... -
Page 12: Specification
Specification PIR DETECTOR Battery: 9V PP3 (6LR61) Alkaline battery Battery life: Approx 12 months (based on 20 activations per day and constant 15°C) PIR detection range: PIR detection angle: 140° Time on adjustment: 5 secs - 20 mins Photocell adjustment: 5 lux to daylight Protection: IP54... -
Page 13: Maintenance
If an item develops a fault, the product must be returned to the point of sale with proof of purchase, a full description of the fault and all relevant batteries (disconnected). Friedland is a trademark of Novar ED&S. Friedland, Novar Electrical Devices and Systems,...


Need help?
Do you have a question about the Spectra Plus L420N WHI and is the answer not in the manual?
Questions and answers