Pacvac Glide 300 Instruction Manual
Commercial canister vacuum cleaner
Hide thumbs
Also See for Glide 300:
- Product & training manual (7 pages) ,
- Product & training manual (20 pages) ,
- Product & training manual (12 pages)
Table of Contents
Advertisement
Quick Links
Service & Help
Contact the place of purchase or a Pacvac distributor
or service agent.
For details of your nearest Pacvac distributor/service
agent contact Pacvac on 08 9479 1444
Revised: July 2009
Support: 08 9479 1444
Please read information manual carefully.
Retain for future reference.
Commercial Canister Vacuum Cleaner
Support: 08 9479 1444
Please read information manual carefully.
Retain for future reference.
www.pacvac.com
Advertisement
Table of Contents

Related Manuals for Pacvac Glide 300


Summary of Contents for Pacvac Glide 300
- Page 1 Service & Help Contact the place of purchase or a Pacvac distributor Commercial Canister Vacuum Cleaner or service agent. For details of your nearest Pacvac distributor/service agent contact Pacvac on 08 9479 1444 Support: 08 9479 1444 Please read information manual carefully.
- Page 2 Important Safety Instructions..........Page 2 1. In the case of proprietary components used by Pacvac such as electric motors, switches and Parts Overview Diagram............Page 3 the like, Pacvac will pass on a 1 year warranty given by the original manufacturer.
-
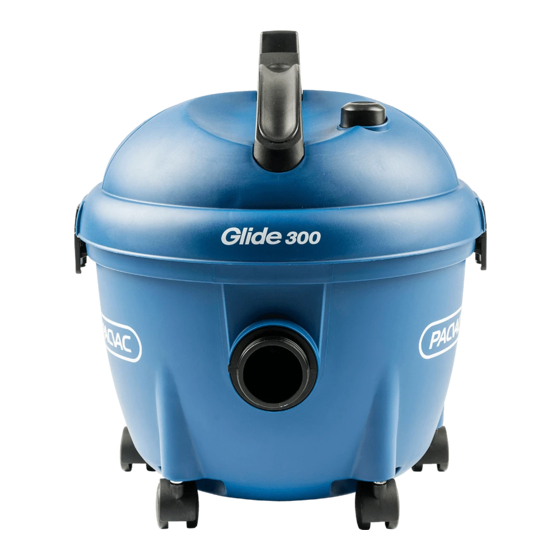
Page 3: Parts Overview
14. This vacuum cleaner is not suitable for Safety and Maintenance Instructions. picking up hazardous dust (Pacvac are able 2. Do not unplug the vacuum cleaner while it is to provide specific equipment for this use). - Page 4 Carry Handle 3. Fit the combination floor tool by pushing onto the wand. (Fig.3_3). Use the carry handle located on the top of the machine to move the vacuum cleaner from room to room. (Fig.4_3) www.pacvac.com Support: 08 9479 1444...
-
Page 5: Maintenance Instructions
3. Remove the full dust bag and dispose. Insert a new dust note: Pacvac recommends cleaning or replacing 3. The filter can then be removed from the cage by hand. bag by aligning the downward arrow on the front of the It can be re-attached by putting on a new filter. -
Page 6: Clearing Blockages
G261 tool and remove any blockages. After 30 16. Screw minutes the vacuum cleaner should be 17. 2-hole stopple ready for use. If not contact Pacvac for 18. Power cord assy G108 your nearest Authorised Pacvac Service 19. Screw Agent.
Need help?
Do you have a question about the Glide 300 and is the answer not in the manual?
Questions and answers