
Related Manuals for AAXA Technologies M1+


Summary of Contents for AAXA Technologies M1+
- Page 2 WARNINGS *Do not operate the Projector in direct sunlight or near heat sources such as heaters, fires, and stoves as this may cause a fire hazard. *Do not operate the projector close to sources of steam or oil such as a humidifier as this may cause electric shock.
-
Page 7: General Operation
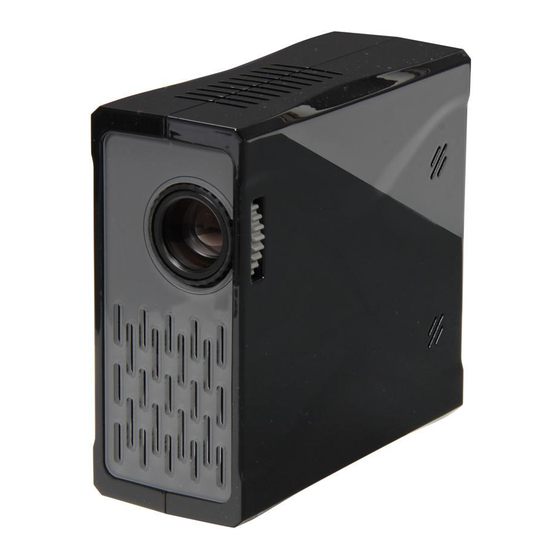
GENERAL OPERATION Startup and Shutdown – To startup, connect the power supply or external battery to the rear power receptacle. Press and hold the power button for 3 seconds until the welcome logo appears. To shutdown hold the power button for 3 seconds until optical engine turns off. - Page 8 Focus Adjustment / Throw Distance – The focus can be adjusted by turning the wheel located at the front of the projector. The Projector is capable of the following throw and focus distances: Diagonal size Diagonal size Vertical size Horizontal size Throw distance (inch) (mm)
- Page 9 g an Audio/Video input source - The Projector can accept different /Video) sources through the A/V port. These sources are connected 3.5mm A/V cable. t an A/V cable insert the 3.5mm portion into the A/V port of the Then click on either the “A/V input” icon in the main menu, or press n the remote control and select “A/V input”.
- Page 10 USB-Display is not supported on the “standard” model of the M1 projector. Third party software is available to enable the USB Display feature. However AAXA Technologies does not support the USB Display feature. Please visit our website for more information at www.aaxatech.com.
- Page 11 To access files stored on the SD memory card first insert the SD memory the SD card slot located on the back of the Projector. Power on the projec select “SD Card”. The SD Card submenu will appear.
- Page 12 Viewing Photos – To view photos click on the “Photos” icon submenu. display all photos available on the SD Card. Select and click on a photo display photo in the slideshow mode. While in slideshow mode you can through slides by pressing the left or right buttons on the remote control pressing the menu button on the remote control you will bring up the co menu.
- Page 13 buttons. To skip to another track press the right or left buttons on the remote control, or access the control menu by pressing the “menu” button on the remote control. The Control Menu functions include: Previous Track, Next Track, Pause / Play, Stop / Exit. Playing Videos –...
- Page 14 Slide Show Settings – The slide show settings allows the user to chang the speed, transition style, and display mode of the slide show. “Fit to screen” o “actual size” can also be selected. When “fit to screen” is selected, file sizes wi be compressed or enlarged to the native resolution of the projector which is 800x600.
-
Page 15: Troubleshooting
TROUBLESHOOTING THE PROJECTOR DOES NOT TURN ON Possible Causes Solution Check to ensure the power outlet or battery There is no power source is good. Check the power adapter to ensure a proper connection with the wall outlet as well as the Projector. The projector is in the shut-down cooling cycle Wait until the Projector has fully cooled to restart...
Need help?
Do you have a question about the M1+ and is the answer not in the manual?
Questions and answers