Raritan KX II Quick Setup Manual
Hide thumbs
Also See for KX II:
- User manual (9 pages) ,
- Frequently asked questions manual (20 pages) ,
- Quick setup manual (12 pages)
Table of Contents
Advertisement
Quick Links
Dominion KX II
Quick Setup Guide
Thank you for your purchase of the KX II, the industry's most full-featured, enterprise-class, secure, digital KVM
(Keyboard, Video, Mouse) switch.
This Quick Setup Guide explains how to install and configure the KX II. For additional information on any aspect of the
KX II, see the accompanying online help accessed from the KX II or from the KX II User Guide, which can be
downloaded from the Firmware and Documentation section of Raritan's website
(http://www.raritan.com/support/firmware-and-documentation/).
Step 1: Configure the KVM Target Servers
For optimal bandwidth efficiency and video performance, KVM
target servers running graphical user interfaces such as
®
®
Windows
, Linux
, X-Windows, Solaris
configuration. The desktop background need not be
completely solid but desktop backgrounds featuring photos or
complex gradients might degrade performance.
Ensure that the server video resolution and refresh rate are
supported by KX II and that the signal is non-interlaced. The
KX II supports these resolutions:
Resolutions
640x350 @70Hz
1024x768@85
640x350 @85Hz
1024x768 @75Hz
640x400 @56Hz
1024x768 @90Hz
640x400 @84Hz
1024x768 @100Hz
640x400 @85Hz
1152x864 @60Hz
640x480 @60Hz
1152x864 @70Hz
640x480 @66.6Hz
1152x864 @75Hz
640x480 @72Hz
1152x864 @85Hz
640x480 @75Hz
1152x870 @75.1Hz
640x480 @85Hz
1152x900 @66Hz
720x400 @70Hz
1152x900 @76Hz
720x400 @84Hz
1280x720@60Hz
720x400 @85Hz
1280x960 @60Hz
Dominion KX II Quick Setup Guide
QSG-DKX2-v2.3.5-0I-E 255-62-4022-00-RoHS
™
, and KDE require
Resolutions
800x600 @56Hz
1280x960 @85Hz
800x600 @60Hz
1280x1024 @60Hz
800x600 @70Hz
1280x1024 @75Hz
800x600 @72Hz
1280x1024 @85Hz
800x600 @75Hz
1360x768@60Hz
800x600 @85Hz
1366x768@60Hz
800x600 @90Hz
1368x768@60Hz
800x600 @100Hz
1400x1050@60Hz
832x624 @75.1Hz
1440x900@60Hz
1024x768 @60Hz
1600x1200 @60Hz
1024x768@70
1680x1050@60Hz
1024x768@72
1920x1080@60Hz
Mouse Modes
The KX II operates in several mouse modes:
™
Absolute Mouse Mode
Intelligent Mouse Mode (do not use an animated mouse)
Standard Mouse Mode
Mouse parameters do not have to be altered for Absolute
Mouse Synchronization but D2CIM-VUSB or D2CIM-DVUSB
is required for this mode. For both the Standard and Intelligent
mouse modes, mouse parameters must be set to specific
values, which are described here. Mouse configurations will
(D2CIM-VUSB only)
1
Advertisement
Table of Contents

Related Manuals for Raritan KX II


Summary of Contents for Raritan KX II
-
Page 1: Dominion Kx Ii
This Quick Setup Guide explains how to install and configure the KX II. For additional information on any aspect of the KX II, see the accompanying online help accessed from the KX II or from the KX II User Guide, which can be downloaded from the Firmware and Documentation section of Raritan's website (http://www.raritan.com/support/firmware-and-documentation/). -
Page 2: To Configure Kvm Target Servers Running Windows Vista ® Operating System
WARNING! Proceed only if you are comfortable adjusting the documentation for additional detail. registry on Windows KVM target servers. You can obtain better KX II mouse synchronization at the login pages by Windows 2000 Settings using the Windows registry editor to change the following settings: HKey_USERS\.DEFAULT\Control Panel\Mouse: >... -
Page 3: Step 2: Configure Network Firewall Settings
D2CIM-VUSB and Absolute Mouse Synchronization. Note: If you only attach one power cord, the power LED on the KX II front panel will be red because the system is set to Note: 'USB Profile 'Mac OS-X, version 10.4.9 and later' must automatically detect both sources. -
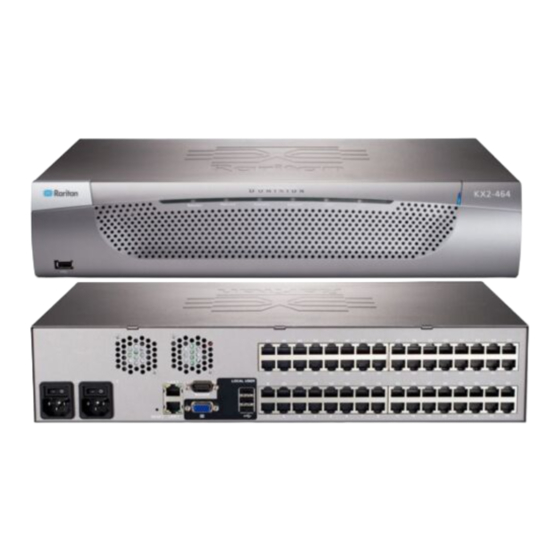
Page 4: Target Server Ports
1. Power on the KX II using the power switch(s) at the back configured from the Local Console and Remote Console. of the unit. Wait for the KX II unit to boot. (A beep signals that the boot is complete.) To connect the local port: 2. -
Page 5: Assigning An Ip Address
Select the IP Auto Configuration. The following options b. Secondary DNS Server IP Address are available: 7. When finished, click OK. Your KX II device is now network None (Static IP) - This option requires that you accessible. manually specify the network parameters. This is the... -
Page 6: Step 5: Launch The Kx Ii Remote Console
User Group List page. The Group page is organized into the following categories: The KX II Port Access page provides a list of all KX II ports, Group, Permissions, Port Permissions, and IP ACL. the connected target servers, their status, and availability. -
Page 7: Step 6: Configure Tiering (Optional)
Diagram key The optional tiering feature allows you to connect tiered KX II devices to a base KX II. You can then access the servers and KX II tiered device PX PDUs through the base both locally and remotely. See the Device Management section of the KX II Help for more information on this feature.
Need help?
Do you have a question about the KX II and is the answer not in the manual?
Questions and answers