Maxtor SERIAL ATA HARD DRIVE Installation Manual
Hide thumbs
Also See for SERIAL ATA HARD DRIVE:
- Installation manual (20 pages) ,
- Installation manual (56 pages) ,
- Installation manual (40 pages)
Table of Contents
Advertisement
Quick Links
Download this manual
See also:
Installation Manual
Advertisement
Table of Contents

Related Manuals for Maxtor SERIAL ATA HARD DRIVE


Summary of Contents for Maxtor SERIAL ATA HARD DRIVE
- Page 1 Installation Guide MAXTOR SERIAL ATA HARD DRIVE...
- Page 2 Copyright © 2005 Maxtor Corporation. All rights reserved. Changes are periodically made to the information herein which will be incorporated in revised editions of this publication. Maxtor may make changes or improvements to the product(s) described in this publication at any time and without notice.
-
Page 3: Table Of Contents
MAXTOR SERIAL ATA HARD DRIVE INSTALLATION GUIDE Contents Warranty Registration Information ........1 Introduction . -
Page 4: Warranty Registration Information
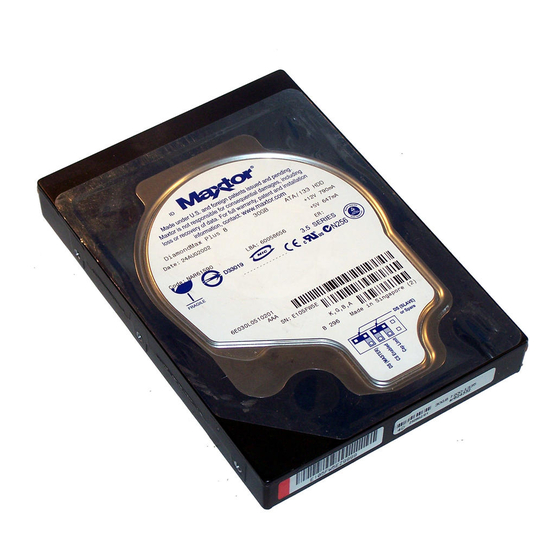
Before installing the hard drive, please write down the 8 character serial number and the 14 digit model number information. If you ever need to contact Maxtor Support, you must provide this information about your hard drive prior to assistance. -
Page 5: Introduction
Introduction FIGURE 1 INCLUDED IN THIS KIT Maxtor Serial ATA (SATA) Hard Drive Thank you for selecting a Maxtor hard drive product. This guide will lead you SATA Interface Cable through the installation of your new drive. Driver CD or Diskette... -
Page 6: Required Tools
4. Small Needle-Nose Pliers – Ideal for high-performance RAID – Thin, easy-plug cables for improved airflow Visit www.maxtor.com and click on Worldwide Support for the latest SATA information and software updates. Back Up Your Data Protect your data by backing up existing hard drives before installing your new Maxtor hard drive. -
Page 7: Remove System Cover
MAXTOR SERIAL ATA HARD DRIVE INSTALLATION GUIDE Remove System Cover Turn your computer off. Unplug your system from the electrical outlet. Remove the cover from your system case. See Figure 3. Refer to your system user manual for instructions on... -
Page 8: Mount The Hard Drive
MAXTOR SERIAL ATA HARD DRIVE INSTALLATION GUIDE Mount the Hard Drive Before mounting the hard drive in your system, determine whether you are installing the hard drive in a 3.5-inch or 5.25-inch device bay. If you are unable to locate an available device bay, consult your system manual or system manufacturer. - Page 9 MAXTOR SERIAL ATA HARD DRIVE INSTALLATION GUIDE 5.25-inch Device Bay Installation When installing the hard drive in a 5.25-inch bay (such as where CD-ROM drives are typically installed), you first need to attach mounting brackets (not included) to the hard drive. Mounting brackets are available from your local computer hardware store.
-
Page 10: Attach Serial Ata And Power Cables
MAXTOR SERIAL ATA HARD DRIVE INSTALLATION GUIDE Attach Serial ATA and Power Cables Locate an available Serial ATA (SATA) port on your motherboard or on a SATA PCI card and plug in one end of the SATA interface cable. Locate the SATA port on the rear of the hard drive and plug in the SATA interface cable as shown. - Page 11 Important Note: Motherboards and host controllers equipped with VIA, VT8237, VT8237R, VT6420, VT6421L, SIS760 and SIS964 do not support SATA 300 transfer speeds. For Maxtor SATA 300 drives to function properly on the VIA chipsets, the Force 150 jumper must be used. For more information about your system chipset, please refer to the motherboard or host controller manufacturer’s documentation or web site.
-
Page 12: Check Bios Message
MAXTOR SERIAL ATA HARD DRIVE INSTALLATION GUIDE Check BIOS Message If you have a motherboard with built-in SATA ports, power on your system and look for an on-screen BIOS message that refers to the SATA interface or controller. (See Figure 7.) This message indicates that the SATA interface on your motherboard is enabled. -
Page 13: Format The Hard Drive
SATA-enabled motherboard or system so that Windows can recognize your new drive. For maximum compatibility, Maxtor recommends downloading and installing the latest SATA driver from the website of the SATA card/motherboard/system manufacturer. The latest SATA drivers for Maxtor-branded SATA cards can be downloaded from the Worldwide Support section at www.maxtor.com. - Page 14 MAXTOR SERIAL ATA HARD DRIVE INSTALLATION GUIDE A. Existing Windows 2000 or XP System – New drive as “storage only” The driver for the SATA interface must be installed prior to connecting the hard drive. If you are using a SATA card, you should physically install it at this time, but do not connect the drive.
- Page 15 MAXTOR SERIAL ATA HARD DRIVE INSTALLATION GUIDE B. Existing Windows 2000 or XP System – New drive as “boot drive” The driver for the SATA interface must be installed prior to connecting the hard drive. If you are using a SATA card, you should physically install it at this time, but do not connect the drive.
- Page 16 CD that is included with the motherboard or add-in controller. The SATA host drivers must first be extracted to a floppy disk before installing the operating system. Drivers for Maxtor-branded SATA cards can be downloaded from the Worldwide Support section at www.maxtor.com or extracted to floppy from the bootable MaxBlast CD.
-
Page 17: Set The Boot Sequence
MAXTOR SERIAL ATA HARD DRIVE INSTALLATION GUIDE Set the Boot Sequence (New boot drive only) The final step is to configure your system BIOS to use your SATA drive as the system boot drive. Your system has a built-in BIOS Setup utility that allows you to change this setting. -
Page 18: Getting Help
Before contacting Maxtor Support, use the Hard Disk Information feature in MaxBlast to view the model number and serial number of your drive. These numbers can be used to get help from Maxtor Support, register your drive, and look up information on the Maxtor website. - Page 19 PN: 20300300...
Need help?
Do you have a question about the SERIAL ATA HARD DRIVE and is the answer not in the manual?
Questions and answers