Table of Contents
Advertisement
Quick Links
Advertisement
Table of Contents

Related Manuals for Workhorse Mercury compact dryer


Summary of Contents for Workhorse Mercury compact dryer
- Page 1 PN: 67-1465, REV: A, 3/13...
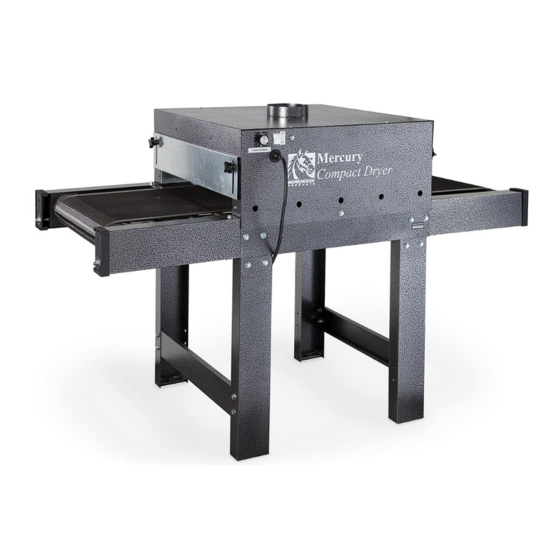
- Page 2 The Workhorse MECURY INFRARED COMPACT CONVEYOR DRYER offers the space saving and power requirements needed for a small shop. While economically priced it provides faster production then just a spot dryer.
-
Page 3: Safety Procedures
Safety Procedures WARNING! RISK OF ELECTRICAL SHOCK! Turn ALL power to unit OFF before service. All service should be done by or under the supervision of a trained technician 1. For your safety, do not store or use gasoline or other flammable vapors and liquids in the vicinity (at least 3’ (1 Meter)) of this or any other appliance. -
Page 4: Assembly Parts
Assembly Parts Parts Bags 16-Washers 16-Flanged Lock Nuts 16-Leg Bolts (5/16-18 x 3/4) 4-Leg Leveling Bolts Carton Contents 4-Legs 2 Cross Braces Power Cord Dryer Body 2 Belt Roller Assemblies 1 Belt... - Page 5 Assembly MECURY INFRARED COMPACT CONVEYOR DRYER may be used as a table top dryer or a self standing dryer. To use as a self standing dryer please attach the included legs. Fasten two legs to each cross brace using four 5/16 -18 x 3/4" bolts, washers and flanged lock nuts.
- Page 6 Assembly With help from an assistant ensure that all four leg tabs are fully engaged with the leg assemblies. Fasten the legs to the leg tabs using eight 5/16 -18 x 3/4" bolts, washers and flanged lock nuts. Hand tighten fasteners.
-
Page 7: Belt Installation
Belt Installation Thread the belt over the lower cross brace and through the lower slot on the roller/rail assembly. Guide the belt through the oven chamber, through the lower slot and over the lower cross brace on the opposite roller/rail assembly. Pull the belt around the out- side of the roller and over the top of the upper cross brace. -
Page 8: Belt Tracking
Belt Tracking After the belt is centered on the rubber portion of the rollers, evenly adjust the tension bolts on all four corners of the dryer to tighten the belt until the belt can be deflected by approximately two inches. Start the dryer with the belt speed set at 35%. - Page 9 Test the first garment dried with a non contact infrared digital thermometer and adjust the belt speed to achieve the recommended ink curing temperature. Workhorse Products carries a non contact infrared digital thermometer to accurately measure the surface tempera- ture of your garments. Please call customer service today...
-
Page 10: Spare Parts
Spare Parts Part Number Description 76003 Power Switch 76194 Speed Control Board 76198 Speed Control Resistor 390978 Speed Control Potentiometer 76195 Speed Control Knob 31-76004 Fan 115V 76005 Fan 230V 20602R Heating Element 115V 20603R Heating Element 230V 390981 Belt Drive Motor 60186 Belt 75024... -
Page 11: Wire Diagram
Wire Diagram Wiring Diagram: 115/220V Mercury Compact Dryer NOTE: The diagrams for the 115V and 220V models are the same, with variations in the components only. Shown Below with 115V components ; Power Cord, Fan, Element. Questions? Give us a call! 800.778.8779... -
Page 12: Limited Warranty
Replacement parts are covered for the term of the equipment warranty period. Parts not under warranty are covered for thirty (30) days from receipt by customer. Any part found by Workhorse Products to be defective in material or workmanship within the stated warranty period will be replaced or repaired at Workhorse’s option without charge.
Need help?
Do you have a question about the Mercury compact dryer and is the answer not in the manual?
Questions and answers