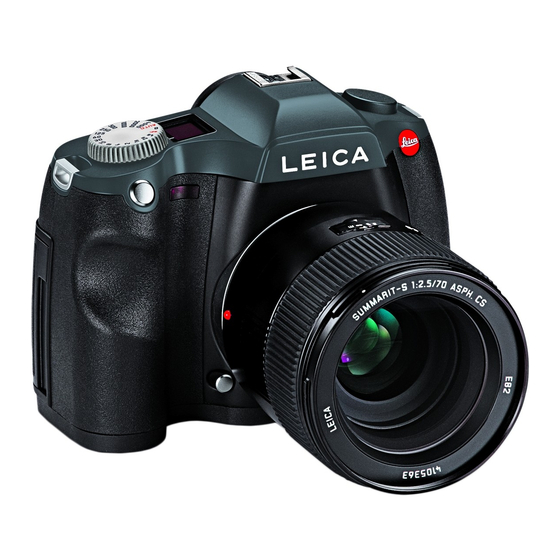
Leica S Quick Start Manual
Digital camera
Hide thumbs
Also See for S:
- Technical data (5 pages) ,
- Instructions manual (72 pages) ,
- Quick start manual (40 pages)
Table of Contents
Advertisement
Quick Links
Advertisement
Table of Contents

Subscribe to Our Youtube Channel
Related Manuals for Leica S


Summary of Contents for Leica S
- Page 1 LEICA S Quickstart guide...
-
Page 3: Table Of Contents
EXPOSURE MODE M, T ....................21 EXPOSURE MODE A, P ....................22 B - BULB MODE / BULB PRESET ................23 TETHERED SHOOTING - ADOBE™ PHOTOSHOP™ LIGHTROOM™ WORFLOW ....24 TETHERED SHOOTING - LEICA IMAGE SHUTTLE™ WORKFLOW ........26 MENU LIST ........................ 27... -
Page 4: Charge Battery
CHarGe batterY insert batterY... -
Page 5: Insert Memory Card
insert MeMorY Card Mount & unMount lens... -
Page 6: Operation Elements
oPeration eleMents Shutter speed dial Shutter release button Stop down button (customizable) Lens release button Joystick Main switch Clickwheel Soft button Soft button Soft button Soft button... -
Page 7: Interfaces
Diopter correction Flash synchronization HDMI USB socket Cable release / Flash synchronization bottoM view 1/4“ thread Contact-Strip for MULTIFUNCTION Battery HANDGRIP S 3/8“ thread Battery Release... -
Page 8: Viewfinder
viewfinder Horizon Shutter speed Exposure mode Aperture Flash synchronisation Flash status Light balance 1. Remaining images 2. Buffer (push shutter release button) Exposure metering mode Exposure compensation Focus confirmation exposure mode: : Automatic program : Shutter speed priority : Aperture priority : Manual exposure exp. -
Page 9: Status Screen
Mirror up GPS status Bracketing Keylock Flash synchronization Battery capacity MULTIFUNCTION Flash synchronization timing HANDGRIP S Exposure metering mode Drive mode Battery capacity Light balance SD/CF rem. img. Focal length Focus mode White balance Shutter speed Exposure mode... -
Page 10: Top Display
Exposure compensation +/- Aperture Exposure mode Program shift Shutter Speed SD/CF remaining Battery capacity images MULTIFUNCTION HANDGRIP S Battery capacity... -
Page 11: Switch On Camera
switCH on CaMera Main switch shutter speed flash sync flash Focal plane shutter 125s to 1/4000s up to 1/125s 1/125s Central shutter 8s to 1/1000s up to 1/1000s 1/1000s After booting, the camera will be in Record Mode. Most sequences of this Quick Start Guide will begin in this state. taKinG PHotos Three Way Shutter Release 1. -
Page 12: Enter Status Screen & Play Mode
enter status sCreen & PlaY Mode Status Screen Play Mode Status Screen Status Screen enter Menu & PlaY Mode Section CAMERA Play Mode Section image Section Setup... -
Page 13: Menu
Menu select / confi rm select / confi rm back select down up / down Section Camera Section Section image Setup Press the shutter release button halfway to exit menus and return to Record mode. -
Page 14: Menu - Quick Access
Menu - QuiCK aCCess Long push (1 sec.) leads you straight to your favorite submenu. Focus mode Exposure Stop Down Exposure Compensation Button Metering Setup the buttons to your needs in the submenu CUSTOM FUNCTIONS. -
Page 15: Basic Camera Setup
basiC CaMera setuP language MENU / (4. PAGE) Setup format MENU / (1. PAGE) Setup... -
Page 16: File Format
basiC CaMera setuP file format menu / image (1. PAGE) Dng Compression Jpeg resolution To save Dng + Jpeg on separate cards, set Data StOrage to parallel. DNG Compression will speed up the tethered shooting. Compression is lossless. -
Page 17: Playmode - Browse
PlaYMode - BROWSE toggle browse and zoom toggle screens previous /next Delete image Protect image... -
Page 18: Playmode - Zoom
PlaYMode - ZOOM toggle browse and zoom navigate enlarged view zoom out / zoom in Delete image Protect image... -
Page 19: Playmode - Screens
PlaYMode - SCREENS toggle screens Histogramm Info Clipping Camera always shows the latest mode after coming back to play Mode. Histogram represents the visible area of the image. Customize the clipping settings under menu Clipping DefinitiOn. -
Page 20: Playmode - Quick 100% Zoom
PlaYMode - QUICK 100% ZOOM Navigate enlarged view Long Push for 100% Preview... -
Page 21: Exposure Mode M, T
eXPosure Mode M, t Set the shutter speed dial to any time, e.g. 1/125. Manual Change aperture Long Push Time priority... -
Page 22: Exposure Mode A, P
eXPosure Mode a, P Set the shutter speed dial to A. Aperture priority Change aperture Long Push Program Automatic Program shift... -
Page 23: B - Bulb Mode / Bulb Preset
b - bulb Mode / bulb Preset Bulb mode Long Push Bulb preset mode... -
Page 24: Tethered Shooting - Adobe™ Photoshop™ Lightroom™ Worflow
tetHered sHootinG - adobe™ PHotosHoP™ liGHtrooM™ worflow 1. Connect the camera with your computer via USB cable. 2. Switch the camera on. 3. Start Adobe™ Photoshop™ Lightroom™. 4. Setup tethered shooting. -
Page 26: Tethered Shooting - Leica Image Shuttle™ Workflow
1. Connect the camera with your computer via USB cable (PTP storage mode). 2. Switch the camera on. 3. Start Leica Image Shuttle™. 4. Setup tethered shooting. You can also use Leica Image Shuttle in combination with Adobe Bridge or with the hotfolder function of Adobe PS Lightroom. -
Page 27: Menu List
Menu list Camera Drive mODe Single / COntinuOuS / Selftimer 2s / 12s fOCuS mODe afs / afc / mf exp . metering mul tifielD / Center / SpOt exp . COmpentSatiOn +/- 3 ev ... - Page 28 Leica Camera AG Am Leitz-Park 5 35578 Wetzlar DEUTSCHLAND Telefon +49(0)6441-2080-0 Telefax +49(0)6441-2080-333 www.leica-camera.com...
Need help?
Do you have a question about the S and is the answer not in the manual?
Questions and answers