Table of Contents
Advertisement
Quick Links
87046_2.fm Page 1 Thursday, January 24, 2008 2:53 PM
HS
SeaTalk Network Switch
Installation Guide
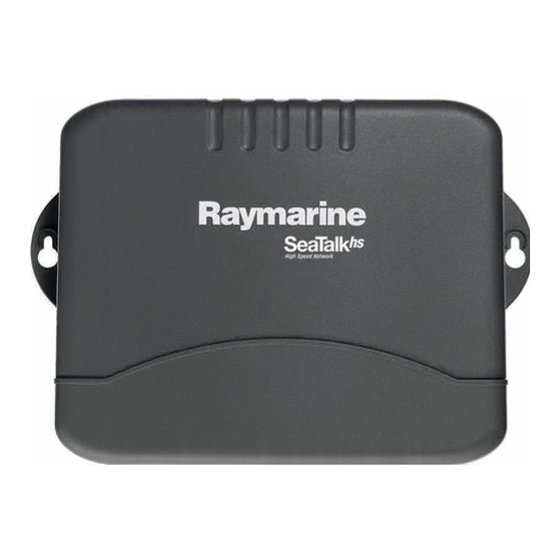
Welcome to the SeaTalk HS Network Switch
What's in the box?....
HS
SeaTalk
Network
Switch
Where can I install the unit?
This guide shows how to install the Raymarine SeaTalk
Network Switch, which enables you to connect up to eight
instruments together using SeaTalk , an ethernet-based network,
for data sharing.
Intended Use
The intended application is for leisure marine boats and
workboats not covered by IMO/SOLAS carriage requirements.
Tie-wraps x (10)
No8 x 3/4 inch
pan-head self-
tapping screw
(x2)
or
MAX
55
130
MIN
-10
14
www.raymarine.com
HS
Tools Required
Power
drill
Philips
screwdriver
10˚ 10˚
HS
3mm
(1/8 in)
Drill
Advertisement
Table of Contents

Related Manuals for Raymarine SeaTalk HS


Summary of Contents for Raymarine SeaTalk HS
- Page 1 Installation Guide Welcome to the SeaTalk HS Network Switch This guide shows how to install the Raymarine SeaTalk Network Switch, which enables you to connect up to eight instruments together using SeaTalk , an ethernet-based network, for data sharing.
-
Page 2: Safety Notices
This product is labeled with the CE conformity mark: Warranty To register your new Raymarine product, please take a few minutes to fill out the warranty card.It is important that you complete the owner information and return the card to us to receive full warranty benefits. - Page 3 87046_2.fm Page 3 Thursday, January 24, 2008 2:53 PM Connecting the unit SeaTalk cables Power cable SeaTalk system cables can be fitted to any connector. Push-fit the connectors until they clip into position. Your network switch can be operated at either 12 V or 24 V DC. If you do not have a dedicated fused breaker in the power circuit, an in-line 1A quick blow fuse should be fitted to the positive (red) lead of the power cable.
- Page 4 The Waste Electrical and Electronic Equipment (WEEE) Directive requires the recycling of waste electrical and electronic equipment. Whilst the WEEE Directive does not apply to some of Raymarine's products, we support its policy and ask you to be aware of how to dispose of this product. The crossed out wheelie bin symbol, illustrated above, and found on our products signifies that this product should not be disposed of in general waste or landfill.
Need help?
Do you have a question about the SeaTalk HS and is the answer not in the manual?
Questions and answers