
Related Manuals for AOC LM740


Summary of Contents for AOC LM740
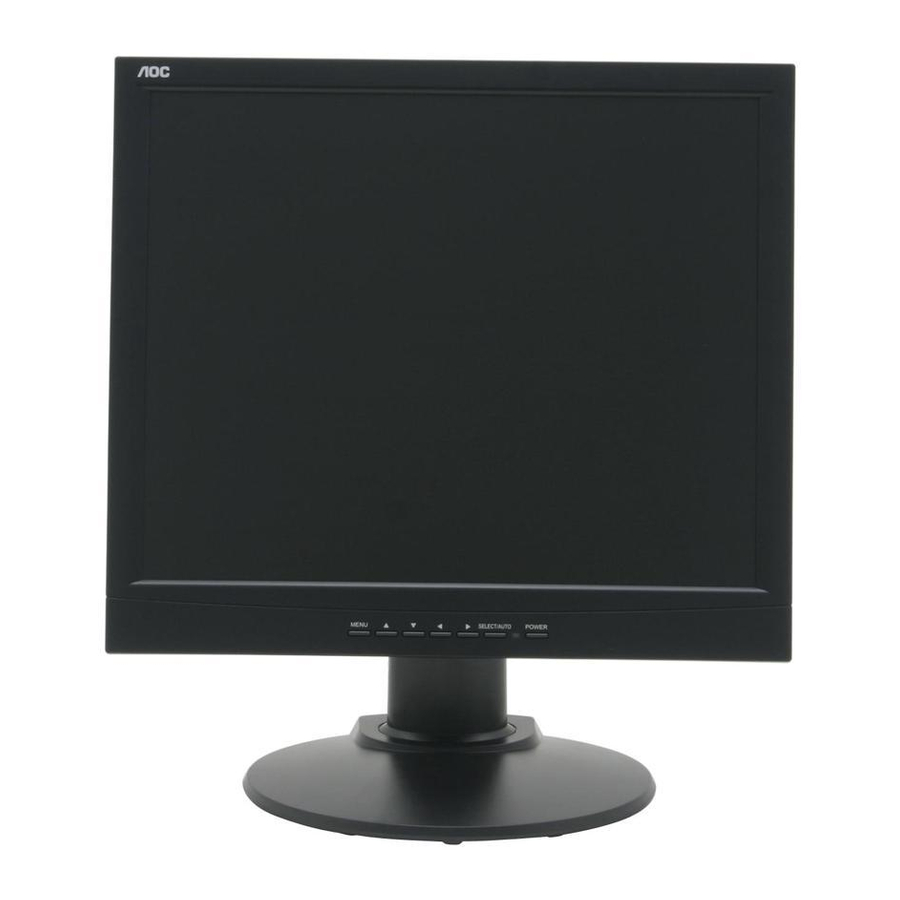
- Page 1 LM740 17” TFT LCD Monitor User’s Manual By Envision Peripherals Inc. www.AOCmonitor.com...
-
Page 2: For Your Safety
FOR YOUR SAFETY Before operating the monitor, please read this manual thoroughly. This manual should be retained for future reference. FCC Class B Radio Frequency Interference Statement WARNING: (FOR FCC CERTIFIED MODELS) This equipment has been tested and found to comply with the limits NOTE: for a Class B digital device, pursuant to Part 15 of the FCC Rules. - Page 3 PRECAUTIONS: Do not use the monitor near water, e.g. near a bathtub, washbowl, kitchen sink, laundry tub, swimming pool or in a wet basement. Do not place the monitor on an unstable cart, stand, or table. If the monitor falls, it can injure a person and cause serious damage to the appliance. Use only a cart or stand recommended by the manufacturer or sold with the monitor.
- Page 4 circuit parts causing a fire or electric shock. Never spill liquids on the monitor. Do not attempt to service the monitor by yourself. Opening or removing covers can expose you to dangerous voltages and other hazards. Please refer all servicing to qualified service personnel. Do not pull or bend the power cable and signal cable or place the monitor or any heavy objects on the cables.
-
Page 5: General Notes
GENERAL NOTES The following symptoms are normal with LCD monitor and do not indicate a problem. Due to the nature of the fluorescent light, the screen may flicker during initial use. Turn off the Power Switch and then turn it on again to make sure the flicker disappears. -
Page 6: Other Notes
OTHER NOTES The screen surface is very soft. Do not rub, touch or tap the screen surface with sharp object such as pen or pencil. This contact may scratch or damage the screen. These damages are not covered under the warranty. Turn your computer OFF before installing your new monitor. -
Page 7: Reference Information
For future reference, write the following information about your monitor in the space below. The serial number is found on the back of the product or on the bottom of its stand. Monitor Information Product Name: LM740 Serial Number: Date of Purchase: Dealer Information Dealer:... -
Page 8: Table Of Contents
Table of Contents 1 Important Safety Instructions ...i 2 Features...2 3 Unpacking the Monitor...3 Installation and Removal of the Base…………………….3 4 Hardware Installation ...4 5 Windows driver installation ...5 6 Setting the Display Resolution...6 Choosing the Best Resolution ...6 Supported Graphics Modes and Refresh Rate Selection ...7 7 Adjusting the Monitor...9-12 8 Frequently Asked Questions ...13-15... -
Page 9: Important Safety Instructions
Important Safety Instructions Please read the following safety instructions before installing or cleaning your AOC monitor: 1. Unplug the monitor’s power cable from the wall outlet before cleaning. Do not use liquid or aerosol cleaners. Use a soft cloth to clean the monitor housing. -
Page 10: Features
High Brightness – 270 cd/m High Contrast Ratio – 500:1 (typical) True Colour Display With FRC support for 16.7M colours, the AOC LM740 monitor offers you better image quality. High Quality Expansion With any resolution within the monitor’s specified range, your AOC LM740 monitor can expand the image to full screen. -
Page 11: Unpacking The Monitor
Unpacking the Monitor Please check that the following items are included with your monitor. If they are missing or damaged, please contact your place of purchase immediately Monitor 1 pc Signal Cable Installation and Removal of the Base 1. Installation 1 pc 1 pc Power Cable... -
Page 12: Hardware Installation
If you are unsure, please contact your electricity supplier. To install your AOC LM740 monitor: 1. Make sure that the power to the computer and the power to the monitor are both turned off. -
Page 13: Windows Driver Installation
Windows driver Installation The AOC LM740 is fully Windows compatible so no specific windows drivers are required to be loaded. Windows 98, ME, and 2000 The first time you start Windows after connecting your new monitor, the system will detect the monitor and automatically start the Add New Hardware wizard. -
Page 14: Setting The Display Resolution
LCD. In the case of the LM740 the LCD resolution is 1280 x 1024 pixels. This is also known as the “native” resolution of the monitor. Lower resolutions can be displayed at full screen through an interpolation circuit. -
Page 15: Supported Graphics Modes And Refresh Rate Selection
For best results, it is important that you set the graphics adaptor to use one of the monitor’s preset display modes shown in Table 1 on the next page. Other graphics signals may be displayed poorly or not at all. Note that the LM740’s preset modes correspond to VESA or Apple Macintosh standard graphics signals for these resolutions. - Page 16 caused by the signal from the VGA card if it does not correspond with the usual standard. This is not however, a problem with the monitor. If it is still visible after using the Automatic adjustment, you can usually improve the displayed image by manually adjusting the phase, horizontal position and pixel frequency settings using the "Geometry"...
-
Page 17: Adjusting The Monitor
Adjusting the Monitor Picture Optimisation The easiest way to obtain an optimal picture is by using the Auto button for 2 seconds. This only works reliably if the graphics adaptor is set to use one of the monitor’s factory modes (see Table 1 in the previous chapter) and if you are displaying a suitable stationary image (such as the windows desktop). - Page 18 (from left to right) Menu Enter OSD menu. Enter submenus or select items within OSD menu. Move the selection cursor upwards within the OSD menu. " Move the selection cursor downwards within the OSD menu. Adjust OSD functions. (Decrease) Adjust OSD functions. (Increase) SELECT Automatically adjust the vertical, horizontal position, pixel phase and pixel clock.
- Page 19 Tracking Adjustment Position Adjustment...
- Page 20 Color Adjustment Other...
-
Page 21: Frequently Asked Questions
Frequently Asked Questions The image is blurred, how can I get the best quality picture? Read chapter 6, Setting the Display Resolution, and select a graphics signal with the correct resolution and refresh rate. Then read chapter 7, Adjusting the Monitor, and make adjustments to the displayed image based on these instructions. - Page 22 No image is displayed, what can I do? Check that the light (LED) next to the monitor’s power button is lit and is green in colour. If the LED is green, press the MENU button on the monitor to access the On Screen Display. If the message NON PRESET MODE appears there, please read chapter 6, Setting the Display Resolution and reset the graphics card to one of the monitor’s supported graphics signals.
- Page 23 The display shows OUT OF FREQUENCY error message: Read chapter 6, Setting the Display Resolution, and select a graphics signal with the correct resolution and refresh rate.
-
Page 24: Display Characteristics
Specifications AOC LM740 Model: Display Characteristics Display Type Viewable Diagonal Area Native (Maximum) Resolution Colors Contrast Ratio Brightness Response Time Viewing Angle (Horizontal, Vertical) Dot Pitch User Interface Controls On-Screen Display Functions 17“ active matrix Thin Film Transistor Liquid Crystal Display 43.18 cm / 17”... -
Page 25: Input Signal
Input Signal Line Frequency Image Frequency (Refresh Rate) Video Signal Synchronization Signal Connection Physical Characteristics Power Management Maximum Power Consumption Power Saving Mode Operating Voltage Dimensions (W x H x D) Weight Temperature (Operating) Air Humidity (Operating) Regulatory Certification Safety EMI/EMC Other 31 - 83kHz multi-frequency...
Need help?
Do you have a question about the LM740 and is the answer not in the manual?
Questions and answers