Advertisement
Quick Links
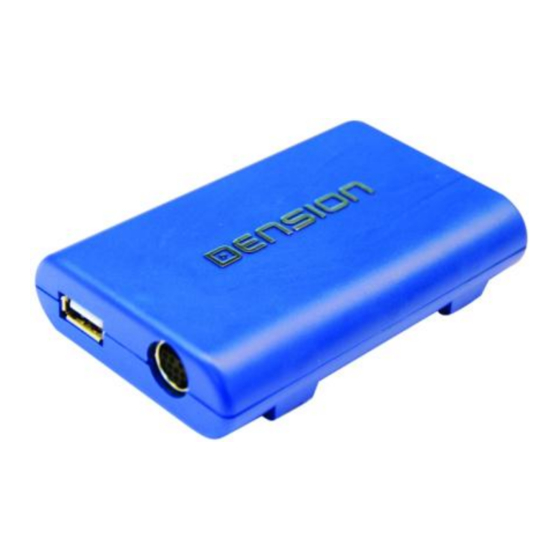
Gateway Lite BT
iPod, USB and Bluetooth
Install Guide
v.1.0
GBL-9220-1
1. I
NTRODUCTION
Gateway Lite BT enables music playback from a
USB storage or iPod through your vehicle's
entertainment system, using the buttons of the
car stereo for basic control.
This device also offers handsfree mobile call
handling via the original buttons of the Head Unit
(Radio).
Gateway Lite BT is designed to give easy to
manage control, in cars where it is not possible
to display text, therefore only basic control is
available (track skip functions and USB folder
browsing).
2. G
ETTING STARTED
At first please make sure that the vehicle
compatibility is correct.
The Dension Gateway Lite BT is available in
specific versions for different vehicle types,
therefore the exact operation and installation
may be different in each case.
Warning!
During the installation always make sure that
the ignition key is removed from the car, the
radio is switched off and that you have the
security code of the head unit (radio)
available (if applicable).
3. H
OW TO REMOVE THE HEAD UNIT
First, carefully remove your vehicle's existing
factory fit head unit as per the factory instructions
and using the correct tools.
In some cases, removing the head unit will
require panel removal as well therefore we
recommend to contact your vehicle's dealer or
installation
supplier
/
installer
for
information.
3. F
G
H
ITTING THE
ATEWAY
ARNESS
Once the head unit has been removed,
disconnect the antenna cable (1) and then unclip
the main wiring connector from the head unit (2).
This will differ in all makes and manufacturers.
With the main radio cable removed, first connect
the Dension supplied cable to the original factory
cable harness.
In some cases there may be an add-in
connector. Remove the CD changer section and
replace with the loom supplied with the Gateway
Lite
Blue. For further details please go to
section 6.
Important installation notes for Volkswagen
and Audi owners:
The free black lead on the Gateway harness
must be grounded / connected to the chassis
of the radio. In case of BMW you don't need to
connect this lead.
4. C
ONNECTION
The below diagram depicts how the
different modules connect to the Gateway
Lite
BT.
more
Connect the round iPod connector and USB to
the
module
and
feed
them
through
dashboard to an appropriate location.
Warning! Do not trap the cables, or leave
them in a position where they may become
trapped after refitting the head unit.
Ensure the device is correctly fitted before
running the cable. Then, reconnect the Dension
supplied main radio connector to the rear of the
head unit.
Connect the 12 way micro-fit (12 pin molex) to
the Car side of the Gateway Lite BT module.
5. I
NSTALLATION
Fitting the microphone
The microphone will work best when it is kept
away from all noise sources (open windows or
speaker) and close to the speaker. So the best
place to ensure perfect sound is to install at the
central light cluster or rear view mirror in the
center of the wind screen. There are clips that
help you to do this.
The optimal place for the microphone depends
on many factors, so it is recommended that you
try different installation places before finally
mounting the microphone
6. T
EST AND REFIT
Before you refit the head unit, test the Gateway
Lite BT with your car audio, making sure all
connections are correct and that you have full
functionality.
Note: If during testing you notice any
changes or inconsistencies in the way the
car's electrical system operates, disconnect
the Gateway product immediately and consult
your dealer.
When you have tested everything, refit your head
unit. Take care not to trap any wires or the
Dension product. We supply cable ties to mount
the Gateway Lite BT module. Please mount the
module away from heat or damp surfaces.
Refit of the Head Unit is the reversal of the
removal process for your specific vehicle, as per
your manufacturer's instructions.
the
Advertisement

Related Manuals for Dension GBL-9220-1


Summary of Contents for Dension GBL-9220-1
- Page 1 With the main radio cable removed, first connect At first please make sure that the vehicle The microphone will work best when it is kept the Dension supplied cable to the original factory compatibility is correct. away from all noise sources (open windows or cable harness.
- Page 2 Information correct at time of going to print E. & O. E. Dension Audio Sytems Ltd. and it’s registered partners cannot be held liable for any damages caused by the incorrect installation of any Dension product.
Need help?
Do you have a question about the GBL-9220-1 and is the answer not in the manual?
Questions and answers