
Related Manuals for Botech CA9500IR


Summary of Contents for Botech CA9500IR
- Page 1 CA 9500 IR/CA 9500 IRCI Digital Satellite Receiver with Common Interface...
-
Page 2: Safety Instructions
Safety Instructions Be sure to read this User's Manual before starting the operation of the receiver Never open the cover. It is dangerous to touch the inside of the receiver due to possible electric hazard. When the receiver is unused for a long time, unplug the power cord from the wall outlet. Do not use a damaged power cord that may cause a fire or an electric shock . -
Page 3: Table Of Contents
Features Contents Safety Instructions 1.1 Features <Common Part> 1. Before You Begin 1.1 Features Easy Graphic MENU Interface 1.2 Accessories RS232C Port for Updating Control Software and Additional Service 2.Controls and Functions Supports DiSEqC1.0/1.2, 0/12V, 13/18V, 22Khz Tone 2.1 Front Panel 2-SCART Connectors &... -
Page 4: Accessories
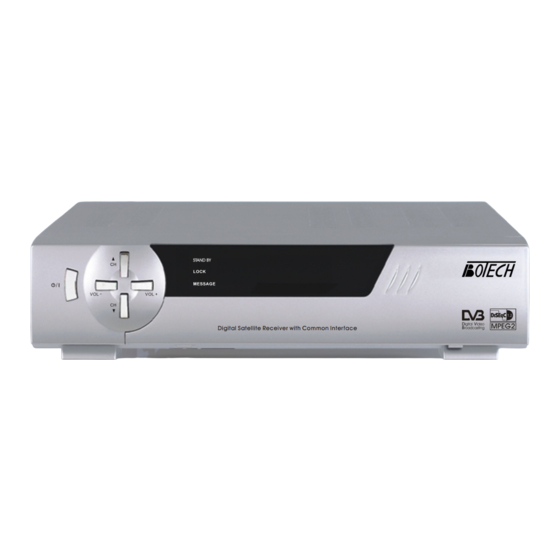
Front Panel Accessories 1.2 Accessories 2.1 Front Panel User's Manual Remote Control Unit STAND BY Batteries LOCK MESSAGE VOL- VOL+ Figure 2. Front Panel User's Manual Remote Control Unit 1. Power Button Turns the receiver On/Off. 2. Volume -/+Button Increases/decreases the volume levels in No-menu state. Batteries(AAA) Change the setting values in specific Menu item. -
Page 5: Remote Control Unit
Rear Panel Remote Control Unit 2.3 Rear Panel 2.2 Remote Control Unit All features of the set-top box can be controlled with the remote controller. 1. POWER AUDIO R VIDEO Turns the receiver On/Off. TV/VCR AC 90-240V ~ 50/ 60Hz Max. -
Page 6: Connecting To Tv & Vcr
Make your choice of which satellite you want to receive your signals from, and have your botech dealer aim your dish at the requested satellite. Connect a coax cable to your LNB and the other end directly to the LNB IN connector of your receiver. -
Page 7: Connecting To Ci Module
Hot Bird) it is advisable to use fixed dishes and a DiSEqC 1.0 switch. Have But you can insert smart card to CI module with power on. your botech Dealer aim the dishes at the requested satellites and connect the LNB's with coax cables to the IN connectors of the DiSEqC 1.0 switch. -
Page 8: Setting And Operations
Setting and Operations Setting and Operations 4.1 Before Settings <Positioner Setup> If you use DiSEqC digital positioner you can <Starting up for the First Time> set dish position from Antenna Setup menu. 1. Turn on your TV and receiver. First, change "LNB Dish" value to Moved 2. - Page 9 Setting and Operations Setting and Operations <Manual Scan> 2. Use the Up/Down button to select the timer, and press OK button to setup 1. If you press OK in Manual Scan of selected timer information. Following Installation Menu, the <screen 5> will be screen will be displayed.
-
Page 10: Epg
Setting and Operations Setting and Operations - SAT : The current TV/Radio list is for the channels searched in a satellite. If you 4.4 EPG change the satellite with the SAT button, the list is updated with the channels searched in the satellite. (The channel list is configured with the channels EPG shows the event information on the current TP channel by time Zone. -
Page 11: Channels Manager
Setting and Operations Setting and Operations Timer Edit Channel Name : You can edit current channel name. Press 'Edit Channel Name' button(Yellow). Move the cursor to an event in the required Edit window will be displayed. time zone, and press Blue(Timer). Edit Channel PID : You can edit channel PID in formation. -
Page 12: Other Settings
Setting and Operations Setting and Operations 4.8 Other Settings <Tetris> The Preference menu has following 6 sub-menu. If you want to play game, Select the - Language Setting Preference item and use the tertris button. - OSD Setting - Left/Right button : Move block to a left or - Parental Lock right direction - Tetris... - Page 13 Setting and Operations Setting and Operations - Screen Mode <Irdeto> When program transmission is in 16:9 and you have a TV set with the 4:3 picture format you can select Full screen or Letter Box picture format. - CA Status - UHF Mode CA status displays.
-
Page 14: Name Edit
Setting and Operations Trouble Shooting 4.9 Name Edit A.1 Trouble Shooting The name editing is the same for each menu. You can change the following names; There may be various reasons for the abnormal operation of the receiver. Channel name, Favorite Group name and Satellite name. Check the receiver according to the procedures shown below. -
Page 15: Specifications
Specifications Specifications 5. A/V & Data In/Out A.2 Specifications TV Scart Output CVBS, L, R Output with Volume Control 1. Conditional Access Interface(CI Model Only) CVBS, L, R In VCR Scart In/Out 2 Slot(type I or type II) CVBS, L, R Out DVB Common Interface Standard PCMCIA (Viaccess, Nagra Vision, Conax, Cryptoworks, Irdeto, ASTON) -
Page 16: Glossary Of Terms
Glossary of Terms A.3 Glossary of Terms C band 3.7 ~ 4.2 Hz Frequency. DiSEqC Digital Satellite Equipment Control. Ku band 11 ~ 18GHz Frequency. LNB(Low-Noise Block converter) The LNB is an electronic unit mounted on the satellite dish. It receives the signals reflected by the dish ad converts them to signals that can be used by Satellite receiver.
Need help?
Do you have a question about the CA9500IR and is the answer not in the manual?
Questions and answers