Advertisement
Quick Links
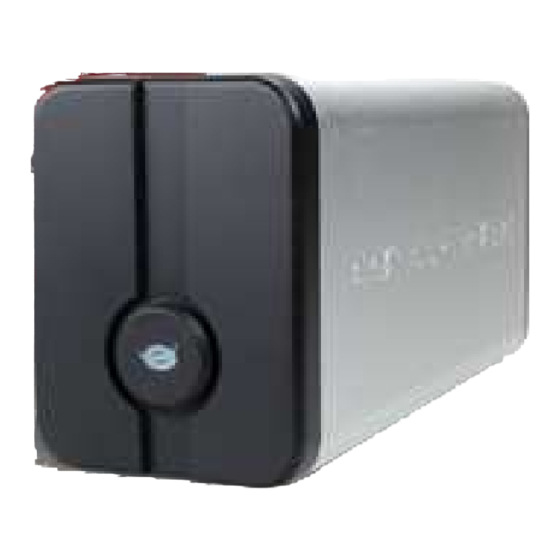
Unit assembly
First step needed it's install hard drives in your CH3B2E enclosure, to do it you can follow installation guide
that it's included in product box. If you want you can also download it from following link:
http://download.conceptronic. net/GRABNGO/CH3B2E/CH3B2E_Assembly_A4_Reverse_Pages.pdf
Getting Started
Once hard drives are connected to CH3B2E you can proceed to connect power supply and data cable, you can
select if you want connect through USB or eSATA to your computer.
NOTE: When you have connected the CH3B2E to your computer with eSATA, it is possible that the unit will
only show 1 active harddisk LED. This is caused by your eSATA controller, which cannot handle multiple SATA
harddisks on 1 connection. To solve this issue, there are multiple solutions:
A. Connect the CH3B2E to your computer by USB.
B. Configure the CH3B2E to 1 of the other harddisk configurations.
C. Replace your eSATA controller by an eSATA controller which supports multiple SATA
harddisks on 1 connection.
BASIC GUIDE FOR SETTING CH3B2E
®
Copyright
2009 by Conceptronic – All rights reserved
www.conceptronic.net
Page 1 of 10
Advertisement

Subscribe to Our Youtube Channel
Related Manuals for Conceptronic CH3B2E


Summary of Contents for Conceptronic CH3B2E
- Page 1 BASIC GUIDE FOR SETTING CH3B2E Unit assembly First step needed it’s install hard drives in your CH3B2E enclosure, to do it you can follow installation guide that it’s included in product box. If you want you can also download it from following link: http://download.conceptronic.
- Page 2 Formatting hard drives If you have plug two disks correctly formatted in CH3B2E the device will automatically display both HDD in your computer. If you have plug two HDD without partition you will need format both HDD to make them visible by the operating system.
- Page 3 • Select your new harddisk configuration from the bottom section of the list. • Right click your new harddisk configuration and select “New Simple Volume”. ® Copyright 2009 by Conceptronic – All rights reserved www.conceptronic.net Page 3 of 10...
- Page 4 • Select your format options. You can change the file system, change the volume label and choose for “Perform a quick format”. Click “Next” to continue. ® Copyright 2009 by Conceptronic – All rights reserved www.conceptronic.net Page 4 of 10...
- Page 5 JBOD: The harddisks inside the unit are configured as single disks. You will have 2 volumes. For example if you have two 1TB hard drives your PC display two 1TB hard drives. ® Copyright 2009 by Conceptronic – All rights reserved www.conceptronic.net Page 5 of 10...
- Page 6 When the software is started, the main software window is shown on your desktop and the connected CH3B2E unit(s) will be listed in the left part of the window, indicated with the serial number of the unit. If you run Steelvine software and you get this message: It’s possible that device need more time to load.
- Page 7 If you run the software and you can’t see CH3B2E hard drives you can force detection clicking on File → Scan Drives. Click on the icon "Box Set" and enter password “admin” (without quotes). ® Copyright 2009 by Conceptronic – All rights reserved www.conceptronic.net...
- Page 8 At this point it is necessary to make a disk configuration. There are several modes: SAFE (RAID 1), BIG, SAFE33, SAFE50, FAST (RAID 0). ® Copyright 2009 by Conceptronic – All rights reserved www.conceptronic.net Page 8 of 10...
- Page 9 Usual configurations used by users are RAID 1 and JBOD. In the following steps we explain you how to configure a RAID 1, JBOD configuration has been explained above. Select SAFE RAID 1 in configuration menu: ® Copyright 2009 by Conceptronic – All rights reserved www.conceptronic.net Page 9 of 10...
- Page 10 Click Apply and the process of creating the units will begin. This process may take several minutes. Once finished the process of setting your unit will be configured in RAID 1 and visible on your PC. ® Copyright 2009 by Conceptronic – All rights reserved www.conceptronic.net Page 10 of 10...
Need help?
Do you have a question about the CH3B2E and is the answer not in the manual?
Questions and answers