Table of Contents
Advertisement
DIGITAL VIDEO CAMERA
GR-D90
GR-D70
GR-D30
Please visit our Homepage on the World Wide Web for Digital
Video Camera:
http://www.jvc-victor.co.jp/english/cyber/
For Accessories:
http://www.jvc-victor.co.jp/english/accessory/
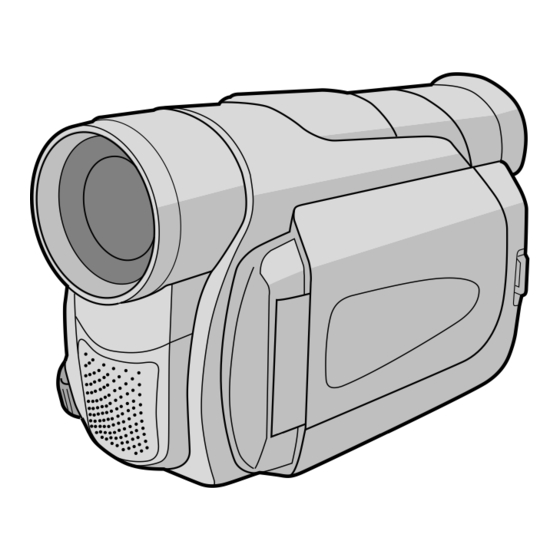
The camcorder illustrations appearing in
this instruction manual are of the GR-D90.
Memory card recording features are
available on GR-D90 and GR-D70
INSTRUCTIONS
CONTENTS
AUTOMATIC
DEMONSTRATION
GETTING STARTED
TAPE
RECORDING &
PLAYBACK
MEMORY CARD
RECORDING &
PLAYBACK
ADVANCED
FEATURES
REFERENCES
For Customer Use:
Enter below the Model No. and Serial
No. which is located on the bottom of the
camcorder. Retain this information for
future reference.
Model No.
Serial No.
LYT1069-001B
ENGLISH
6
7 – 11
12 – 16
17 – 22
23 – 37
38 – 53
EN
Advertisement
Table of Contents


Need help?
Do you have a question about the GR-D90 and is the answer not in the manual?
Questions and answers
can i record using GR-D760EK without tape and using sd card alone? i **** using the 32gb SD card
No, the JVC GR-D90 camcorder uses Mini DV tapes for recording video. While it supports memory cards, they are used for storing still images, not video recording. Therefore, you cannot record video using only a 32GB SD card without a tape.
This answer is automatically generated
what svideo lead for this camera