Advertisement
Quick Links
Please make sure that the
thread is inserted between
the two thread tension disks.
If your brand of Thread
"pops-out" of the tension
disks, wind the thread all the
A.
way around the disks and
back through the thread
guide marked (A.) in photo
number 7 on page 6.
Wind the thread counter
-clockwise
two revolutions
around the tension
device disk.
B.
See Page 6 for Another View of
Correct Threading Instructions
artisan
u
TORO 3000
and
TORO 4000
Threading Diagram
artisan
artisan
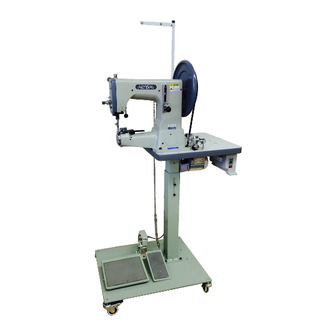
TORO-4000
P
with H/D Adjustable
Pedestal Motor Drive
TORO-4000
R
with EP-Ped
Adjustable
Pedestal Motor Drive
TORO 3000
TORO 3000
and
and
INSTRUCTION and
SPARE PARTS MANUAL
u
u
TORO-3000
with EP-Ped
Adjustable
Pedestal Motor
Drive
TORO-4000
R
with Ped-600
Adjustable
Pedestal Motor Drive
TORO 4000
TORO 4000
Advertisement


Need help?
Do you have a question about the TORO 3000 and is the answer not in the manual?
Questions and answers