
Related Manuals for JBL GTQ240


Summary of Contents for JBL GTQ240
- Page 1 G R A N D T O U R I N G S E R I E S 4/3/2 Channel Automotive Power Amplifier GT Q 3 6 0 , GT Q 2 4 0 O w n e r ’ s M a n u a l G E N U I N E J B L...
-
Page 2: Table Of Contents
2.2 Controls and Connectors ......... . . 3. System Design Using the GTQ360 and GTQ240 ...... -
Page 3: Introduction
With the Universal Interface on the GTQ360 and GTQ240, a factory 1.2 About Installation radio can either be used as the main music source or simultaneously com-... -
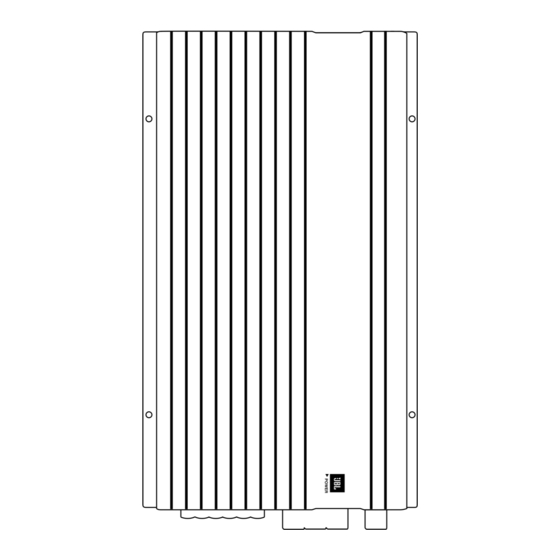
Page 4: Controls And Connectors
4 ohms will likely cause overheating. The GTQ360 or GTQ240 must not be used with speakers that have either one of their input terminals wired to the frame of the speaker or to the chassis of the vehicle. -
Page 5: Signal Sources
“Adjusting the Gain” section of this manual. Thanks to Universal Interface Circuitry, the GTQ360 or GTQ240 can also be con- 2 ohms nected to power amplifiers, radios or 4 ohms 4 ohms... - Page 6 Cassette/CD Tuner Speaker-Level Output Connection (Use only when line-level output is not available) Cassette/CD Tuner Antenna Input CD Input Power Cassette/Receiver Antenna Power Supply Wires Power Antenna Cassette/CD Preamp Output Relay Blue w/White Stripe - Remote On/Off Ignition Switch (Not Included) Fuse –...
-
Page 7: Mute Connection
The crossover frequencies may be changed to any value desired by changing the resistor network. JBL has chips available in the popular values list- ed in the table which follows. If none of... -
Page 8: Adjusting The Gain
To change the crossover frequency change the resistor network as follows: 1. Remove the screws from the bottom panel as shown below. 2. Select which resistor module, high pass or low pass, that you wish to change. 3. A chip puller, which can be obtained from any electronics store, is recom- mended to remove the resistor chip. - Page 9 Application 1 Front Speaker-Level 4-Channel Full-Range GR 1 Group 1 Group 2 Input Mode Group 2 Input – GR 2 Speaker Crossover Flat Flat Preamp Output Crossover – – GR 1 L – R – – + – Front Speakers Application 2 3-Channel Bi-Amplified System with Non-Fading Mono Subwoofer...
-
Page 10: In Case Of Difficulty
If the new fuses blow immediately, check all the wiring connec- tions. If the source of the problem cannot be determined, consult your JBL dealer. • Remote-on wire between the head unit and the amplifiers is disconnected or defective;... -
Page 11: Specifications
Speaker-Level Input Molex Mini-Fit Jr Mating Connector #39-01-2080 Metal Pins: 39-00-0038 GTQ240 45 Watts x 4 (4 Ohms, 0.05% THD) 60 Watts x 4 (2 Ohms, 0.08% THD) 120 Watts x 2 (Bridged 4 Ohms, 0.08% THD) 100dBA 10Hz – 50kHz (+0, –1dB) 20Hz –... -
Page 12: Warranty Terms
Your bill of sale is your warranty. The JBL warranty remains in effect for one the instruction manual; damage resulting year from the date of the first consumer from the performance of repairs by some- one not authorized by JBL;...
Need help?
Do you have a question about the GTQ240 and is the answer not in the manual?
Questions and answers