Advertisement
Advertisement
Table of Contents

Related Manuals for Power Acoustik STAX1250/2


Summary of Contents for Power Acoustik STAX1250/2
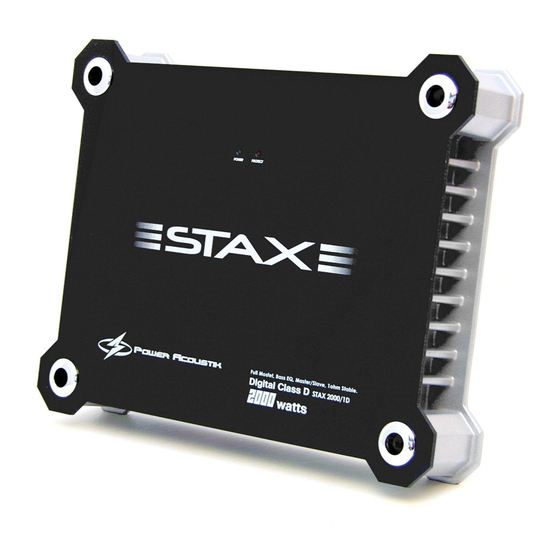
- Page 2 ************* OWNER'S MANUAL STAX1250/2 STAX1800/2 STAX2200/2 STAX1200/4 STAX1600/4 STAX2300/4 STAX2000/1D STAX4000/1D STAX5500/1D...
- Page 4 In the interest of safety, Power Acoustik recommends listening at lower volume levels while driving.
-
Page 5: Table Of Contents
TABLE OF CONTENTS PLANNING YOUR SYSTEM ..............WIRING CONNECTION ..............4, 5 6, 7 PANEL LAYOUT ................. CONTROL FUNCTIONS ..............8-10 11-14 SPEAKER CONNECTION MONO CHANNEL ........15, 16 2 CHANNEL ..........17-19 4 CHANNEL ..........TROUBLE SHOOTING GUIDE ............SPECIFICATION ................. - Page 6 CONNECTING THE POWER (Fig.1,2) CAUTION: AS A PRECAUTION, DISCONNECT THE POWER WIRE FROM THE BATTERY WHILE MAKING THE POWER AND GROUND CONNECTIONS TO THE AMPLIFIER. 4/8 GAUGE(Thicker if planning for additional Amplifiers) wire is recommended for both the power and ground wires. 12 Gauge, for the remote turn-on wire. Both types are available at most Mobile Audio Dealers or Installation Shop.
- Page 7 [Fig. 1] STAX 1250/2, 1800/2, 2200/2, 1200/4, 1600/4, 2300/4, 2000/1D, 4000/1D [Fig. 2] STAX 5500/1D - 5 -...
-
Page 8: Panel Layout
PANEL LAYOUT - 6 -... -
Page 9: Panel Layout
PANEL LAYOUT - 7 -... -
Page 10: Control Functions
4.1 Low pass x-over frequency control This control is used to select the desired low pass x-over frequency. STAX1250/2, 1800/2, 2200/2, 1200/4, 1600/4, 2300/4 : The frequency can be adjusted between 30Hz and 250Hz. STAX2000/1D, 4000/1D, 55001D : The frequency can be adjusted between 40Hz and 200Hz. - Page 11 CONTROL FUNCTIONS 8. SUBSONIC STAX1250/2, 1800/2, 2200/2 : The frequency can be adjusted between 15Hz and 50Hz. STAX2000/1D, 4000/1D, 5500/1D : The frequency can be adjusted between 20Hz and 50Hz. 9. REMOTE Controls the subwoofer amplifier gain, from a remote location for ease of adjustment during listening.
-
Page 12: Control Functions
These fuses protect the amplifier against internal electrical damage and are meant to protect the amplifier only. All other power connections should be fused at the source. STAX1250/2 : 20A X 2 STAX1800/2 : 20A X 3 STAX2200/2 : 25A X 4... - Page 13 MASTER MODE CONFIGURATION FIG. 2 STAX 2000/1D, STAX 4000/1D 1.Lowest Recommended Impedance is 1ohm mono. 2.RCA Inputs are connected to both Left and Right channels 3.Gain controls to be set match input source 4.Line Output configured for stereo operation - 11 -...
- Page 14 STRAPPED CONFIGURATION FIG. 3 STAX 2000/1D, STAX 4000/1D STRAPPED CONFIGURATION 2-4ohms 1.Lowest Recommended Impedance is 2ohm Stereo 2.RCA Inputs are connected to both Left and Right channels 3.Gain controls to be set match input source 4.Line Output is configured summed bridged which is ideal for subwoofer applications - 12 -...
- Page 15 FIG. 4 MASTER MODE CONFIGURATION STAX5500/1D 1. Lowest recommended impedance is 1 Ohm Mono. 2. RCA Inputs are connected to both left and right cnannels. 3. Gain control is to be set to match input source. - 13 -...
- Page 16 FIG. 5 SLAVE MODE CONFIGURATION STAX5500/1D STRAPPED CONFIGURATION 2-4ohms 1. All of the controls can be adjusted only in "MASTER" mode amplifier. 2. Lowest recommended impedance is 2 Ohm Mono. 3. RCA Inputs are connected to both left and right cnannels. 4.
-
Page 17: Channel
FIG. 4 2 CHANNEL STEREO CONFIGURATION STAX1250/2, STAX1800/2, STAX2200/2 1.Lowest Recommended Impedance is 2ohm Stereo 2.RCA Inputs are connected to both Left and Right channels 3.Gain controls to be set match input source 4.Line Output configured for stereo operation FIG. 5 2CHANNEL BRIDGED CONFIGURATION STAX1250/2, STAX1800/2, STAX2200/2 1.Lowest recommended impedance is 4ohm bridged mono... -
Page 18: Channel
FIG. 6 2CHANNEL TRI MODE CONFIGURATION STAX1250/2, STAX1800/2, STAX2200/2 1.Lowest Recommended Impedance is 4ohm Stereo 2.RCA Inputs are connected to both Left and Right channels 3.Output configured for stereo operation - 16 -... -
Page 19: Channel
FIG. 7 4CHANNEL STEREO CONFIGURATION STAX 1200/4, STAX 1600/4, STAX 2300/4 1.Lowest Recommended Impedance is 2ohm Stereo 2.RCA Inputs are connected to both Left and Right channels 3.Gain controls to be set match input source 4.Line Output configured for stereo operation - 17 -... - Page 20 FIG. 8 4CHANNEL BRIDGED CONFIGURATION STAX 1200/4, STAX 1600/4, STAX 2300/4 1.Lowest recommended impedance is 4ohm bridged mono 2.RCA Inputs are connected to both Left &Right channels 3.Line Output configured forstereo operation - 18 -...
-
Page 21: Channel
FIG. 9 4CHANNEL TRI MODE CONFIGURATION STAX 1200/4, STAX 1600/4, STAX 2300/4 WOOFER 4-8 Ohms 4-8 Ohms 4-8 Ohms 4-8 Ohms WOOFER 1.Lowest Recommended Impedance is 4ohm Stereo 2.RCA Inputs are connected to both Left and Right channels 3.Output configured for stereo operation - 19 -... -
Page 22: Trouble Shooting Guide
TROUBLE SHOOTING GUIDE SYMPTOMS CHECK POINTS CURE Is the power Check fuses in amplifier. NO SOUND LED illuminated? Be sure Turn-on lead is connected No power to power wire Repair power wire or connections AMP NOT No power to remote Check connections to radio SWITCHING wire with receiver on... -
Page 23: Specification
SPECIFICATIONS STAX1200/4 MODEL# STAX1250/2 STAX1800/2 STAX2200/2 STAX1600/4 MAXIMUM POWER 1250W 1800W 2200W 1200W OUTPUT 1600W POWER OUTPUT @4Ohm 220W x 2CH 300W x 2CH 450W x 2CH 100W x 4CH 150W x 4CH POWER OUTPUT @2Ohm 280W x 2CH 380W x 2CH... -
Page 24: Warning
WARNINGS Investigate the layout of your automobile throughly before drilling or cutting any holes. Take care when to work near the gas tanks, lines, or hydraulic lines, and electrical wiring. Don't use power amplifier unmounted. Attach this system securely to the automobile to prevent damage, particularly in the event of an accident.
Need help?
Do you have a question about the STAX1250/2 and is the answer not in the manual?
Questions and answers