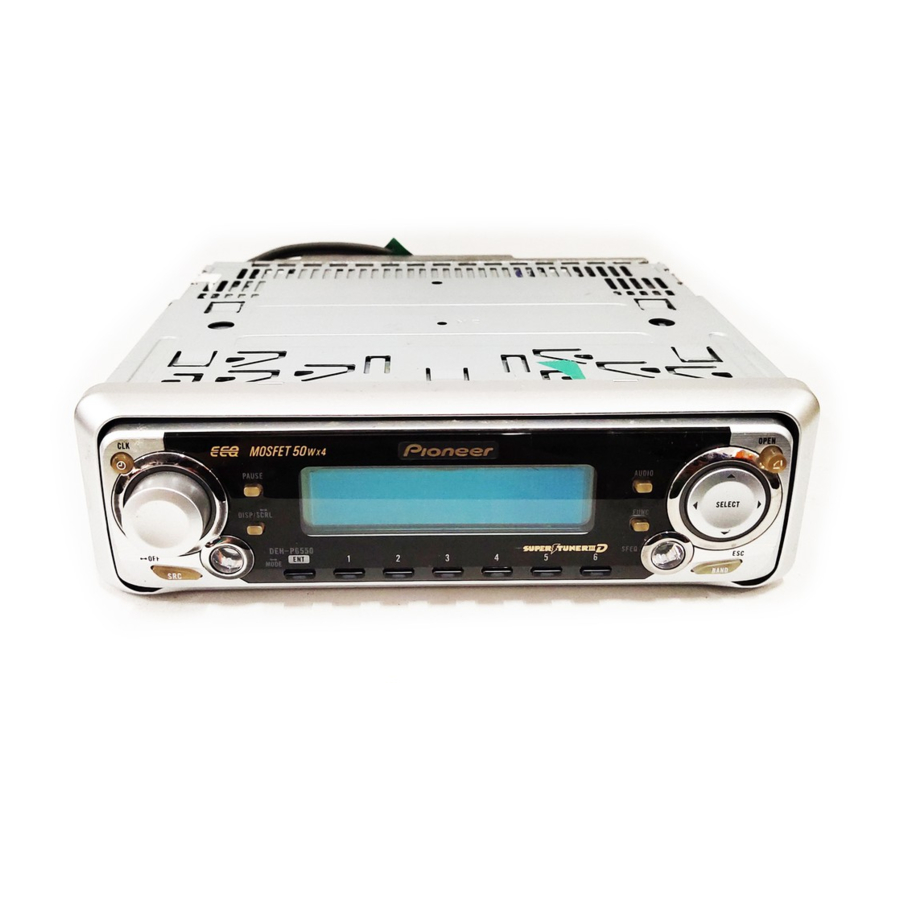
Pioneer DEH-P6550 Installation Manual
Audio system
Hide thumbs
Also See for DEH-P6550:
- Operation manual (132 pages) ,
- Installation manual (5 pages) ,
- Operation manual (22 pages)
Table of Contents
Advertisement
Available languages
Available languages
Quick Links
DEH-P6550
This product conforms to new cord colors.
Los colores de los cables de este producto se
conforman con un nuevo código de colores.
As cores dos fios deste produto seguem um novo
padrão de cores.
Æ...b¹b'« „öÝô« Ê«
uë lÄ "UN'« «c¼ r− M¹
Printed in Thailand
<CRD3714-A/N> ES
<KYMNX/02J00000>
60°
6
Fig. 1
Fig. 3
± qJAë
≥ qJAë
1
7
2
1
182
53
3
4
Fig. 2
Fig. 4
≤ qJAë
¥ qJAë
2
5
8
9
Fig. 5
µ qJAë
5
3
10
Fig. 6
∂ qJAë
4
6
Installation
Note:
•
Before finally installing the unit, connect the
wiring temporarily, making sure it is all connected
up properly, and the unit and the system work
properly.
11
•
Use only the parts included with the unit to ensure
proper installation. The use of unauthorized parts
can cause malfunctions.
•
Consult with your nearest dealer if installation
13
requires the drilling of holes or other modifica-
tions of the vehicle.
•
Install the unit where it does not get in the driver's
way and cannot injure the passenger if there is a
sudden stop, like an emergency stop.
•
The semiconductor laser will be damaged if it
overheats, so don't install the unit anywhere hot
12
— for instance, near a heater outlet.
•
If installation angle exceeds 60° from horizontal,
the unit might not give its optimum performance.
(Fig. 1)
Fig. 7
DIN Front/Rear-mount
∑ qJAë
7
This unit can be properly installed either from
"Front" (conventional DIN Front-mount) or
"Rear" (DIN Rear-mount installation, utilizing
threaded screw holes at the sides of unit chassis).
For details, refer to the following illustrated
installation methods.
DIN Front-mount
Installation with the rubber bush (Fig. 2)
1. Dashboard
2. Holder
After inserting the holder into the dashboard, then
select the appropriate tabs according to the
thickness of the dashboard material and bend
them.
(Install as firmly as possible using the top and
bottom tabs. To secure, bend the tabs 90 degrees.)
3. Rubber bush
4. Screw
<ENGLISH>
Removing the unit (Fig. 3) (Fig. 4)
5. Frame
6. Insert the release pin into the hole in the bottom
of the frame and pull out to remove the frame.
(When reattaching the frame, point the side with a
groove downwards and attach it.)
7. Insert the supplied extraction keys into the unit, as
shown in the figure, until they click into place.
Keeping the keys pressed against the sides of the
unit, pull the unit out.
DIN Rear-mount
Installation using the screw holes on
the side of the unit (Fig. 5) (Fig. 6) (Fig. 7)
1. Remove the frame.
8. Frame
9. Insert the release pin into the hole in the bottom
of the frame and pull out to remove the frame.
(When reattaching the frame, point the side with a
groove downwards and attach it.)
2. Fastening the unit to the factory
radio mounting bracket.
10. Select a position where the screw holes of the
bracket and the screw holes of the head unit
become aligned (are fitted), and tighten the
screws at 2 places on each side. Use either truss
screws (5 × 8 mm) or flush surface screws
(5 × 9 mm), depending on the shape of the screw
holes in the bracket.
11. Screw
12. Factory radio mounting bracket
13. Dashboard or Console
Advertisement
Table of Contents

Summary of Contents for Pioneer DEH-P6550
- Page 1 60° unit, pull the unit out. tions of the vehicle. DEH-P6550 • Install the unit where it does not get in the driver’s way and cannot injure the passenger if there is a DIN Rear-mount sudden stop, like an emergency stop.
-
Page 2: Instalación
Instalación <ESPAÑOL> Instalação <PORTUGUÊS (B)> æWOÐdFëº VOÂd²Ã« æ Nota: Quitado de la unidad (Fig. 3) (Fig. 4) Nota: Remoção do aparelho (Fig. 3) (Fig. 4) ∫WEŠöÄ ∫WEŠöÄ ∫WEŠöÄ ∫WEŠöÄ ∫WEŠöÄ ©¥ qJAë® ©≥ qJAë® “UN'« Ÿe½ • Antes de finalmente instalar la unidad, conecte el •... - Page 5 17. Power amp (sold separately) 16. Connecting cords with RCA pin plugs (sold separately) 17. Power amp 1. This product 36. Subwoofe er output (sold separately) 1. This product 2. Front output 6. Rear output (16 cm) 2. Front output (16 cm) 17.
-
Page 6: Connecting The Units
Connecting the Units <ENGLISH> Conexión de las unidades <ESPAÑOL> Note: Nota: Connection Diagram Diagrama de conexión • This unit is for vehicles with a 12-volt battery and • When an external power amp is being used with • Esta unidad es para vehículos con batería de 12 •... -
Page 7: Conexão Das Unidades
Conexão das unidades <PORTUGUÊS (B)> Nota: Diagrama de Conexão • Este aparelho foi concebido para veículos com uma • Ao utilizar um amplificador de potência externo com bateria de 12 Volts e conexão à terra negativa. Antes este sistema, certifique-se de não conectar o fio azul/ de instalar o aparelho num veículo recreativo, branco do terminal de potência do amplificador. - Page 8 æWOÐdFëº …eNł_« qO uð WEŠöÄ WEŠöÄ WEŠöÄ WEŠöÄ WEŠöÄ qO u²Ã« jD Ä • • • ≠ • • • • IP-BUS • • IP-BUS • IP-BUS (CD) • • • • ON/OFF BPTL • ≠ • • •...


Need help?
Do you have a question about the DEH-P6550 and is the answer not in the manual?
Questions and answers