
Related Manuals for Char-Broil Grill2Go Ice


Summary of Contents for Char-Broil Grill2Go Ice
- Page 1 Assembly Guide Model Numbers: 08401504 10401582 10401589 10401590 10401591 10401592 10401593 10401594 Propane cylinder sold separately. Allow approximately 45 minutes for assembly. PROPANE (English) 42804526 • 11/25/2009...
-
Page 2: Assembly Guide
A, B, C, Assembly: ASSEMBLY GUIDE CAUTION: For your safety, before operating, Read Product Guide & Outdoor Cooking Guide provided with this grill. *SAFETY First….. Grill components may have sharp edges. Be careful when handling grill parts during assembly. We suggest that you wear a sturdy pair of leather gloves while handling the grill parts. BEFORE You begin assembly of your grill…. -
Page 3: Grill Parts Diagram
Grill Parts Diagram ASSEMBLY GUIDE Key Qty Description Key Qty Description Key Qty Description Hinge Set Handle Heat Sheild Grill Lid Venturi Latch Assembly Lid Clasp Cooking Grate Handle Trough Cart Foot Logo Plate Burner Tube Plug Electrode with Wire Inner Reflector Venturi Guard Side Shelf Bushings... -
Page 4: Grill Cart Assembly
GRILL CART Assembly ASSEMBLY GUIDE Fasteners Part – Cart RH Side Fascia 1 – Cart LH Side Fascia 1 – Cart Base Wheel Retaining – Cart Leveling Foot #10x3/4" Axle Rod screw Clip (qty 2) – Wheels (qty 14) (qty 2) Step 1: Assemble the LH and RH Side Fascia (A1 &... -
Page 5: Grill Assembly
GRILL Assembly ASSEMBLY GUIDE Fasteners Part – Heat Shield – Fire Box Assembly #10-24 x 1 1/4" #10-24 #10 Lock Fiber Washer screw washer (qty 4) (qty 4) (qty 4) (qty 4) Note: Before beginning this step of the assembly, raise the two side lifts to their highest position by pressing the button at the top of the handle and pulling upward on the handle. - Page 6 GRILL Assembly ASSEMBLY GUIDE Fasteners Part Qty . – Hinge, RH – Hinge, LH 10-24 x 1/2" Fiber Washer 10-24 Nut Spacer for Lid – Grill Lid screw (qty 8) (qty 8) (qty 2) (qty 12) – Heat Shield – Handle Step 2 Step 1 ASSEMBL Y...
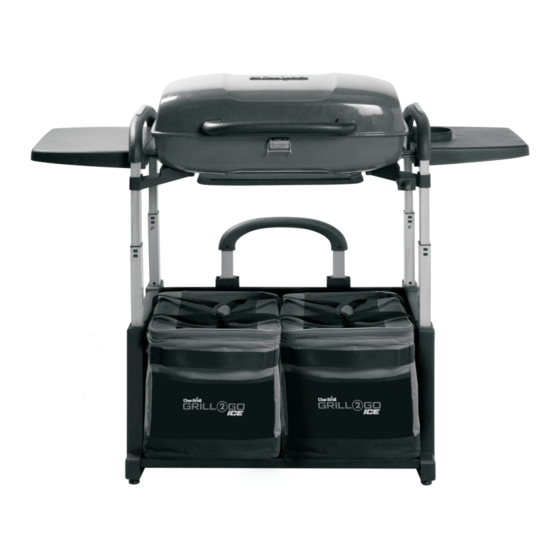
- Page 7 GRILL FINAL Assembly ASSEMBLY GUIDE Part Qty. Part Qty. C1 – Side Shelf, RH C7 – Ignitor Wire C2 – Side Shelf, LH C3 – Trough C4 – Cooking Grate C5 – Regulator Control Valve C6 – Cooler Bags/Coolers Step 1 - Install the Regulator Control Valve (C5) by first sliding the regulator lock toward the rear of the grill, inserting the Regulator Control Valve fully into the exposed burner tube, and then releasing the regulator lock.
- Page 8 © 2009 Char-Broil, LLC • Columbus, GA 31902 • Printed in China...