
Related Manuals for Onix CH-2000D


Summary of Contents for Onix CH-2000D
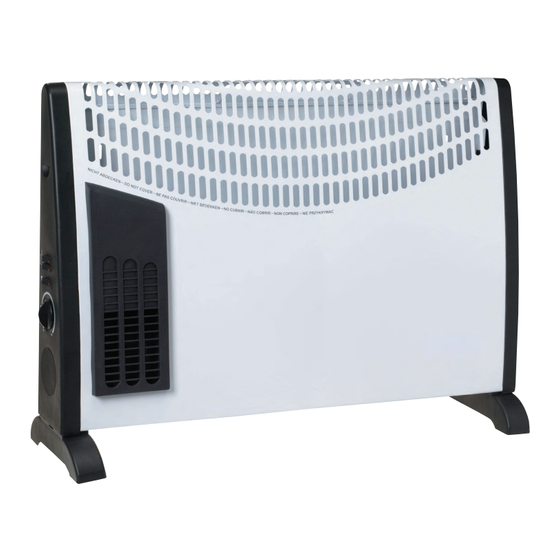
- Page 1 Convection Heater 2000W Model: CH-2000D model number : CH-2000D INSTRUCTION MANUAL...
-
Page 2: Important Safety Instructions
Important Safety Instructions Please keep this instruction manual in a safe place, along with the warranty card, purchase receipt and carton for future reference. The safety precautions enclosed herein reduce the risk of fire, electric shock and injury when correctly adhered to. - To reduce the risk of electrocution, - If the supply cord is damaged, it must never operate this product with wet... -
Page 3: Using Your Heater
Using your Heater Assembling the Heater No assembly is required as the heater comes pre-assembled and ready-to-use, however, please ensure feet are securely connected to the base of the heater. However, if you wish to wall mount the heater, you will need to remove the feet from the base (see picture), attach brackets securely to a wall, and attach heater to brackets using the mounting holes that the feet used. - Page 4 Knowing your parts The two switches are used to activate the power output. The heater can emit no heating, output 750W when first switch is on, output 1250W when the other switch is on or up to 2000W when both are on. The thermostat control allows the user to set the level of heat for that specific setting.
-
Page 5: Assembling The Heater
Assembling the heater Wall mount installation: Your convection heater comes with a wall mounting kit. Please follow the step by step instructions below to ensure your heater is properly installed. NOTE: The heater must be installed at least 1.8m above the floor if wall mounted. -
Page 6: Thermostat Control
Important Features of your heater Safety grille The safety grille provides protection against stray objects from touching the heating elements. 3 Heating modes Set the switch to 750W for low heat, 1250W for medium heat or have both switches on for high heat (2000W). - Page 7 Important Features of your heater Built-in overheat protection The heater has a built-in sensor which will turn the heater off if it is overheating. Whisper-quiet operation The heater operates in near silence. Freestanding or Wall-mounted operation The heater can be operated from the floor with the sturdy base.
- Page 8 Care and Cleaning Instructions This appliance is not designed to be dismantled without special tools. Please do not attempt to separate the unit. 1. Ensure appliance is disconnected from the power supply and switched off before attempting to clean. 2. Cleaning the exterior of the unit should only be attempted with a slightly damp, soapy cloth.
Need help?
Do you have a question about the CH-2000D and is the answer not in the manual?
Questions and answers