
Related Manuals for Russell Hobbs 10444


Summary of Contents for Russell Hobbs 10444
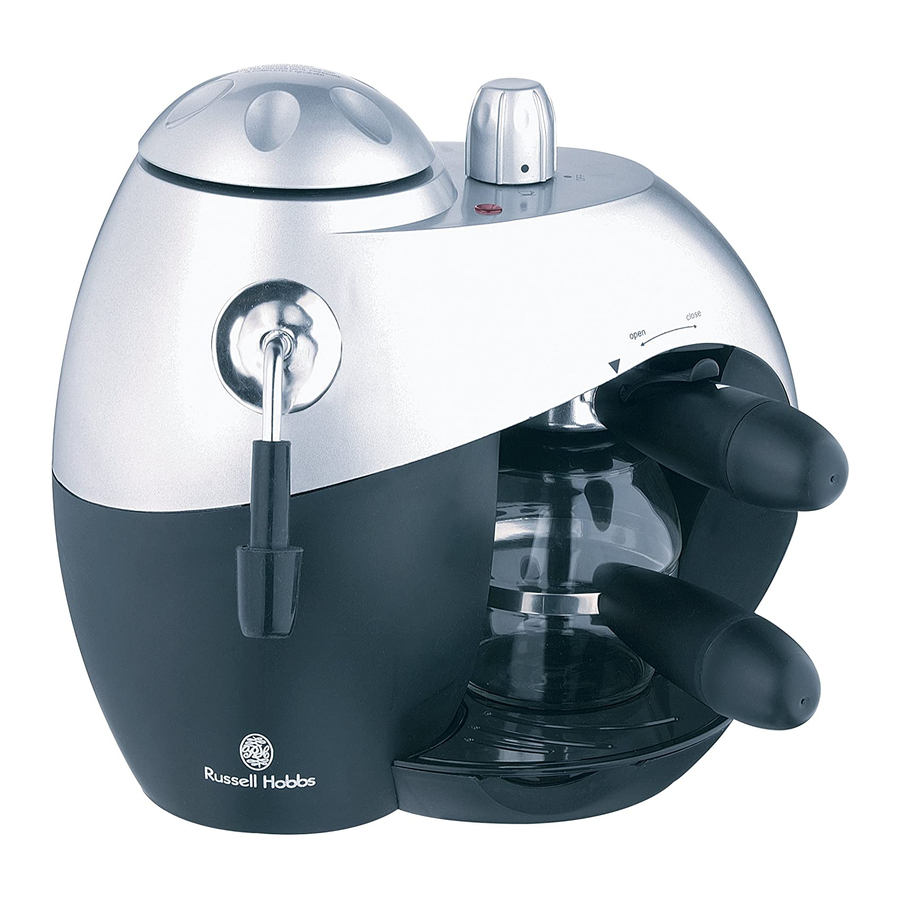
- Page 1 10444_IB_3-5-02 5/3/02 3:19 PM Page 1 ESPRESSO MAKER Model No. 10444 Instructions and guarantee...
- Page 2 10444_IB_3-5-02 5/3/02 3:19 PM Page 2...
- Page 3 10444_IB_3-5-02 5/3/02 3:19 PM Page 3 Read these instructions before using your Espresso Maker and keep them in a safe place for future reference. If you pass the Espresso Maker on to anyone else, pass on the instructions too. Remove all packaging, but keep it until you’re satisfied that the Espresso Maker is working.
- Page 4 10444_IB_3-5-02 5/3/02 3:19 PM Page 4 Safety valve In the unlikely event of the normal controls failing, a safety valve in the pressure cap will open automatically and release excess pressure. If this happens, don’t touch the espresso maker. Unplug it and let it cool down for at least one hour before trying to release the pressure or open the pressure cap.
- Page 5 10444_IB_3-5-02 5/3/02 3:19 PM Page 5 The control The control switches the element on and off and operates the valve. The “Heating” light indicates when the element is on. The positions are, anti-clockwise from the bottom: Hot water for coffee: the valve directs the output from the boiler to the brewing head to make coffee, the heater is switched on.
- Page 6 10444_IB_3-5-02 5/3/02 3:19 PM Page 6 Releasing steam Before you can remove the pressure cap safely, you have to release the steam remaining in the pressure tank. Warning: To avoid the risk of scalding, keep fingers, hands, etc. clear of the escaping steam.
- Page 7 10444_IB_3-5-02 5/3/02 3:19 PM Page 7 Follow points 1 to 18, then jump to point 31. At point 3, add extra water (half a cup to a cup), to generate the steam to heat and froth the milk. Use the carafe to measure the water. For 2 cups of coffee, fill the carafe to between the 2 and 3 cup marks, for 4 cups, fill to just below the spout.
- Page 8 10444_IB_3-5-02 5/3/02 3:19 PM Page 8 Removing the drip tray, cover, and frother To lift the drip tray cover, insert a fingertip in the indent on its right and lift it out. You can then lift the drip tray out (try not to spill the drips). To remove the milk frother, support the steam pipe with one hand and pull the milk frother gently down with the other hand.
- Page 9 10444_IB_3-5-02 5/3/02 3:19 PM Page 9 Connection to the mains supply Check that the voltage marked on the appliance corresponds with the supply voltage. The appliance must be earthed. It’s supplied with three-core mains lead and a 13A plug complying with BS1363.
- Page 10 10444_IB_3-5-02 5/3/02 3:19 PM Page 10 Spare parts Phone Customer Service Dept on 0161-947-3111. Tell them the Model No. (on the product’s rating label), and the part(s) you need. They’ll give you the price(s). You may then: Either order spares by phone using MASTERCARD or VISA. fill in this form (or a copy), and send it, with a cheque or postal order payable to Salton Europe Ltd, to Customer Service Dept.
Need help?
Do you have a question about the 10444 and is the answer not in the manual?
Questions and answers