Table of Contents
Advertisement
Quick Links
Quick Start Guide
®
SmartStar
E Series Systems
(8500, 8502, 8503, and 8504)
®
SmartStar
G Series Systems with GPS
(8800, 8802, 8803, and 8804)
#7 bolt
#9 knob
iOptron Corp. | 6E Gill Street | Woburn, MA 01801 USA | (781) 569‐0200 | Toll Free (866) 399‐4587 | www.iOptron.com
Step 1.
Extend tripod legs to full extension.
Step 2.
Attach mount to tripod using the long bolt (#7). Slide tray on
bottom of shaft. Then screw on round black knob (#9).
Step 3a.
Note: you may use 8 AA batteries (Step 3) or the AC
adaptor (Step 5) to operate the mount.
Lift the battery cover. Carefully pull out the battery holder
from the compartment. Be sure not to accidentally
disconnect the wires.
Step 3b.
Insert 8 AA batteries
diagram on the holder to orient the batteries properly.
Replace the holder back into the battery compartment and
replace the lid.
For reference: the battery pack fits in with wires on the
bottom right
(See arrow in photo)
Using old or low batteries may cause error messages.
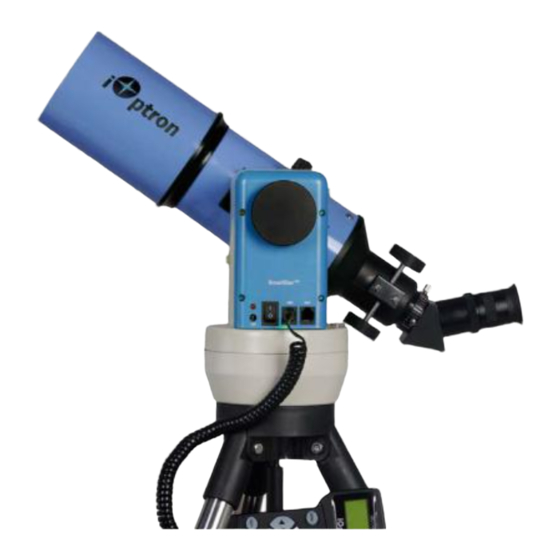
Step 4.
#2 knob
Attach telescope to mount using dovetail lock knob (#2).
(Picture shows 80mm refractor. However all scopes will
attach in the same manner.)
in the holder. Refer to the
(not included)
. Use only fresh batteries.
Advertisement
Table of Contents

Related Manuals for iOptron SmartStar 8800


Summary of Contents for iOptron SmartStar 8800
- Page 1 . Use only fresh batteries. (See arrow in photo) Using old or low batteries may cause error messages. Step 4. Attach telescope to mount using dovetail lock knob (#2). (Picture shows 80mm refractor. However all scopes will attach in the same manner.) ...
- Page 2 SPEED key to change the slew rate from the slowest (1X) to the fastest (MAX). (Note: The slowest speed on the SmartStar 2X).The next steps show you how to set up the telescope and controller for automatic slewing and tracking.
- Page 3 Press ENTER. Then select an object (ex. “Moon”) by scrolling with the arrow keys. Press ENTER. The telescope will automatically slew to the object and lock on. It will automatically begin to track once it locks on to the object.
- Page 4 #8802)……... Insert 45º diagonal: Insert the diagonal into the eyepiece side of the telescope. Tighten the thumbscrews to a firm feel only. Insert the eyepiece: Slide the eyepiece into the open end of the diagonal. Tighten the thumbscrews to a firm feel only.
Need help?
Do you have a question about the SmartStar 8800 and is the answer not in the manual?
Questions and answers