Sign In
Upload
Download
Table of Contents
Contents
Add to my manuals
Delete from my manuals
Share
URL of this page:
HTML Link:
Bookmark this page
Add
Manual will be automatically added to "My Manuals"
Print this page
×
Bookmark added
×
Added to my manuals
Manuals
Brands
iOptron Manuals
Telescope
6001
Instruction manual
iOptron 6001 Instruction Manual
Refractor telescope instruction manual
Hide thumbs
1
Table Of Contents
2
3
4
5
6
7
8
9
10
11
12
13
14
page
of
14
Go
/
14
Contents
Table of Contents
Bookmarks
Table of Contents
Table of Contents
1 Telescope Assembly
900X70 Assembly Terms
Telescope Assembly
2 Understanding Celestial Motion and Coordinates
3 Getting Started
Selecting an Eyepiece
Focusing Telescope
Aligning Finderscope
Balancing the Telescope
Polar Alignment of the Equatorial Mount
4 Using the Telescope
Getting Familiar with You Mount and Telescope
Star Observation
Observation Tips
How to Use Setting Circles
Calculating the Power
5 Maintenance
6 Technical Specifications
Ioptron One Year Limited Warranty
Advertisement
Quick Links
1
Telescope Assembly
Download this manual
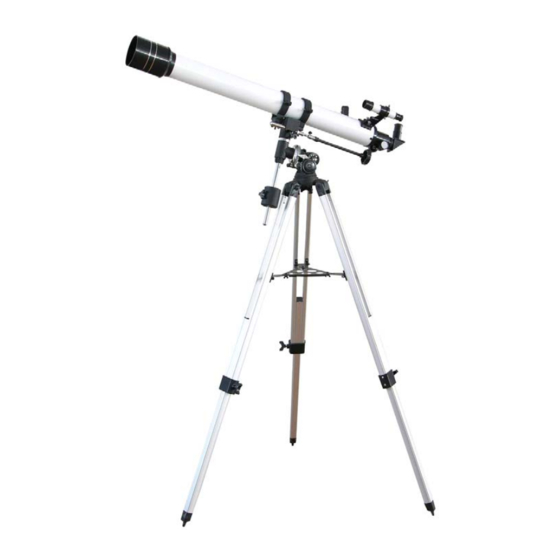
900X70 Refractor Telescope
Instruction Manual
For products #6001 & #6002
www.iOptron.com
Table of
Contents
Previous
Page
Next
Page
1
2
3
4
5
Advertisement
Table of Contents
Need help?
Do you have a question about the 6001 and is the answer not in the manual?
Ask a question
Questions and answers
Related Manuals for iOptron 6001
Telescope iOptron 6002 Instruction Manual
Refractor telescope instruction manual (14 pages)
Telescope iOptron GoToNova 8401 Instruction Manual
Ioptron telescope instruction manual (43 pages)
Telescope iOptron SmartStar 8405 Instruction Manual
Ioptron telescope instruction manual (38 pages)
Telescope iOptron SmartStar 8403 Instruction Manual
Smartstar-e series mount and telescopes (32 pages)
Telescope iOptron SmartStar G-MC90 Instruction Manual
Smartstar-g series mount and telescopes (42 pages)
Telescope Ioptron SmartStar A-MC90 User Manual
Refractor, newtonian and maksutov-cassegrain telescopes (36 pages)
Telescope iOptron SmartEQ 3100 Quick Start Manual
Portable german equatorial goto mount (7 pages)
Telescope iOptron SmartStar N114 Instruction Manual
(38 pages)
Telescope iOptron 9501-W Instruction Manual
(38 pages)
Telescope iOptron #8506 Instruction Manual
(49 pages)
Telescope iOptron Photron RC6 Instruction Manual
Ritchey-chretien optical tube assembly (9 pages)
Telescope iOptron SmartStar 8800 Quick Start Manual
E series & g series systems with gps (4 pages)
Telescope Ioptron AstroBoy Instruction Manual
Computerized telescope (41 pages)
Telescope iOptron SmartStar N114 Quick Start Manual
(4 pages)
Telescope iOptron #9102 Quick Start Manual
Computerized telescope with electronic eyepiece (4 pages)
Telescope Ioptron iExplore 70AZ Instruction Manual
For product #6003 (12 pages)
This manual is also suitable for:
6002
900x70
Table of Contents
Print
Rename the bookmark
Delete bookmark?
Delete from my manuals?
Login
Sign In
OR
Sign in with Facebook
Sign in with Google
Upload manual
Upload from disk
Upload from URL


Need help?
Do you have a question about the 6001 and is the answer not in the manual?
Questions and answers