
Related Manuals for Magnavox W-08CR


Summary of Contents for Magnavox W-08CR
- Page 1 OWNER'S MANUAL MODEL: W-08CR W-10CR W-12CR For any service needs, call 1-855-368-8606 Before using this product, please read the instructions carefully and keep for future reference.
-
Page 2: Table Of Contents
CONTENTS 1. SAFETY PRECAUTIONS ..............2 2. IMPORTANT SAFETY INSTRUCTIONS ..........4 ....... -
Page 3: Safety Precautions
Safety Precautions To prevent injury to the user or other people and property damage, the following instructions must be followed. Incorrect operation may cause harm or damage. The seriousness is classified by the warning symbols below. WARNING This symbol indicates the possibility of death or serious injury. This symbol indicates the possibility of injury or damage to property. - Page 4 ! CAUTION When the air filter is Do not clean the air Ventilate the room well when removed do not touch conditioner with water. a stove is being used in the same room. the exposed metal parts. This ma y cause an injury. Water may enter the unit and An oxygen shortage may occur.
-
Page 5: Important Safety Instructions
IMPORTANT SAFETY INSTRUCTIONS For your safety WARNING NOTE For some models, the power Do not store or use gasoline or other flammable vapors and liquids in cord for this a ir conditioner the vicinity of this or any other appliance. contains a current detection device To avoid fire hazard or electric shock, do not use an extension cord or an... -
Page 6: Electronic Control Operating Instructions
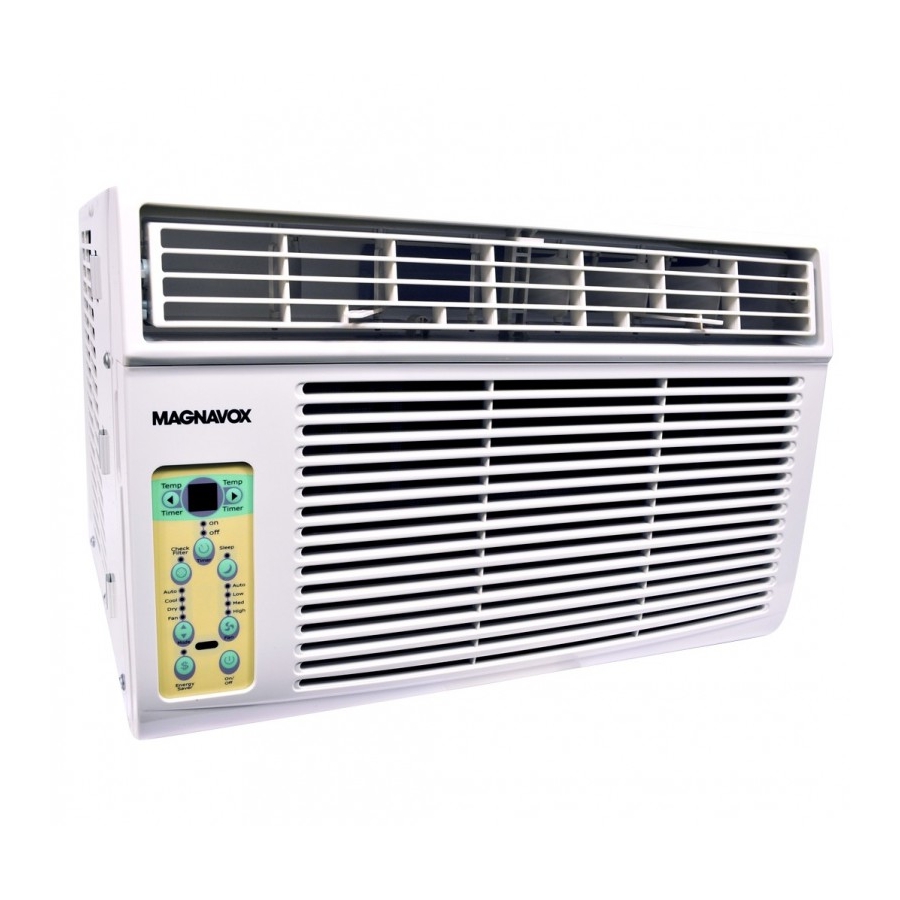
AIR CONDITIONER FEATURES ELECTRONIC CONTROL OPERATING INSTRUCTIONS Before you begin, familiarize yourself with the control panel on the unit and the remote control as shown below and refer to the symbols for the functions you desire. The unit can be controlled by either the unit controls or with the remote control. Temp Temp ADJUSTS... - Page 7 AIR CONDITIONER FEATURES(CONTINUED) TO CHANGE TEMPERATURE SETTING: NOTE (LEFT/RIGHT button) Press or hold either LEFT( <) or RIGHT (>) button until the desired temperature is shown on the Temp Temp display. This temperature will be automatically maintained anywhere between 62 F(17 C) and Timer Timer DO THIS:...
- Page 8 AIR CONDITIONER FEATURES(CONTINUED) During this function, the display will show the actual room temperature, not the set temperature as in the cooling mode. In Fan only mode ,the temperature is not adjusted. To operate on DRY mode: In this mode, the air conditioner will generally operate as a dehumidifier.
- Page 9 AIR CONDITIONER FEATURES(CONTINUED) TIMER: AUTO START/ NOTE:(TIMER button) STOP FEATURE: - Press the TIMER button, and the TIMER ON indicator light will illuminate to indicate that the AUTO START program is initiated. Temp Temp - Press the TIMER button again to show the TIMER OFF indicator light which indicates that the AUTO STOP program is initiated.
- Page 10 AIR CONDITIONER FEATURES(CONTINUED) FOLLOW ME FEATURE: NOTE: (only on some models) This feature can only be activated from the remote control . The remote control serves as a remote thermostat allowing for the precise temperature control at its location. Auto Auto To activate the Follow Me feature, point the remote Cool...
-
Page 11: Installation Instructions
Air Directional Louvers Levers The louvers will allow you to direct the air flow UP or DOWN (on some models) and Left or Right or DOWN(only on some models) and Left or Right throughout the room as needed. Pivot horizontal louvers until they are in the preferred direction. -
Page 12: How To Install
Fig.F C: Align the hole in the top rail with those in the Fig.G top of the unit as shown in Fig.F D: Secure the top rail to the unit with the 3/8 Screws as shown in Fig.G. NOTE: For safety reasons, all four(4) screws MUST be securely fastened. - Page 13 Keep a firm grip on the air conditioner, carefully place the unit into the window opening so the bottom of the air conditioner frame is against the window sill (Fig.4). Carefully close the window behind the top INSIDE OUTSIDE rail of the unit. Wooden Windows Fig.4 Extend the side panels out against the window...
- Page 14 To secure lower sash in place, attach right angle sash lock with 3/4" (19mm) or 1 /2" (12.7mm) screw as shown(Fig.8). Fig.8 FOAM SEAL Window sash seal foam and insert it in the space between the upper and lower sashes (Fig.9). Fig.9 If AC is Blocked by Storm Window Add wood as shown in Fig.10, or remove storm...
-
Page 15: Cleaning And Maintenance
CLEANING AND MAINTENANCE CAUTION Clean your air conditioner occasionally to keep it looking new. Be sure to unplug the unit before cleaning to prevent shock or fire hazards. Air Filter Cleaning The air filter should be checked at least once a month to see if cleaning is necessary. -
Page 16: Troubleshooting Tips
TROUBLESHOOTING TIPS Before calling for service, review this list. It may save you time and expense. This list includes common problems that may not be the result of defective workman-ship or materials in this appliance. Troubleshooting section Problem Solution Air conditioner - Power cord may have been disconnected from the outlet. - Page 17 Problem Solution Air conditioner turns - A dirty air filter may be obstructing the cool air. Clean the filter as on and off rapidly instructed on the ‘CARE AND CLEANING SECTION’ of this manual. - In cases where the outside temperature may be extremely high, set the FAN speed to a higher setting to circulate the air cool air better.
-
Page 18: Normal Operating Sounds
NORMAL OPERATING SOUNDS High Pitched Chatter Sound High efficiency compressors may have a high pitched chatter Vibration Sound during the cooling cycle. Unit may vibrate and make noise because of poor wall or window construction or incorrect installation. Sound of Rushing Air At the front of the unit, you may hear the sound of rushing air being moved by t he fan. - Page 19 The design and specifications are subject to change without prior notice for product improvement. Consult with the sales agency or manufacturer for details. MAGNAVOX and SMART. VERY SMART are registered trademarks of Koninklijke Philips N.V. and are used under license from Koninklijke Philips N.V.
Need help?
Do you have a question about the W-08CR and is the answer not in the manual?
Questions and answers
should I see outside light thru the louvers on my window SC unit?
Yes, you may see outside light through the louvers on your Magnavox W-08CR window air conditioning unit. The louvers direct airflow and are located at the front of the unit, while the rear of the unit must be outdoors to allow airflow through the condenser. This setup may allow some outside light to be visible through the louvers.
This answer is automatically generated
Where is the water tray
What is the warranty on my new purchase of Magnavox 8000 BTU window air conditioner item # W-08CR3 ?
WHAT IS THE BRACKET THAT COMES WITH THE AIRCONDITION FOR WHERE DOES IT GO?
How do I set my air conditioner so that it doesn’t turn off and on. I want it on until I turn it off.