
Related Manuals for King Canada KC-426C


Summary of Contents for King Canada KC-426C
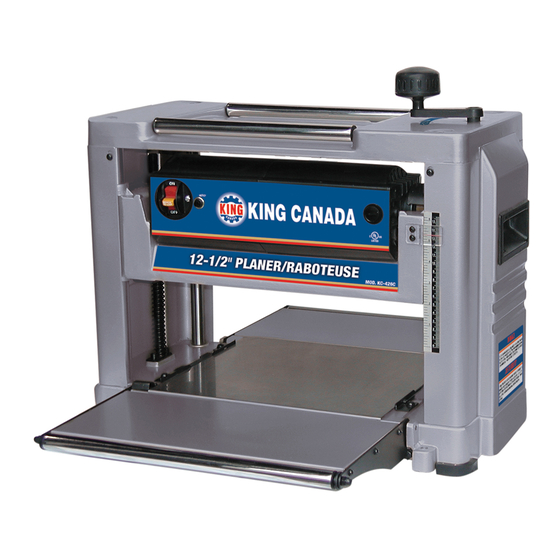
- Page 1 12-1/2” PORTABLE PLANER MODEL: KC-426C INSTRUCTION MANUAL COPYRIGHT © 2003 ALL RIGHTS RESERVED BY KING CANADA TOOLS INC.
-
Page 2: Important Information
Warranty does not apply to defects due directly or indirectly to misuse, abuse, negligence or accidents, repairs or alterations and lack of maintenance. KING CANADA shall in no event be liable for death, injuries to persons or property or for incidental, special or consequential damages arising from the use of our products. -
Page 3: General Safety Rules For Power Tools
GENERAL SAFETY INSTRUCTIONS FOR POWER TOOLS 1. KNOW YOUR TOOL 12. ALWAYS WEAR SAFETY GLASSES. Read and understand the owners manual and labels affixed to the Always wear safety glasses (ANSI Z87.1). Everyday eyeglasses tool. Learn its application and limitations as well as its specific only have impact resistant lenses, thet are NOT safety glasses. -
Page 4: Table Of Contents
SPECIFICATIONS SPECIFICATIONS: MOTOR: VOLTS ..................120V (60HZ) AMPS . -
Page 5: On/Off Switch
CONTROLS & ADJUSTMENTS ON/OFF SWITCH Reset Your planer has a rocker style switch with a removable locking key to prevent Circuit Breaker On-Off unauthorized use. If you intend to be away from the machine for a long Safety Switch period of time and there is any chance of it’s use by others, especially children, remove the locking key with the switch in the OFF position. -
Page 6: Removing The Planer Knives
ADJUSTMENTS REMOVING & INSTALLING KNIVES REMOVING THE PLANER KNIVES WARNING: Unplug you planer from the power source before removing the planer knives. 1. Remove the chip guard by removing the wing nuts as shown in Fig.3. Wing nut 2. Loosen the lock bar (B) and knife by turning the lock screws (A) clockwise. The knives are spring loaded, and will push out when the assembly is Chip loosened. -
Page 7: Setting The Knife Height
ADJUSTMENTS SETTING THE KNIFE HEIGHT 1. To obtain a knife projection of 1,5mm, place the knife setting gauge (E) on the cutterhead with both guides resting firmly against the knife. 2. Loosen the assembly by turning the 7 screws (A) clockwise with an open end wrench. -
Page 8: Making The Cutterhead And Table Parallel
ADJUSTMENTS MAKING THE CUTTERHEAD AND WORKTABLE PARALLEL Plane a workpiece and measure the workpiece thickness after the cut. If the thickness is not the same on both sides of the workpiece, perform the following. Adjust the cutter shaft and the worktable so they are parallel. The tools used for checking are shown below. Please use hardwood to make a tool gauge block according to the sizes (mm) shown in the figure below. -
Page 9: Planing For Finish & Thickness
OPERATIONS & MAINTENANCE PLANING FOR FINISH Planing for a smooth finish as well as thickness is best accomplished by taking light cuts on the board. However, several other things are important besides light cuts to achieve a smooth finish. Always feed the board in a direction that allows the planer blades to cut with the grain. This aids the knife in severing the wood fibers rather than lifting and tearing the fibers. -
Page 10: Troubleshooting
TROUBLESHOOTING PROBLEM POSSIBLE CAUSE REMEDY 1. Planing wood with high moisture content. 1. Dry the wood. FUZZY GRAIN 2. Dull knives. 2. Sharpen knives. 1. Too heavy a cut. 1. Review proper depth of cut. TORN GRAIN 2. Knives cutting against the grain. 2.
Need help?
Do you have a question about the KC-426C and is the answer not in the manual?
Questions and answers