Table of Contents
Advertisement
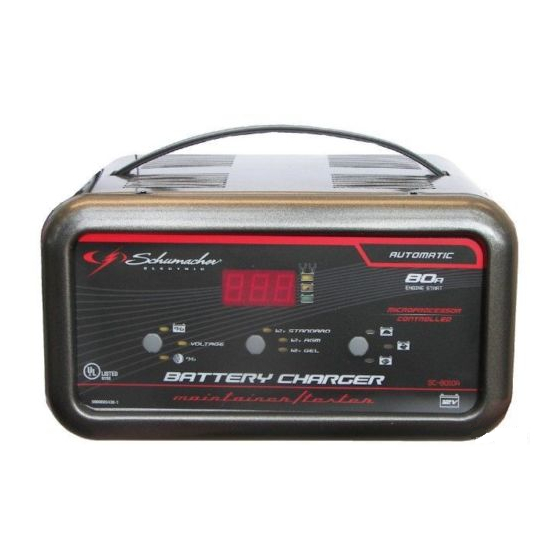
OWNER'S MANUAL
Model SC-8010A
For 12-Volt Batteries
Fully Automatic
Microprocessor Controlled
Battery Charger with
Engine Starter plus
Battery Tester and
Alternator Tester
CAUTION:
Read all Safety Rules and Operating Instructions,
and follow them with each use of this product.
Schumacher Electric Corporation
Mount Prospect, IL 60056 U.S.A.
Send Warranty Product Repairs to:
Customer Service Returns
P.O. Box 280,1025 E. Thompson, Hoopeston, IL 60942-0280
Questions? Call Customer Service: 1-800-621-5485
ELECTRONIC
BATTERY CHARGER
2
a m p
S L O W
C H A R G E
80
a m p
E N G I N E
S T A R T
10
25
a m p
F A S T
C H A R G E
00-99-000811/0607
Advertisement
Table of Contents

Related Manuals for Schumacher Electric SC-8010A


Summary of Contents for Schumacher Electric SC-8010A
-
Page 1: Battery Charger
OWNER’S MANUAL Model SC-8010A For 12-Volt Batteries ELECTRONIC BATTERY CHARGER a m p a m p S L O W F A S T C H A R G E C H A R G E a m p... -
Page 2: Table Of Contents
WARRANTY ......................16 PLEASE SAVE THIS OWNER’S MANUAL AND READ BEFORE EACH USE. Model SC-8010A Microprocessor Controlled, Fully Automatic Operation Battery Charger with Engine Starter Plus Battery and Alternator Tester offers features to accommodate the needs for home or light commercial use. This manual will explain how to use the battery charger safely and effectively. -
Page 3: Important Safety Instructions
Review cautionary markings on these products and on engine. SAVE THESE INSTRUCTIONS This manual contains important safety and operating instructions for battery charger model SC-8010A. • WARNING: Handling the cord on this • WARNING: Battery chargers get hot product or cords associated with ac-... -
Page 4: Personal Safety Precautions
Never touch the battery clamps together Never pull out the plug by the cord when when the charger is on. You could cause unplugging the charger. Pulling on the a spark. cord may cause damage to the cord or the plug. Never operate charger if it has received a hard blow, been dropped, or otherwise Do not operate the charger if it has a... -
Page 5: Using An Extension Cord
USING AN EXTENSION CORD • Make sure that the wire size is large The use of an extension cord is not rec- enough for its length and for the AC ommended. If you must use an extension ampere rating, as specified in the chart cord, please make sure that you follow below. -
Page 6: Charging Battery Removed From The Vehicle
5. Connecting to a negative-grounded 8. To disconnect the charger, unplug system: Connect the red (POSITIVE) its power cord before attempting to output clamp to the POSITIVE post of disconnect the output clamps. Then, the battery. Rock and twist the clamp standing away from the battery, re- back and forth to be sure a solid move the output clamp from the chas-... -
Page 7: Using Engine Start
CONNECTED LED is not lit, check for 1. Wait for cranking - The charger waits correct cable connections. until the engine is actually being cranked 6. Press the appropriate control buttons before delivering 80 amps for engine to select the desired charge rate and start. -
Page 8: Using Your Battery Charger
USING YOUR BATTERY CHARGER OVERVIEW C O M P L E T I O N O F C H A R G I N G : Using this battery charger is very simple. Charge completion is indicated by First, connect the battery and AC power the CHARGED (green) LED;... -
Page 9: Charger Controls
CHARGER CONTROLS DIGITAL DISPLAY 12 AGM 12V GEL 2 AMP SMALL BATTERY 25 AMP REGULAR BATTERY 80 AMP ENGINE START DIGITAL DISPLAY BUTTON means to add distilled water when needed. Use this button to set the function of the Batteries should be marked with their type. -
Page 10: Control Panel Guide
CONTROL PANEL GUIDE... -
Page 11: Using The Built-In Battery Tester
1. Connect the charger battery clamps to TESTER STATUS LEDs the battery. Be sure to follow all of the When the SC-8010A is operating as a bat- precautions listed under “OPERATING tery tester, the status LEDs light under the INSTRUCTIONS”. -
Page 12: Using The Built-In Alternator Tester
This battery charger has a built-in alterna- TESTER STATUS LEDs tor tester that displays either an accurate When the SC-8010A is operating as an alternator voltage or an estimate of the alternator tester, the status LEDs light alternator’s relative output compared under the following conditions. -
Page 13: Battery Percent And Charge Time
BATTERY PERCENT AND CHARGE TIME This charger adjusts the charging time in There are some important facts to keep in order to charge the battery completely, mind when charging a battery. efficiently and safely. The microproces- • When the display indicates 77% charged, sor automatically makes the necessary the battery has been charged enough decisions. -
Page 14: Charging Tips
CHARGING TIPS Read this entire manual before using your charger. The tips below serve only as a guide for specific situations. If your vehicle won’t start: You don’t Reviving your battery: If you only wish need to fully charge the battery to start to charge your battery enough to operate your vehicle. -
Page 15: Troubleshooting
TROUBLESHOOTING Performance problems often can be corrected by the user. Please read through this chart for a possible solution to common problems. PROBLEM POSSIBLE CAUSE SOLUTION The battery is connected The charger is in tester Press the CHARGE and the charger is on, mode, not charger mode. -
Page 16: Warranty
MAKES THIS LIMITED WARRANTY TO THE ORIGINAL PURCHASER AT RETAIL OF THIS PRODUCT. THIS LIMITED WARRANTY IS NOT TRANSFERABLE. Schumacher Electric Corporation warrants this battery charger for five years from date of purchase at retail against defective material or workmanship. If such should occur, the unit will be repaired or replaced at the option of the manufacturer.
Need help?
Do you have a question about the SC-8010A and is the answer not in the manual?
Questions and answers