
Subscribe to Our Youtube Channel
Related Manuals for Ryobi RLT-1000EX


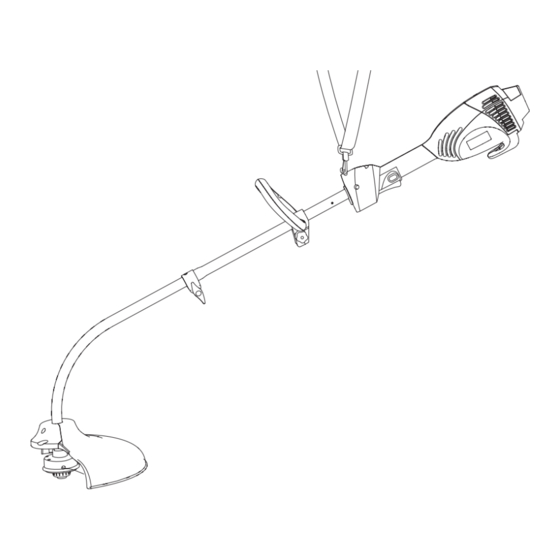
Summary of Contents for Ryobi RLT-1000EX
- Page 1 RLT-1000EX ELECTRIC LINE TRIMMER OPERATOR’S MANUAL (Original Instructions) Important! It is essential that you read the instructions in this manual before operating this machine.
- Page 2 RLT-1000EX Fig.1 Fig.2 Fig.3 Fig.4 Fig.5 Fig.6...
- Page 3 RLT-1000EX Fig.7 Fig.8 Fig.9 Fig.11a Fig.11b Fig.10 Fig.11 Fig.11c Fig.12...
- Page 4 Your line trimmer has been engineered and manufactured to n Do not handle the product with wet hands. Ryobi’s high standard for dependability, ease of operation, n Do not use the product if the switch does not turn the and operator safety. When properly cared for, it will give product on or off.
- Page 5 Any part that is damaged should be properly of damage or aging. If the cord becomes damaged during repaired or replaced by a Ryobi authorized service centre. use, disconnect the cord from the supply immediately. DO n Keep the product clean of grass clippings and other...
- Page 6 ENGLISH MAINTENANCE AND STORAGE n Switch on the motor only when the hands and feet are away from the cutting means. n Disconnect the machine from the power supply (i.e. n Always disconnect the machine from the power supply remove the plug from the mains or remove the disabling (i.e.
- Page 7 ENGLISH SYMBOLS The following signal words and meanings are intended to explain the levels of risk associated with this product. SYMBOL SIGNAL MEANING DANGER: Indicates an imminently hazardous situation, which, if not avoided, will result in death or serious injury. WARNING: Indicates a potentially hazardous situation, which, if not avoided, could result in serious injury.
- Page 8 ENGLISH SPECIFICATIONS ASSEMBLY Voltage........... 230-240V~50Hz CONNECTING LOWER SHAFT TO THE UPPER Nameplate Power ..........1000W SHAFT (FIG.2) No Load Speed..........7,000/min WARNING: Cutting Line ............1.5mm The split shaft is for transport and storage purposes Max.Cutting Path..........380 mm only. The electric power head is not recommended for Measured Sound Power Level ....
- Page 9 ENGLISH ASSEMBLY OPERATING THE TRIMMER (FIG.8) Follow these steps to operate the trimmer. n Place the knob nut (item 15) onto the bolt and tighten n Plug the trimmer cord into an extension cord approved the knob nut securely. for outdoor use. Refer to “Electrical Safety Rules” earlier in this manual.
- Page 10 Secure the lines to the holding slots on the top of the Use only identical Ryobi replacement parts when servicing spool. (see fig.11c) this product. Use of any other parts may create a hazard or n Feed the lines through the eyelets of the cutting head cause product damage.
- Page 11 ENGLISH TROUBLESHOOTING PROBLEM POSSIBLE CAUSE SOLUTION Line will not advance when 1. Line is welded to itself. 1. Lubricate with a silicone spray. tapping bump button 2. Not enough line on spool. 2. Install more line (Refer to “Replacing replacement spool” earlier in this 3.
- Page 12 LIABLE FOR SPECIAL, INCIDENTAL, CONSEQUENTIAL OR INCIDENTAL DAMAGES. OUR MAXIMUM LIABILITY SHALL NOT EXCEED THE ACTUAL PURCHASE PRICE PAID BY YOU FOR THE PRODUCT. This warranty is valid only in the European Union, Australia and New Zealand. Outside these areas, please contact your authorized Ryobi dealer to determine if another warranty applies.
- Page 13 Marlow, Bucks Schinitzgasse 13 SL7 1TB - United Kingdom A-8605 Kapfenberg Tel.: + 43 (0) 3862 23590-0 RYOBI TECHNOLOGIES (UK) LIMITED. Fax: + 43 (0) 3862 23590-25 Medina House, Field House Lane, Marlow, Bucks SL7 1TB - United Kingdom TECHTRONIC INDUSTRIES AUSTRALIA PTY LIMITED.
Need help?
Do you have a question about the RLT-1000EX and is the answer not in the manual?
Questions and answers