Table of Contents

Subscribe to Our Youtube Channel
Related Manuals for Denver DMP370


Summary of Contents for Denver DMP370
-
Page 1: Operating Instructions
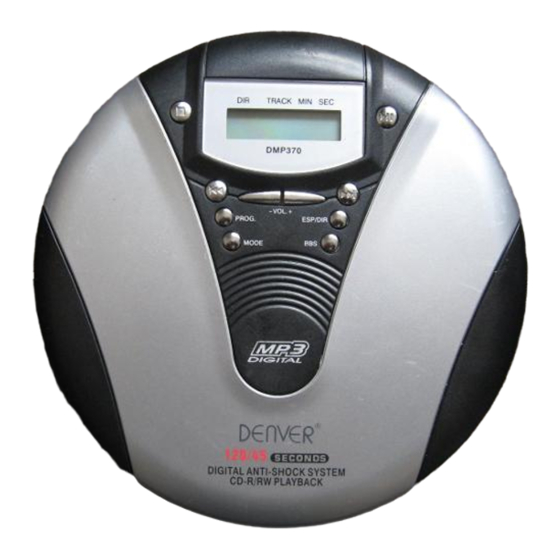
DMP370 OPERATING INSTRUCTIONS 120/45 SECONDS ANTI-SHOCK PORTABLE MP3/CD PLAYER www.denver-electronics.com COPY RIGHT DENVER ELECTRONICS ALL RIGHTS RESERVED WARNING: TO REDUCE RISK OF FIRE OR ELECTRIC SHOCK, DO NOT EXPOSE THIS APPLIANCE TO RAIN OR MOISTURE. - Page 2 For safety OPERATING INSTRUCTIONS Do not attempt to disassemble this unit. CAUTION Laser rays from the optical pickup are dangerous to the eyes Make sure that pins or other foreign Use of controls or adjustments or performance objects do not get inside the player of procedures other than those specified Take care not to drop the unit or subject it herein may result in hazardous radiation...
-
Page 3: Using On Dry Cell Batteries
USING ON DRY CELL BATTERIES Open the battery compartment and insert two If the cover of the battery LR6 (size AA) alkaline batteries with the + compartment comes off you should and - marks correctly aligned. insert it by hands. Please refer to (Batteries not included.) picture Note on dry cell batteries... -
Page 4: Using On Rechargeable Batteries
USING ON RECHARGEABLE BATTERIES Time to recharge the batteries Be sure to use size AA Ni-MH 1.2v Recharge the batteries when lights, If rechargeable batteries. (Not included.) the unit remains in use after lights, the which are commercially available Be sure current operation will stop. -
Page 5: Before Playback
BEFORE PLAYBACK Adjusting the sound HOLD switch Release the HOLD switch to OFF position Volume before playback.When not using the unit, set Turn The VOLUME control to adjust the the HOLD switch to the ON position, volume. Accidentally pressed button will not function, If buttons are pressed when the HOLD switch BASS BOOST is set to the ON position. - Page 6 Inserting a disc To remove the disc 1. Push the OPEN switch to open the disc Pick up the disc, holding its edge, while compartment pressing the pivot gently. 2. Place a disc in the center with the label side facing up. 3.Close the disc compartment.
-
Page 7: Repeat All
PLAYBACK FUNCTION KEY: Press mode key Connect the supplied headphone to the NORMAL REPEAT ONE REPEAT ALL PHONE jack. 1.Release HOLD to OFF position. RAND INTRO 2.Place a disc with label side facing up. 3.Press PLAY/PAUSE REPEAT ONE: " " light on display Playback starts from the first track. - Page 8 6.Press play key, start playing. DIR SELECT: Press ESP/DIR key. 7.To clear programing. press the "STOP" key, DISC: If no diSC, then "no then press "PROG" key to program state, diSC" is display. then press "STOP" key ,or open the door or power off.
-
Page 9: Connection To An External Unit
CONNECTION TO AN EXTERNAL UNIT MAINTENANCE Use a commercially available connection cord To clean the lens which has a 3.5mm stereo plug at one and If the lens become dirty, the player will skip or two phono plugs at the other end. not play, If this occurs, clean the lens in the connect the stereo plug to the LINE OUT jack following. -
Page 10: Specifications
SPECIFICATIONS Tracking system 1-beam laser Laser pickup Semiconductor laser D/A conversion 8-times over sampling digital filter +1- bit DAC Frequency response 20-20,000Hz Outputs PHONES: stereo jack (3.5mm) [20mW+20mW,32 ohms at 1 KHz] Input DC 4.5V for external power from AC adaptor: Not included. - Page 11 Rechargeable Battery Power Insert one rechargeable battery into rechargeable battery sleeve as diagram shown so that negative polarity(-)position of battery is inserted into the rechargeable sleeve. Open the battery compartment and insert 2x LR6 (AA) size rechargeable nickel-cadmium batteries (not supplied) place rechargeable battery with sleeve included as shown in diagram (only one battery need with the sleeve, the sleeve must be at negative polarity (-), otherwise the battery cannot be recharged).
- Page 12 DENVER ELECTRONICS SUBJECT TO MODIFICATION WITHOUT NOTICE!
Need help?
Do you have a question about the DMP370 and is the answer not in the manual?
Questions and answers