Fisher & Paykel CI302DTB Installation Instructions Manual
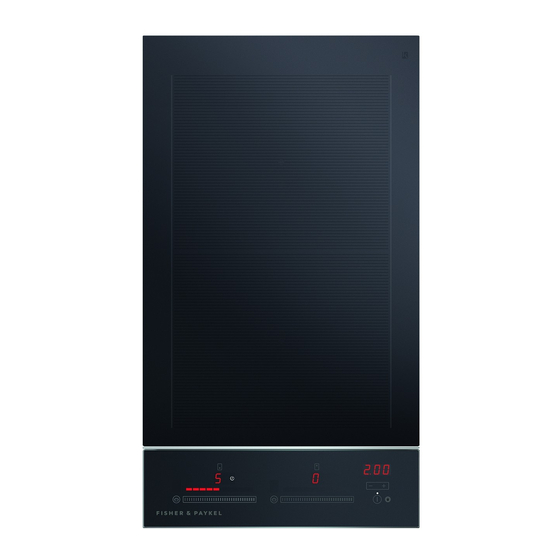
Induction cooktop
Hide thumbs
Also See for CI302DTB:
- User manual (40 pages) ,
- Installation manual (25 pages) ,
- Using manual (9 pages)

Related Manuals for Fisher & Paykel CI302DTB


Summary of Contents for Fisher & Paykel CI302DTB
-
Page 1: Installation Instructions
INSTALLATION INSTRUCTIONS Induction cooktop CI302DTB, CI603DTB, CI604DTB, CI754DTB & CI905DTB models NZ AU GB IE 590492A 03.13... -
Page 3: Safety And Warnings
SAFETY AND WARNINGS IMPORTANT SAFETY INSTRUCTIONS! WARNING! Electrical shock hazard Particular attention shall be given to the relevant requirements regarding ventilation. Disconnect the appliance from the Read these instructions carefully before installing mains electricity supply before carrying this product. out any work or maintenance on it. Please make this information available to the person installing the appliance as it could reduce Connection to a good earth wiring... - Page 4 SAFETY AND WARNINGS if the cooktop is installed above an oven, the oven Before you install the appliance, has a built-in cooling fan. please make sure that a suitable disconnection switch is incorporated in the installation will comply with all clearance the permanent wiring, mounted and positioned requirements and applicable standards and to comply with the local wiring rules and...
-
Page 5: Parts Supplied
PARTS SUPPLIED Clamping brackets (4) Foam tape (1) and screws (4) CG302DTB only Clamping brackets (2) and screws (2) Installing multiple products Note: We recommend installing products in separate cutouts with a minimum distance of 5 mm between the glass edges. If installing multiple products adjacent to each other within the same cutout, a separate joining strip kit is required for installation. - Page 6 PRODUCT & CABINETRY DIMENSIONS Note: Electrical connection is made at the right rear FRONT REAR SIDE Product and cabinetry dimensions (mm) overall height of product (including terminal block below top of chassis) overall width of product overall depth of product height of chassis (including terminal block below top of chassis) width of chassis...
-
Page 7: Clearance Dimensions
CLEARANCE DIMENSIONS Alternatively 2x 50mm holes min. 4 mm in side wall Drawer or other obstruction to allow adequate min. 75 mm cool air Alternatively 2x 50mm holes min. 4 mm in side wall to allow adequate Oven with cooling fan cool air 20 mm FRONT... - Page 8 FLUSH MOUNTING INSTALLATION (NOT RECOMMENDED) Note: Electrical connection is made at the right rear WARNING! We do not recommend flush mounting and sealing as servicing requires the cooktop to be removed from the benchtop. The owner carries all risk for flush mounting the cooktop.
- Page 9 FLUSH MOUNTING INSTALLATION (NOT RECOMMENDED) ROUTER THE BENCHTOP TO THE FIT THE CLAMPING BRACKETS MASK OFF THE AREA TO BE SPECIFIED DEPTH SILICONED No. of brackets and slot positions depends on model view from below 12-40mm 5 mm 40mm+ Fit a minimum of 2 brackets on opposing sides APPLY SILICONE WIPE OFF EXCESS SILICONE IF REMOVING PRODUCT, CUT...
- Page 10 DISCARD PACKAGING PLACE COOKTOP UPSIDE DOWN Important! To avoid damage to the glass, ensure there is a protective cover underneath it. Recycle responsibly APPLY ADHESIVE FOAM TAPE AROUND GLASS EDGE LOWER GENTLY INTO THE CUTOUT Foam Tape Apply the foam seal around the glass overhang, 5 mm in from the edge of the glass, with the adhesive side facing Adhesive side...
-
Page 11: Connecting The Cooktop To The Mains Power Supply
7400W @ 220-240/380-415V 2N ~ 32A CI905DT 9800W @ 220-240/380-415V 3N ~ 43A *The CI302DTB comes supplied with a cable. This must be wired into a 16A plug. Important! Check with an electrician whether the domestic wiring system is suitable without alterations. Any alterations must only be made by a qualified electrician. -
Page 12: Final Checklist
FINAL CHECKLIST TO BE COMPLETED BY THE INSTALLER Have you demonstrated the basic operation to the customer? Make sure you explain to the customer about Is the cooktop earthed? the importance of taking note of the safety warnings at the beginning of the user guide, especially for persons with pacemakers or other Check that there is an adequate and constant flow of cool air from the electrical implants.
Need help?
Do you have a question about the CI302DTB and is the answer not in the manual?
Questions and answers