Table of Contents

Summary of Contents for Charles 93–12PREG
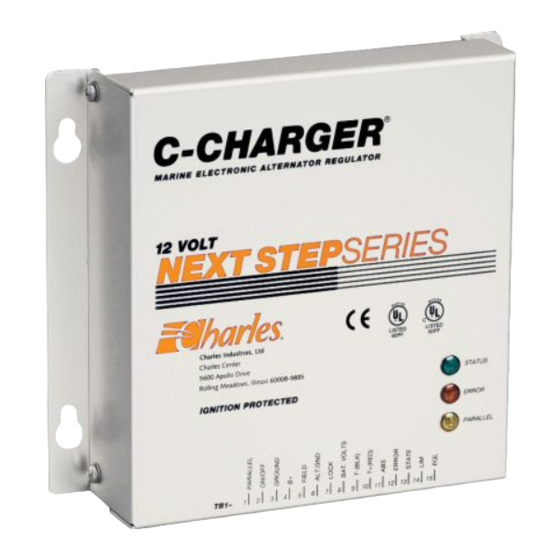
- Page 1 Issue 1 Print 2 INSTALLATION INSTRUCTIONS C-CHARGER & OWNER’S MANUAL Models: 93–12PREG 93–24PREG Marine Electronic Alternator Regulator 9A–12PREG 9A–24PREG Charles Industries, Ltd. All rights reserved. Printed in the United States of America.
-
Page 2: Table Of Contents
Issue 1 Print 2 Contents INTRODUCING... THE ALTERNATOR REGULATOR ..........Warranty/Registration . -
Page 3: Introducing
The Alternator Regulator is intended for installation inside an engine room or elsewhere inside the boat. Make sure that the location will not subject the unit to rain, snow, excessive moisture, excessive heat, or corrosive ele- ments. Charles Industries, Ltd. All rights reserved. Printed in the United States of America. -
Page 4: Application Precaution
Application Precaution These units are intended for hard-wired, permanent, on-board applications. Use of attachments not recom- mended or sold by Charles Marine Products may result in risk of fire, electrical shock or personal injury. Damaged Unit Precaution Do not operate the Alternator Regulator if it has received a sharp blow, been dropped, immersed in water or otherwise damaged. -
Page 5: Wiring
Remove bottom screws (both sides) and lift the cover. TB1—Make connections, then plug in to PCB Figure 1. Connecting the Terminal Block to the Alternator Regulator Charles Industries, Ltd. All rights reserved. Printed in the United States of America. - Page 6 Optional lamps may be up to 0.5 watt (0.05 amps maximum). In-line fuse and holder or equivalent should be used when optional switches are installed. Charles Industries, Ltd. All rights reserved. Printed in the United States of America.
- Page 7 A positive going signal that provides troubleshooting information identical to the red Error LED (see Table 6). Maximum current permitted from the ERR output is 0.05 Amps. Charles Industries, Ltd. All rights reserved. Printed in the United States of America.
-
Page 8: Voltage And Absorption Time Setpoints
The input signals are recognized in the following priority (the earlier listed input overrides all the inputs below it). 1. EQL 2. LIM 3. ABS 4. LOCK Charles Industries, Ltd. All rights reserved. Printed in the United States of America. -
Page 9: Abs Input
Equalization produces a higher voltage than some normal equipment can tolerate. Turn off equipment that will not tolerate an input of 17 volts or more. The alternator regulator does not permit equalization for the gel batteries selected by S1. Charles Industries, Ltd. All rights reserved. Printed in the United States of America. -
Page 10: The Status Led
If all required wires are proper, as verified by a multimeter on the regulator connections, call your dealer or local installer with voltage readings on al the regular connections. Measure the ON/OFF signal with the ignition switch off, and again with it on. Charles Industries, Ltd. All rights reserved. Printed in the United States of America. -
Page 11: Warranty & Customer Service
WARRANTY & CUSTOMER SERVICE Warranty CHARLES MARINE PRODUCTS warrants the Alternator Regulator will be free from defects in materials and workmanship which cause mechanical failure for two (2) years, as set forth in the Limited Warranty. Review this warranty carefully for information on what is covered by its terms. Complete and return the warranty registration card within ten (10) days of purchase to establish proof of ownership and validate the warranty coverage.


Need help?
Do you have a question about the 93–12PREG and is the answer not in the manual?
Questions and answers