Daikin Inverter FLXS25BVMB Operation Manual
Room air conditioner
Hide thumbs
Also See for Inverter FLXS25BVMB:
- Installation manual (16 pages) ,
- Service manual (298 pages) ,
- Pocket manual (169 pages)
Table of Contents
Advertisement
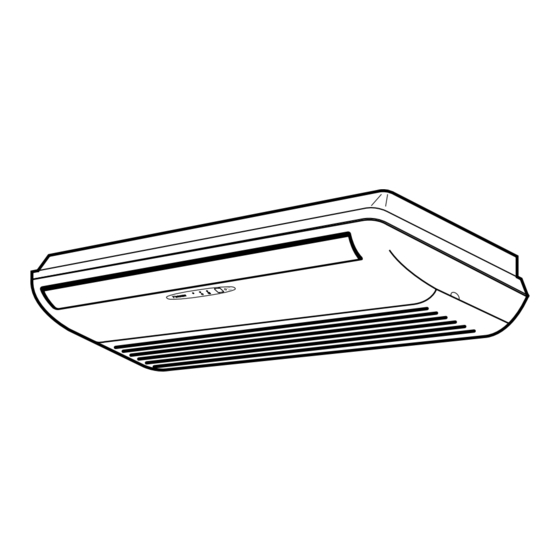
DAIKIN ROOM AIR CONDITIONER
Operation Manual
MODELS
FLXS25BVMB FLKS25BVMB
FLXS35BVMB FLKS35BVMB
FLXS50BVMB FLKS50BVMB
FLXS60BVMB FLKS60BVMB
FLXS25BAVMB FLKS25BAVMB
FLXS35BAVMB FLKS35BAVMB
FLXS50BAVMB FLKS50BAVMB
FLXS60BAVMB FLKS60BAVMB
FLXS35BAVMB9
English
Deutsch
Français
Nederlands
Español
Italiano
ΕλληνικÜ
Portugues
Рóссêий
Advertisement
Table of Contents


Need help?
Do you have a question about the Inverter FLXS25BVMB and is the answer not in the manual?
Questions and answers