
Related Manuals for Pedego CITY COMMUTER & INTERCEPTOR


Summary of Contents for Pedego CITY COMMUTER & INTERCEPTOR
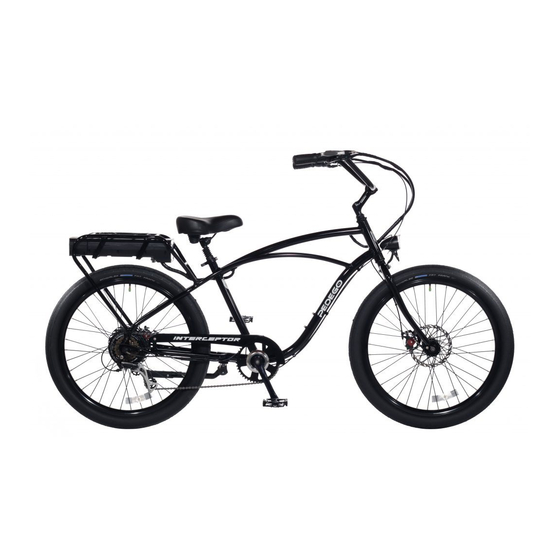
- Page 1 CITY COMMUTER & INTERCEPTOR ASSEMBLY INSTRUCTIONS AND OWNERS MANUAL PEDEGO ELECTRIC BIKES...
-
Page 2: Table Of Contents
Hand Throttle Control Lights Gears Brakes Appearance Care Warranty Commonly Asked Questions Warning Your Bike Information / Serial Number Carton Contents Pedego Bike Pedals (2) Owner’s Manual/Assembly Instructions Lithium Ion Battery Keys for Battery Tool Kit Battery Charger Pg. 2... - Page 3 Pedego Electric Bikes Welcome to the POG First of all, we would like to thank you for choosing the Pedego electric bike. We believe this technology, with the benefits of electric propulsion, provides you with the perfect vehicle to increase your personal mobility.
-
Page 4: Assembly Instructions
Assembly Instructions Your bike has been pre-assembled and requires only a few simple steps to get it ready for you to ride: 1. Remove the outside carton after cutting the nylon bands by lifting off the entire box from the tray at the bottom. 2. - Page 5 Figure 2. Figure 1. Move the stem so that you can see directly down the hole (Figure 1). Insert the 6 mm allen wrench, supplied in the kit, into the hole and tighten the screw clockwise until the handlebars do not move separately from the front wheel (Figure 3).
- Page 6 For Interceptor 5. The handlebars must be adjusted for height and align- ment. First, remove the rubber protective cap and insert the handlebar stem into the frame of the bicycle. With the allen wrench provided in the tool kit, tighten the screw on top of the stem underneath the rubber protective cap to secure the handlebars in place.
- Page 7 6. Make sure the seat is tight enough so that you can’t twist it out of alignment. Pull the seat clamp handle away from the seat post and slide the seat up or down to adjust it. Move the clamp handle inward toward the seat post so it is held tight by the clamp.
-
Page 8: Safety
Always wear an approved helmet while riding your Pedego and follow the helmet manufacturer’s instructions for fit, use and care of your helmet. It is your respon- sibility to familiarize yourself with the laws of where you ride your Pedego and to comply with all applicable laws. -
Page 9: Operating Procedures
“|” position. Be sure to turn off the power when the Pedego is not in use or is recharging by turning the battery on/off switch off. -
Page 10: Charger
Battery and Charger Included with your new Pedego is a lithium ion battery, along with a charger, which plugs into a standard 110 volt household electric receptacle A lithium ion battery requires specially de- Charging plug for 48 volt battery signed chargers. -
Page 11: Battery And Charger Care
If the battery will not be used for an extended period of time, charge it fully and recharge it every 3 months. Store it in a cool, dry place. Your Pedego battery is engineered with precision for high capacity and a long, useful life. Do not use it to power other electrical devices. -
Page 12: Pedal Assist Mode
When first riding your Pedego, you will notice that when the pedal assist function is activated, the motor will supply power when you turn the pedals forward. -
Page 13: Meter Programming
Meter Programming The LCD meter on your Pedego can be programmed to change various functions like tire size, max speed, etc. To clear the riding distance, riding time and max speed settings, hold down the DOWN button (fourth button) for 3 seconds. -
Page 14: Hand Throttle Control
You do not need to pedal the Pedego if you use the hand throttle. However, you can pedal while commanding the throttle. If you do pedal while using the throttle, you conserve energy and the battery charge will last longer. -
Page 15: Gears
Always remove battery from bike when transporting on a bike rack. Gears Your Pedego is equipped with 7 speeds on the City Commuter and the Interceptor. The first gear is for easier and uphill pedaling, and the last gear is for maxi- mum speed on level or downhill terrain. -
Page 16: Brakes
Pedego will come to a stop. The rear brake should always be applied before and while the front brake is applied. Applying only the front brake to slow or stop at high speeds may result in the rider being ejected from the saddle and continu- ing forward over the handlebars. -
Page 17: Appearance Care
It is also recommended to apply chain lube (such as Tri-Flow or ProLink) to the drivetrain of your Pedego when you clean it or wipe it down to keep it in good running condition. -
Page 18: Warranty
Your Pedego authorized service provider can provide you with details. Pedego will not alter form, fit, or function of this Pedego product to make it operate in a country for which it was never intended to function for legal or regulatory reasons. - Page 19 PEDEGO ELECTRIC BIKES will have no obligation under this limited warranty in the event the battery is damaged or destroyed as a result of any of the following events: use on a non Pedego bike, damage or destruction by abusive overcharging; collision; theft;...
-
Page 20: Commonly Asked Questions
Q. Can I put a Pedego on a bike rack? A. Yes, just make sure that the bike rack can hold the weight of a Pedego. We advise taking the battery off to make it easier to lift and to keep the battery safe. -
Page 21: Warning
Bicycle. For technical or warranty assistance please contact Pedego at support@pedego.com YOUR INSURANCE POLICIES MAY NOT PROVIDE COVERAGE FOR ACCIDENTS INVOLVING THE USE OF THIS BICYCLE. TO DETERMINE IF COVERAGE IS PROVIDED, YOU SHOULD CONTACT YOUR INSURANCE COMPANY OR AGENT. - Page 22 SERIAL NUMBER IS ENGRAvED UNDERNEATH THE FRONT CRANK OF YOUR PEDEGO. Pg. 22...
-
Page 23: Your Bike Information / Serial Number
Recording Your Pedego Info SERIAL NUMBER: ______________________________________ MODEL: ______________________________________________ COLOR: _______________________________________________ DATE OF PURCHASE:___________________________________ DEALER’S NAME:______________________________________ DEALER’S PH#:________________________________________ DEALER’S E-MAIL:______________________________________ KEY CODES:_____________________________________________ PLEASE RE GISTER YOU R PEDEGO AT www.PE DEGO.COM Pg. 23... - Page 24 PEDEGO USA www.pedego.com...
Need help?
Do you have a question about the CITY COMMUTER & INTERCEPTOR and is the answer not in the manual?
Questions and answers