
Subscribe to Our Youtube Channel
Related Manuals for Whirlpool WRO34U Series


Summary of Contents for Whirlpool WRO34U Series
- Page 1 R E F R I G E R A T O R USER'S OPERATION MANUAL Model: WRO34U* IMPORTANT: Before installing and operating the unit, please read, understand and follow the Warnings and Instructions. Retain for future reference.
-
Page 2: Table Of Contents
TABLE OF CONTENTS 1. Description of your Whirlpool Refrigerator......... 3 2. Warning and Safety Precautions ............5 3. Getting Started .................. 7 4. Operating your Whirlpool Refrigerator ..........8 5. Care and Maintenance..............9 6. Food Storage Tips ................11 7. -
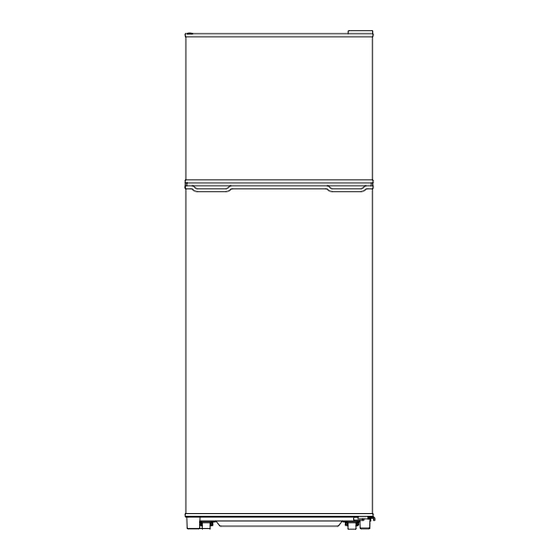
Page 3: Description Of Your Whirlpool Refrigerator
1. Description of your Whirlpool Refrigerator 1. Air Flow Cover 9. Lamp Cover 2. Ice Tray 10. Refrigerator Shelf B 3. Freezer Shelf 11. Side Plate 4. Freezer Temperature Controller 12. Crisper Cover 5. Controller 13. Crisper 6. Refrigerator Shelf A 14. - Page 4 Your Whirlpool refrigerator has two special storage zones. Each one separately balanced at the correct temperature for a specific function. 1. Door Shelves: There are three adjustable shelves suitable for the storage of eggs, bottled liquids, packaged food, etc. Please lift the shelves vertically to remove.
-
Page 5: Warning And Safety Precautions
Thoroughly ventilate the room in which the appliance is located for several minutes. • Notify Whirlpool Customer Service for necessary action and advice. • The room for installing the appliance must be at least 1 cubic metre per 8 grams of refrigerant. - Page 6 WARNING: • Do not store explosive material in the appliance or any other products containing propellants such as spray cans, explosive liquids or flammable liquids. During operation, thermostats produce sparks which could pose a fire hazard, as flammable liquids could cause an explosion. •...
-
Page 7: Getting Started
3. Getting Started Getting Started Installation • Unpack your refrigerator and select a dry well ventilated location close to an electrical point. • Allow sufficient clearance for dissipation of heat, a minimum of 50 mm at the back and 30 mm on the sides and top. -
Page 8: Operating Your Whirlpool Refrigerator
• Check local voltage before installation. Ice tray • Your Whirlpool refrigerator comes with a twist ice function. • To make ice, pour water into the ice tray until it is 4/5 full. • Place ice trays in the ice making chamber for a minimum of 2 hours. -
Page 9: Care And Maintenance
5. Care and Maintenance Cleaning your Whirlpool Refrigerator • Before cleaning, always switch-off the power supply and remove the plug from the socket. • Remove all food items from the refrigerator. • Do not remove all the shelves at the same time to prevent children from easily climbing inside. - Page 10 Moving your refrigerator • Switch-off the mains and disconnect the power cord from the socket. • Remove all food items from the refrigerator and freezer. • Use a soft, damp cloth to wipe the refrigerator from the inside and outside. •...
-
Page 11: Food Storage Tips
Cut meat, fish, vegetables, etc. into small pieces before freezing. Meat Your Whirlpool freezer will keep meat fresh. You should always wrap meat completely and tightly in plastic bags. Unwrapped meat quickly looses moisture and nutrients and causes your refrigerator to smell. -
Page 12: Trouble Shooting
Refrigerator side walls are hot This is not a problem. The walls heat slightly during normal operation. Refrigerator gives a mild Contact Whirlpool Customer Service. shock Refrigerator makes too much Is the refrigerator on a level surface? noise... -
Page 13: Reversing The Door
8. Reversing the door The side at which the door opens can be changed from the right side (as supplied) to the left side, if required. Warning! When changing the side at which the door opens, the appliance must not be connected to the mains power supply. - Page 14 5. On the centre rail, remove the blanking plugs from the left hand side holes, to be used for mounting the centre hinge bracket and fit them to the right hand side holes. As illustrated below. 6. Remove both the levelling feet fitted to the base at the front corners. Remove the bottom hinge bracket, by removing the mounting screws.
- Page 15 As illustrated below. 10. Refit the top hinge cover. As illustrated below. Position the refrigerator in the upright position and proceed as instructed in Section 3, Getting Started. Ref.: WRO34U* - 19 08 2009...
Need help?
Do you have a question about the WRO34U Series and is the answer not in the manual?
Questions and answers
What is the storage capacity of the WRO34UW fridge and freezer compartments