Table of Contents
Advertisement
Quick Links
owner's manual
v3
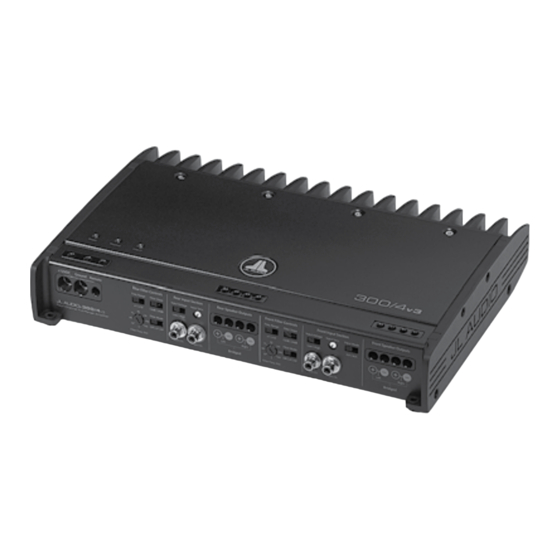
300/4
300 W CLASS-A/B FOUR-CHANNEL FULL-RANGE AMPLIFIER
Thank you for purchasing a JL Audio amplifier
for your automotive sound system.
Your amplifier has been designed and manufactured to exacting
standards in order to ensure years of musical enjoyment in your
vehicle. For maximum performance and extended warranty
coverage, we highly recommend that you have your new amplifier
installed by an authorized JL Audio dealer. Your authorized
dealer has the training, expertise and installation equipment
to ensure optimum performance from this product. Should you
decide to install the amplifier yourself, please take the time
to read this manual thoroughly so as to familiarize yourself
with its installation requirements and setup procedures.
If you have any questions regarding the instructions in this
manual or any aspect of your amplifier's operation, please
contact your authorized JL Audio dealer for assistance. If you
need further assistance, please call the JL Audio Technical
Support Department at (954) 443-1100 during business hours.
Advertisement
Table of Contents

Related Manuals for JL Audio 300/4v3


Summary of Contents for JL Audio 300/4v3
- Page 1 owner’s manual 300/4 300 W CLASS-A/B FOUR-CHANNEL FULL-RANGE AMPLIFIER Thank you for purchasing a JL Audio amplifier for your automotive sound system. Your amplifier has been designed and manufactured to exacting standards in order to ensure years of musical enjoyment in your vehicle.
-
Page 2: Protect Your Hearing
12V, negative-ground electrical Your JL Audio amplifier employs an make sure there is at least 1 inch (2.5 cm) of the operation of this product so as not to damage systems. -
Page 3: Product Description
Symmetry™ Class A/B technology for all amplifiers are being installed with the 300/4v3 overall output and the desired balance the 300/4v3 with 4 AWG or 8 AWG pure copper channels. All channels benefit from JL Audio’s and powered from the same main power wire. -
Page 4: Crossover Controls
“Low” position. While Front and rear Filter section: connection to the battery. To prevent voltage this may sound counter-intuitive, it is correct all four channels of the 300/4v3 with a single +12VDC Ground Remote Rear Filter Controls... -
Page 5: Speaker Outputs
Low | High 2ch | 4ch not recommended and may cause the amplifier slopes for that channel section. section! The 300/4v3 is not a typical amplifier and Filter Mode Filter Mode care must be taken to balance the front and rear output to distort excessively. -
Page 6: System Configurations
In this configuration, the rear channels of the speaker wire and the vehicle chassis). 300/4v3 will drive subwoofers (stereo 75W x 2 or control the absolute level of the LF channels bridged 150W x 1) with low-pass filtering. The relative to the HF channels. - Page 7 Appendix D (page 18). Refer to the subwoofer All JL Audio subwoofer amplifiers have this outputs is connected to the front inputs of the to the front inputs of the 300/4v3. The second amplifier owner’s manual for proper adjustments. 300/4v3 (select “2ch” on the “Input Mode”...
- Page 8 “Input Sens.” with this procedure. This applies Input Range: Switchable from 200mV - 2V RMS same amount of power within its operational 300/4v3. Note whether your channels are in to any EQ boost circuit, including source unit to 800mV - 8V RMS...
- Page 9 Bridged 8Ω: 150w x 1 (set to 34.6V) Stereo 8Ω: 38W x 2 (set to 17.3V / ch.) parentheses for each set of channels to set the “Input Sens.” controls of the 300/4v3. Stereo 8Ω: 25W x 2 (set to 15.0V / ch.) Bridged 6Ω: 150w x 1 (set to 30.0V)
- Page 10 38 ..“500” ..514 39 ......525 Full-clockwise: 542 18 | JL Audio - 300/4 Owner’s Manual...
- Page 11 Please refer to Appendix A (page 14) to set the input sensitivity for Check your voltage source and grounding point. The power supply maximum, low-distortion output. of the 300/4v3 will operate with charging system voltages “my amplifier doesn’t turn on” down to 10V. Shutdown problems at higher volume levels Check the fuse, not just visually, but with a continuity meter.
-
Page 12: Installation Notes
Right Left Right Four-Channel Full-Range Amplifier Off | LP | HP Off | LP | HP Bridged Bridged Filter Freq. (Hz) Left Ch. Right Ch. Filter Freq. (Hz) Left Ch. Right Ch. 22 | JL Audio - 300/4 Owner’s Manual... - Page 13 - amPliFiers (usa) JL AUDIO warrants this product to be free of defects in materials and workmanship for a period of two (2) years. The warranty is extended to three (3) years total if installation is performed by an authorized JL Audio dealer using a JL Audio Premium Power Connection System for power wiring.
Need help?
Do you have a question about the 300/4v3 and is the answer not in the manual?
Questions and answers