
Related Manuals for Bosch PCI815B91A


Summary of Contents for Bosch PCI815B91A
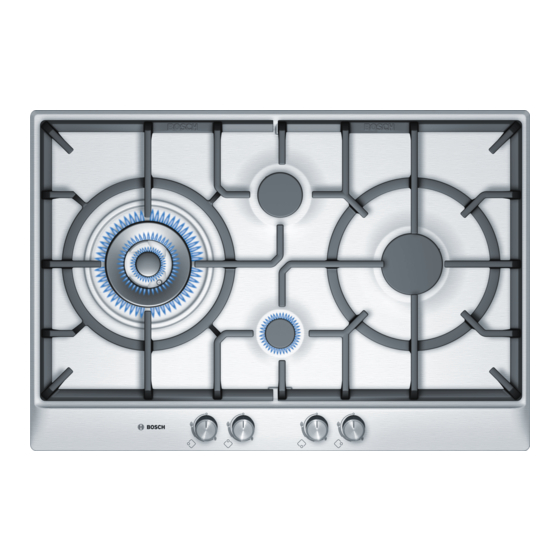
- Page 1 This cooktop is for use with Natural Gas and Universal LPG PCI815B91A Robert Bosch Hausgeräte GmbH Carl-Wery-Straße 34 81739 München Cod. 9000617265 A www.bosch-home.com...
-
Page 2: Table Of Contents
Content Safety considerations ........5 For your safety . - Page 3 Dear customer, Congratulations on your choice and thank you for purchasing one of our appliances. This practical, modern and functional appliance is manufactured using materials of the highest quality which are subject to strict quality control checks throughout the entire manufacturing process.
-
Page 4: Safety Considerations
Safety considerations For your safety If the information in this manual is not followed exactly, a fire or explosion may result causing property damage, personal injury or death. Do not store articles on or against this appliance. Do not store flammable material near this appliance. Do not spray aerosols in the vicinity of this appliance while it is in operation. - Page 5 Important. When using a very large pot, leave a gap of at least 50 mm (2”) to avoid damaging any parts in bench top wood, plastic or other non-heat resistant materials. Never leave oil or hot fat unattended. The surfaces on heating and cooking appliances get hot when in use.
-
Page 6: Installation
Installation Statutory This installation must conform with the following: requirements Manufacturer’s Installation instructions Ø Local Gas Fitting Regulations Ø Municipal Building Codes, Ø Refer to AS/NZS 5601.1 for Gas Installations. Ø S.A.A. Wiring Code Ø Local Electrical Regulations Ø Any other statutory regulations Ø... -
Page 7: Clearances
Before connecting the unit, check whether the local connection conditions (type of gas) are compatible with the unit’s setting. Observe any special conditions imposed by local suppliers (utilities). The specifications of this cooktop are stated on the data label located on the bottom of the cooktop base. -
Page 8: Installation Of Cooktop Into The Kitchen Bench
Installation of cooktop Installation procedure: Side clearances: If the distance measured from the into the kitchen bench periphery of the nearest burner to any vertical surface is less than 200 mm, the surface shall be protected in accordance with clauses 6.10.1.2 of AS/NZS 5601.1 1. -
Page 9: Gas
connected first and that all wires are connected to the correct terminals. Fig. 4. During the planning stage, consider the position of supply connections. The cooktop must be connected to the gas supply with upstream connection of an isolation valve in accordance with the respectively valid regulations. -
Page 10: Conversion From Nat. Gas To Universal Lpg
Ensure that the hose does not contact the hot surfaces of the hotplate, oven, dishwasher or any other appliance that may be installed underneath or next to the hotplate. The hose should not be subjected to abrasion, kinking or permanent deformation and should be able to be inspected along its entire length with the cooktop in the installed position. -
Page 11: Changing The Nozzles Of The Burners On The Cooktop
Request change-over injectors from our customer service deparment (refer injector chart below for sizes). Natural Gas Universal LPG Burner Hourly Gas Injector Hourly Gas Injector Consumption mark Consumption mark (MJ) (MJ) (mm) Auxiliary 3,60 3,50 Semi-rapid 6,50 6,00 Rapid 10,80 10,00 Triple flame 16,00... -
Page 12: Adjustment Of The Taps
Adjustment of the Set the control knobs to minimum. Remove the control knobs from the taps. Fig. 9. taps It has a flexible rubber valve reinforcing ring. Simply press on this seal with the tip of a screwdriver to allow access to the tap adjusting screw. - Page 13 - Use the disassembly lever 483196 availablle from our Technical Assistance Service. Remove the front clips by applying the lever to the zones indicated. Fig. 10a. Fig. 10a To assemble the grease splash tray again, proceed in the reverse order to removal. It is important that all the seals are refitted to form a seal.
-
Page 14: Operating Instructions
Operating instructions Burner locations Pan supports Control knobs Auxiliary burner (up to 1 kW) Semi-rapid burner (up to 1,75 kW) Rapid burner (up to 3 kW) Triple-flame burner (up to 4 kW) The gas burners There are indications to show which burner each control knob operates. -
Page 15: Safety System
While the control knob is still pressed down, sparks are produced on all burners. The flame ignites (it is no longer necessary to press down the control knob). 2. Turn the control knob to the required setting. If it does not come on, turn the control knob to the off setting and repeat the steps above. -
Page 16: Suitable Pans
kitchen is well ventilated: either keep the natural ventilation apertures open, or install a ventilation system (extractor hood). If using the appliance intensively for prolonged periods, you may require additional ventilation (e.g. by opening a window) or more effective ventilation (e.g. by increasing the cooktop's ventilation, if possible). -
Page 17: Additional Coffee Maker Support
Additional coffee maker support Only for use on the auxiliary burner with pans which are no more than 12 cm in diameter. The manufacturer accepts no liability if these accessories are not used or are used incorrectly. Cooking recommendation Very high, high Medium Double or triple Boiling, grilling,... -
Page 18: Precautions For Use
Precautions for use The following advice is intended to help you save energy and prevent pan damage: Use pans which are the right size for each burner. Do not use small pans on large burners. The flame should not touch the sides of the pan. Do not use damaged pans, which do not sit evenly on the cooktop. -
Page 19: Cleaning And Maintenance
Cleaning and maintenance Cleaning Once the appliance is cool, use a sponge to clean it with soap and water. After each use, clean the surface of the respective burner parts once they have cooled down. If any residue is left (baked-on food, drops of grease etc.), however little, it will become stuck to the surface and more difficult to remove later. -
Page 20: Service
Service DO NOT MODIFY THIS APPLIANCE. Only authorized personnel from the Service Centre are qualified to work on the appliance. Sometimes certain faults detected can be easily resolved. Before calling the Service Centre, bear in mind the following advice: Fault Possible cause Solution The general electrical... -
Page 21: Wiring Diagram
A. Switch B. Blue wire C. Brown wire D. Terminal E. Ignition module www.bosch-home.com CIF: A-28-893550 R OBERT BOSCH HAUSGERÄTE GMBH E-Nr: PCI815B91A UL PG Gas type Test point pressure (kPa) 2,75 Injectors marks 36,90 33,00 HGC (MJ)
Need help?
Do you have a question about the PCI815B91A and is the answer not in the manual?
Questions and answers