Sign In
Upload
Download
Table of Contents
Contents
Add to my manuals
Delete from my manuals
Share
URL of this page:
HTML Link:
Bookmark this page
Add
Manual will be automatically added to "My Manuals"
Print this page
×
Bookmark added
×
Added to my manuals
Manuals
Brands
Marquis Spas Manuals
Hot Tub
LEISURE SERIES
Owner's manual
Marquis Spas LEISURE SERIES Owner's Manual
Ultimate/coastal/sport/leisure series
Hide thumbs
1
2
Table Of Contents
3
4
5
6
7
8
9
10
11
12
13
14
15
16
17
18
19
20
21
22
23
24
25
26
27
28
29
30
31
32
33
34
35
36
37
38
39
40
41
42
43
44
45
46
47
48
49
50
51
52
53
54
55
56
57
58
59
60
61
62
63
64
65
66
67
68
69
70
page
of
70
Go
/
70
Contents
Table of Contents
Troubleshooting
Bookmarks
Table of Contents
Location
Table of Contents
Important Safety Instructions
Read and Follow All Instructions
All Spa Models
Save These Instructions
Personal Safety
Safety Sign
Location
Ozonator Installation
Electrical Requirements
Leisure Series Models Start-Up
Starting Your Spa
Water Chemistry Guidelines
Sport/Coastal and Ultimate Series Models Start-Up
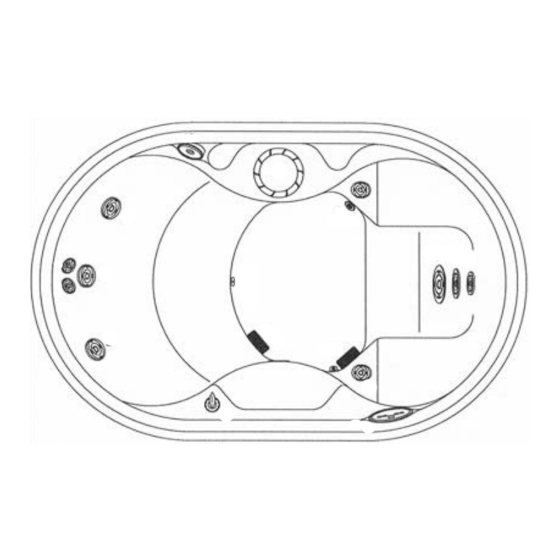
Operating Your Spa
Oasis
Spirit
Spirit LX
Mirage
Mirage LX
Heat Light
Lcd Diagnostic Messages
Remote Control
Zoned Jetting Operation
500 Lx
600 Lx
700 Lx
Destiny
Lcd Display
Reward
Euphoria
Voyage
Marquis
Journey
Spa Maintenance
Draining and Refilling the Spa
Wood Exterior
Durawood Exterior
Every Six Months
Spa Water
Troubleshooting
Spa Water Maintenance
Advertisement
Quick Links
1
All Spa Models
2
Sport/Coastal and Ultimate Series Models Start-Up
3
Operating Your Spa
4
Oasis
Download this manual
O
M
w n e r ' s
a n u a l
L E I S U R E
S E R I E S
S P O R T
S E R I E S
C O A S T A L
S E R I E S
U L T I M A T E
S E R I E S
Table of
Contents
Previous
Page
Next
Page
1
2
3
4
5
Advertisement
Table of Contents
Need help?
Do you have a question about the LEISURE SERIES and is the answer not in the manual?
Ask a question
Questions and answers
Subscribe to Our Youtube Channel
Related Manuals for Marquis Spas LEISURE SERIES
Hot Tub Marquis Spas Destiny Owner's Manual
Marquis spas (74 pages)
Hot Tub Marquis spas COASTAL SERIES Owner's Manual
Ultimate/coastal/sport/leisure series (70 pages)
Hot Tub Marquis Spas THE QUEST Operating And Troubleshooting Manual
(41 pages)
Hot Tub Marquis Spas DESTINY Owner's Manual
(51 pages)
Hot Tub Marquis Spas Wish Quick Manual
Spa (2 pages)
Hot Tub Marquis Spas Signature Maintenance
(5 pages)
This manual is also suitable for:
Sport series
Coastal series
Leisure oasis
Leisure spirit
Leisure spirit lx
Leisure mirage
...
Show all
Leisure mirage lx
Sport 500
Sport 500 lx
Sport 600
Sport 600 lx
Sport 700
Sport 700 lx
Coastal destiny
Coastal reward
Coastal euphoria
Coastal voyage
Ultimate journey
Ultimate marquis
Table of Contents
Save PDF
Print
Rename the bookmark
Delete bookmark?
Delete from my manuals?
Login
Sign In
OR
Sign in with Facebook
Sign in with Google
Upload manual
Upload from disk
Upload from URL


Need help?
Do you have a question about the LEISURE SERIES and is the answer not in the manual?
Questions and answers