Pet Gear ROADSTER PG8600 Instruction Manual
Pet stroller
Hide thumbs
Also See for ROADSTER PG8600:
- Instruction manual (9 pages) ,
- Instruction manual (6 pages) ,
- Instruction manual (8 pages)
Table of Contents
Advertisement
Quick Links
For The ON-THE-GO Pet
™
INSTRUCTION MANUAL
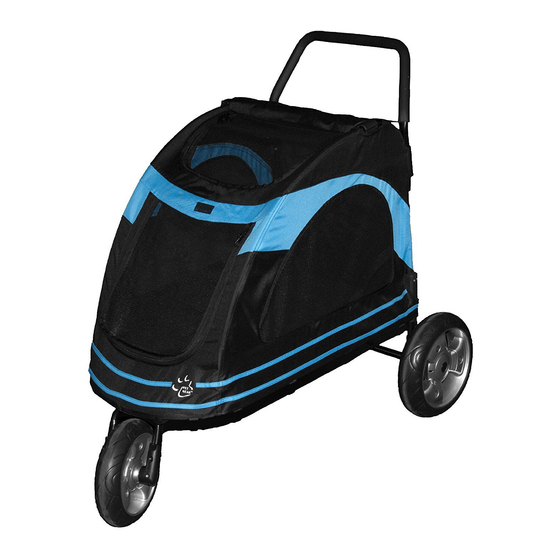
ROADSTER PET STROLLER
PG8600
AT
Interior Dimensions:
33L x 20W x 21H
To see our full line of products, visit us online at: www.petgearinc.com
CUSTOMER SERVICE HELP DESK
customerservice@petgearinc.com
Toll-Free 877-752-9123 - Eastern Standard Time 8am-3pm, Monday through Friday
Advertisement
Table of Contents

Related Manuals for Pet Gear ROADSTER PG8600


Summary of Contents for Pet Gear ROADSTER PG8600
- Page 1 For The ON-THE-GO Pet ™ INSTRUCTION MANUAL ROADSTER PET STROLLER PG8600 Interior Dimensions: 33L x 20W x 21H To see our full line of products, visit us online at: www.petgearinc.com CUSTOMER SERVICE HELP DESK customerservice@petgearinc.com Toll-Free 877-752-9123 - Eastern Standard Time 8am-3pm, Monday through Friday...
-
Page 2: Parts List
PARTS LIST Check that you have all the parts shown BEFORE assembling your product. If any parts are missing, call Customer Service. Axle Stroller Front Wheel Handle 2-Back Wheels Removable Internal Liner ROADSTER PET STROLLER • PG8600... - Page 3 BACK WHEEL ASSEMBLY Step 1. Slide back wheel on axle as shown in Figure A. Step 2. Push in axel until it clicks. Step 3. Pull on wheel to make sure the wheel is engaged. Repeat on other side. When finished it should look like Figure B. Step 4.
-
Page 4: Front Wheel Assembly
FRONT WHEEL ASSEMBLY Step 1. To attach front wheel, slide plastic wheel support Step 2. Slide wheel up, until velco pins pop out up and into tubing. of holes. Velco Pin Velco Pin Tubing Tubing STROLLER ASSEMBLY Step 1. Place stroller so wheels are on the ground and back wheels are facing you (shown in Figure E). - Page 5 STROLLER ASSEMBLY Step 2. Lift right and left side of stroller up (shown in Figure F). Secure the support bar that goes from the left and latches down on the right side (shown in Figure G). Step 2. To install the handle, place handle ends Handle Locking Mechanism into the handle-locking mechanisms on each side of the stroller.
- Page 6 FRONT WHEEL LOCKING INSTRUCTIONS Step 1. To use stroller in locked position for jogging, Step 2. To use stroller in swivel position, pull push pin in. pin down, and to the right. Swivel Position Locked Position TO FOLD/PACK UP STROLLER Step 1.
- Page 7 TO FOLD/PACK UP STROLLER Step 3. Fold sides inward, until flat. LOOKING AFTER YOUR STROLLER • Always store product in a clean, dry place. • Not recommended for use on the beach. • Do not put heavy items on top of the stroller. •...
-
Page 8: Wheel Maintenance
Not intended to be used as a restraining device for aggressive or dangerous animals that dig, chew or paw aggressively. Do not leave your pet unattended. PET GEAR is not liable for any damage caused by aggressive, destructive, immature or untrained animals. Do not use near an open or exposed flame. Failure to follow these warnings and the instructions could result in serious injury or death. -
Page 9: Replacement Parts
REPLACEMENT PARTS Use only PET GEAR replacement parts. Please have your model number ready before calling. You can also request parts: http://www.petgearinc.com/main.asp?sel=2 192 Sheldon Avenue∙West Rutland, VT∙05777∙877-752-9123∙www.petgearinc.com ROADSTER PET STROLLER • PG8600...
Need help?
Do you have a question about the ROADSTER PG8600 and is the answer not in the manual?
Questions and answers