Table of Contents
Advertisement
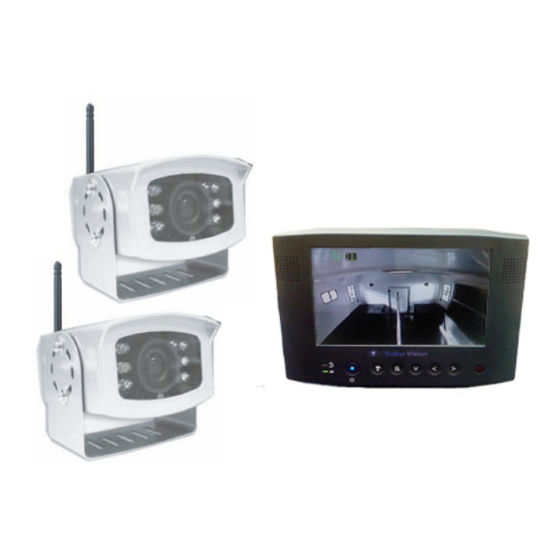
User Manual
Model: Digi-Max
Digital Wireless Camera System
This is a driving aid, safe driving, good observation and
use of the rear-view/wing mirror are still necessary.
PLEASE READ CAREFULLY AND SAVE
This manual contains important information about this product's operation.
If you are installing this product for others, you must leave this manual,
or a copy, with the end user.
Advertisement
Table of Contents

Related Manuals for Trailer Vision Digi-Max


Summary of Contents for Trailer Vision Digi-Max
-
Page 1: User Manual
User Manual Model: Digi-Max Digital Wireless Camera System This is a driving aid, safe driving, good observation and use of the rear-view/wing mirror are still necessary. PLEASE READ CAREFULLY AND SAVE This manual contains important information about this product's operation. -
Page 2: Table Of Contents
Digi-Max Contents System Parts Safety Precaution and Hazard Notice / FCC Warning / Disposal The System Parts Getting Started Step 1: System Connections Step 2: Basic Operation Monitor Function Buttons and Indicators View Mode Step 3: Advanced Operation The Menu... -
Page 3: Product Specification
WELCOME Dear Customer, Product Specification Thank you for purchasing this unique product, which utilises the latest digital wireless technology ensuring ZERO interference. Please read the following information carefully before installing and using this product. Camera Monitor Important Safety Precautions Damage caused by non-compliance with this operating manual will void the warranty! We will not assume any liability Maximum Channels for damage to items or persons caused by improper handling or non-compliance with the safety notices! Any warranty claim will be null and void in such cases. -
Page 4: The System Parts
Trouble Shooting Table The System Parts Before requesting service, please complete the checks detailed below. If you are in doubt about any of the following, or if the solutions Wireless Camera described in the chart do not solve the problem, please contact us. Problem Possible Remedy... -
Page 5: Getting Started
Getting Started Trouble Shooting Step1: System Connections This section offers some helpful information to overcome most of the problems that you may encounter. We also hope that this section assists you to achieve a quick and easy Camera Connection: installation/setup. Problem Diagnosis This innovative digital wireless solution integrates advance Frequency Hopping Spread Spectrum (FHSS) technology. - Page 6 System Setup and Reset Windscreen Holder Installation Guide (Please use the dash-board mount for permanent fixture). Resolution QVGA QUAD CA M1 A. Select [System Setup], press [OK] to enter. CA M2 CA M3 CA M4 Pair CAM 1 2 3 4 System Setup Factory Reset...
- Page 7 LCD Monitor Connection Pairing a Camera(s) Proceed with this function ONLY when the camera cannot be found by the system or when you have a n additional/new camera(s) to view. Before pairing the camera, make sure t ha t t h e camera power cord is correctly connected to a live power source &...
-
Page 8: Monitor Function Buttons And Indicators
Step 2: Basic Operation Setting QUAD Display This function is available for multi cameras use. Before setting QUAD display, make sure all cameras are Monitor Function Buttons and Indicators paired to assigned channels. See [Advance Operation – Pair Camera] section as a guide. QUAD display will be restored to one camera display after pressing the directional keys for manual scan. -
Page 9: View Mode
View Mode Skip Certain Camera(s) During Manual Scan Before setting Scan and Skip, make sure all cameras are paired to assigned channels, see next pages for Channel Indicator detail. Resolution Indicator Signal Indicator Make sure the channel assigned to the reversing camera is turned ON. QVGA A. -
Page 10: Step3: Advanced Operation
Step3: Advanced Operation C. Channel indicator shows the current camera being displayed by the monitor. By pressing (Cam), you can manually switch between cameras. Knowing the Menu By Pressing (Menu), you can enter / exit Menu Mode You can Use (Left / Right / Down) to select and change the settings.
Need help?
Do you have a question about the Digi-Max and is the answer not in the manual?
Questions and answers
My Digi-Max4 keeps saying no signsl after only viewing the camera for 10 seconds, can you help?